Citrix Netscaler Console (ex ADM) is a centralized management solution provided by Citrix that enables administrators to manage, monitor, and automate tasks across a different Citrix products, such as Netscalers, Citrix Virtual Apps and Desktops, and other networking components. Key features include:
- Enterprise-wide visibility: Provides a unified console view of the entire infrastructure, allowing administrators to monitor performance, health, and resource utilization across all managed devices.
- Automation: Automates routine tasks (e.g., deployment, configuration updates and backup) to reduce manual effort and ensure consistency.
- Analytics and reporting: Collects data on application usage, user sessions, and network performance to generate actionable insights for troubleshooting and capacity planning.
I use Netscaler Console mainly to automate backup of my Netscaler configurations and monitor the traffic going through.
Prerequisites
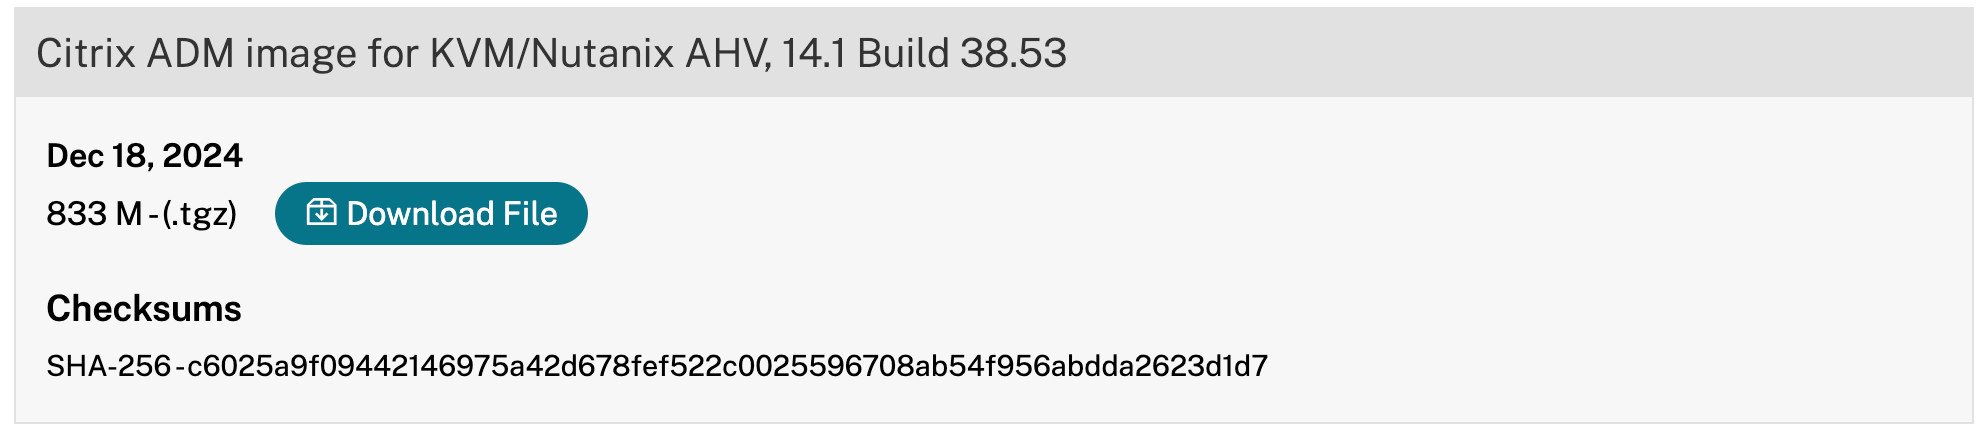
You need to download the KVM image of Netscaler Console, the latest version
You need ssh access to a Proxmox host.
Uploading the KVM image to Proxmox
Once you downloaded the KVM image you need to upload it via sftp in the following directory on the Proxmox host where you want to create the Netscaler Console VM:
/var/lib/vz/imagesOnce the file is upload, log in with ssh and extract the archive file with the following command :
cd /var/lib/vz/images
tar zxvf MAS-KVM-14.1-34.43.tgz
The name of the file will depend which version you downloaded, adapt the filename to match yours.
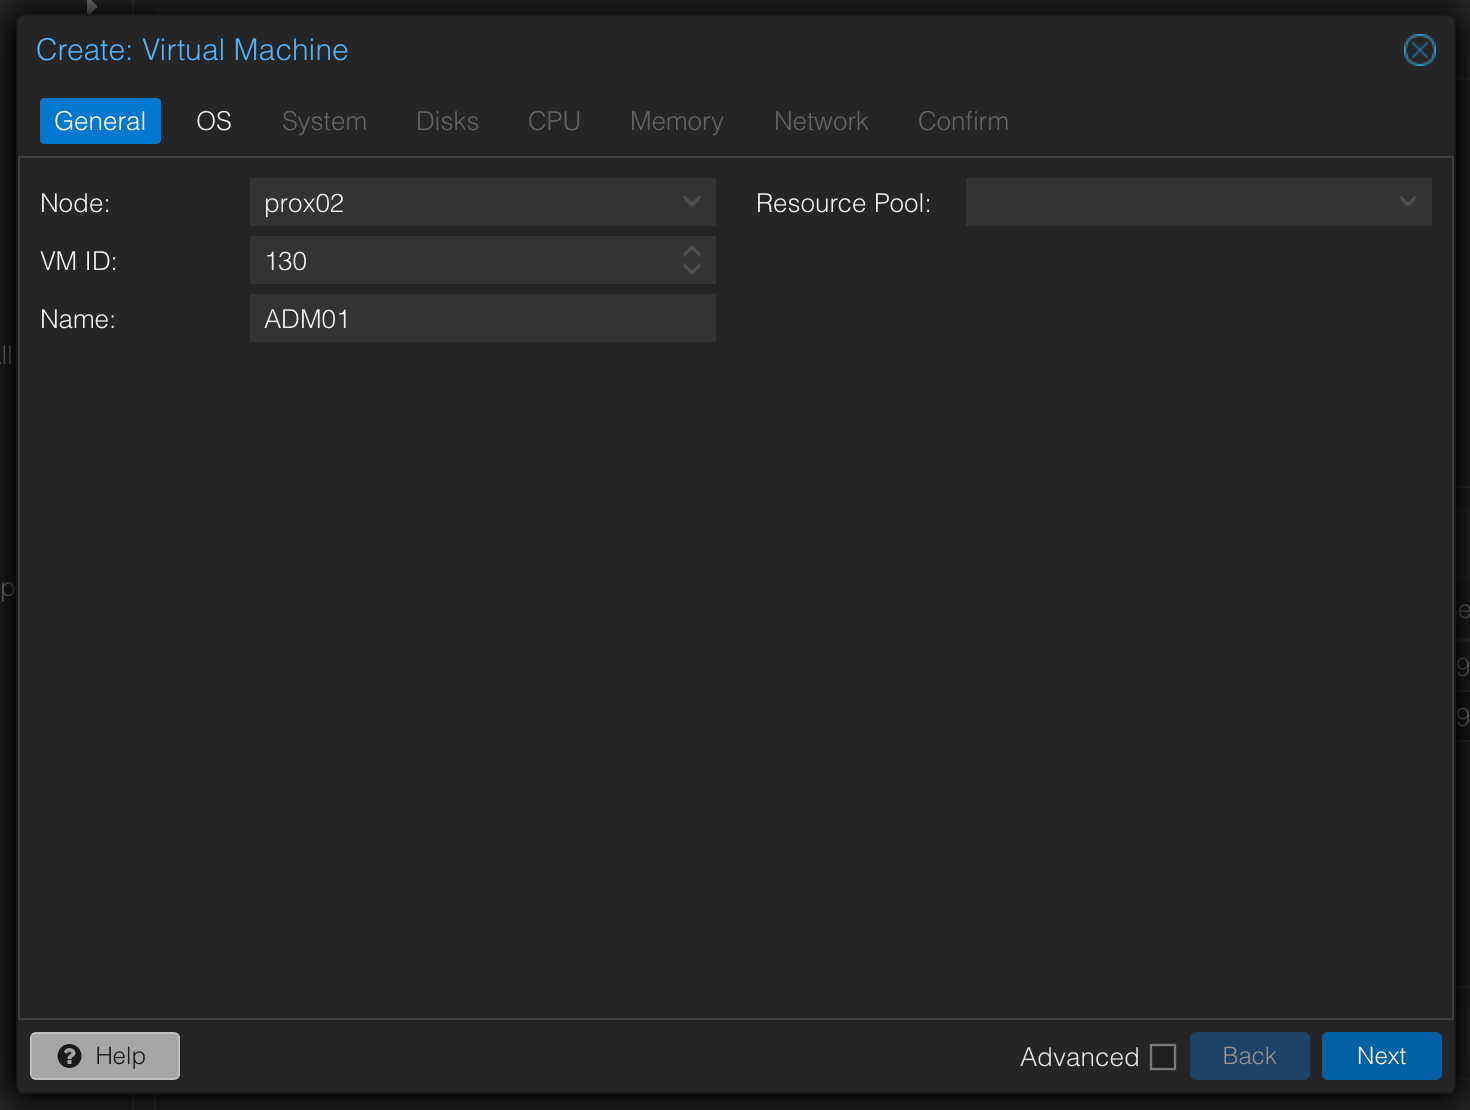
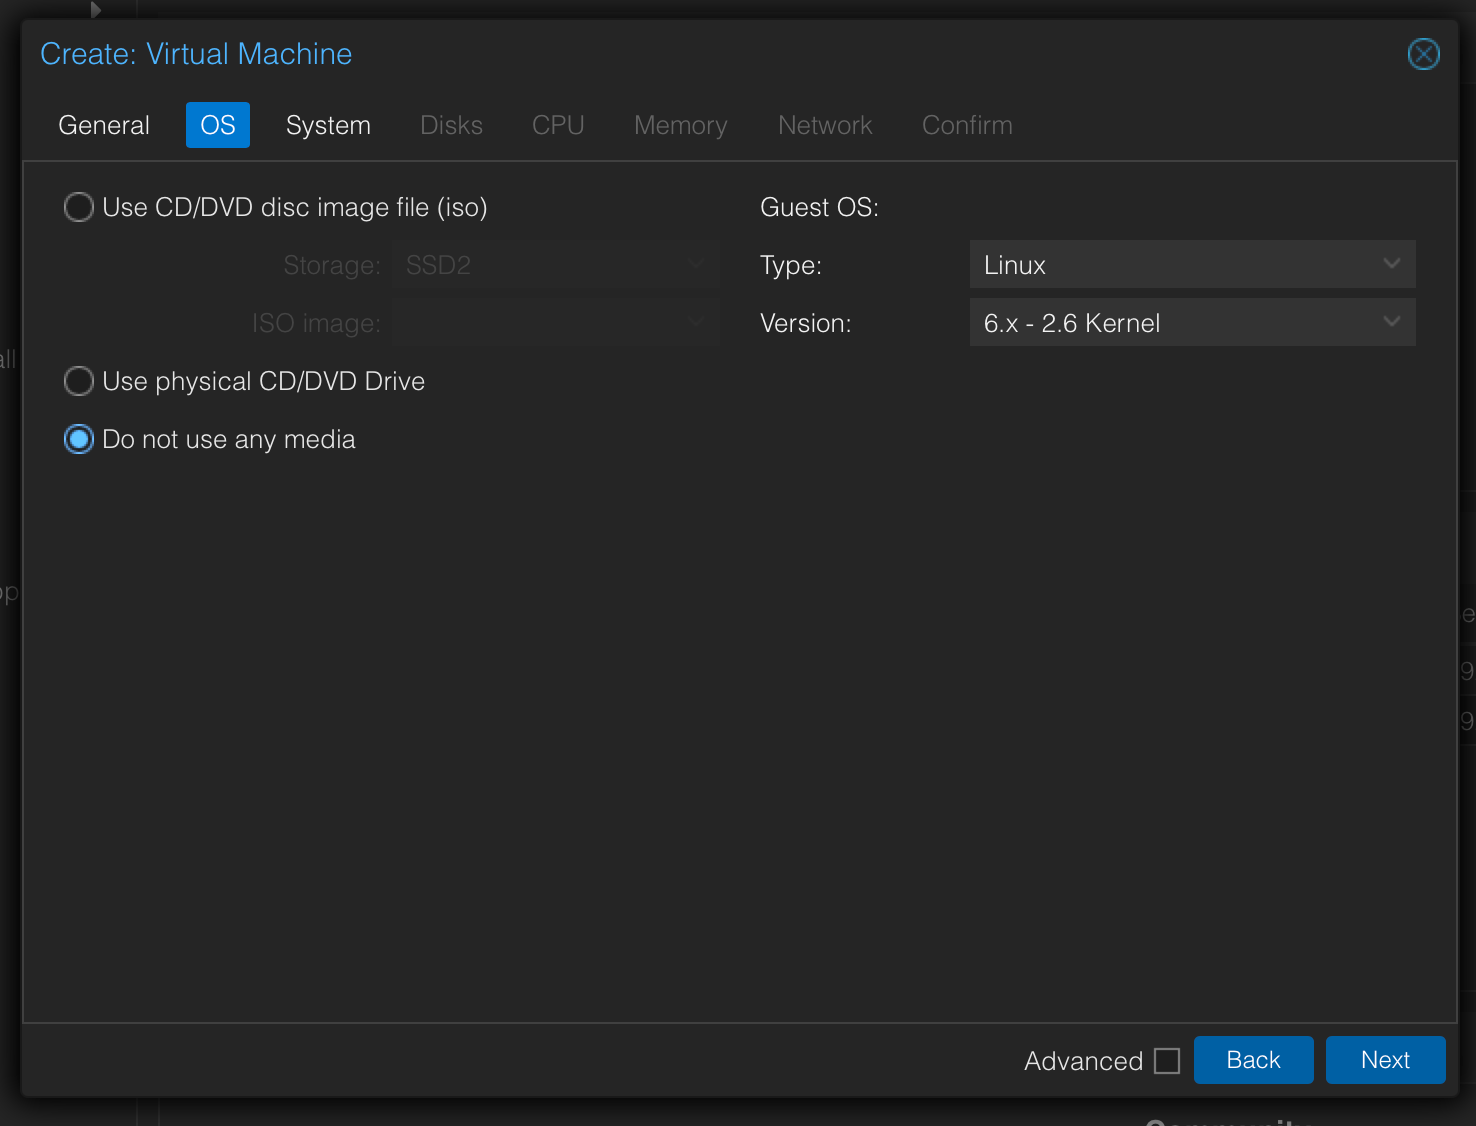
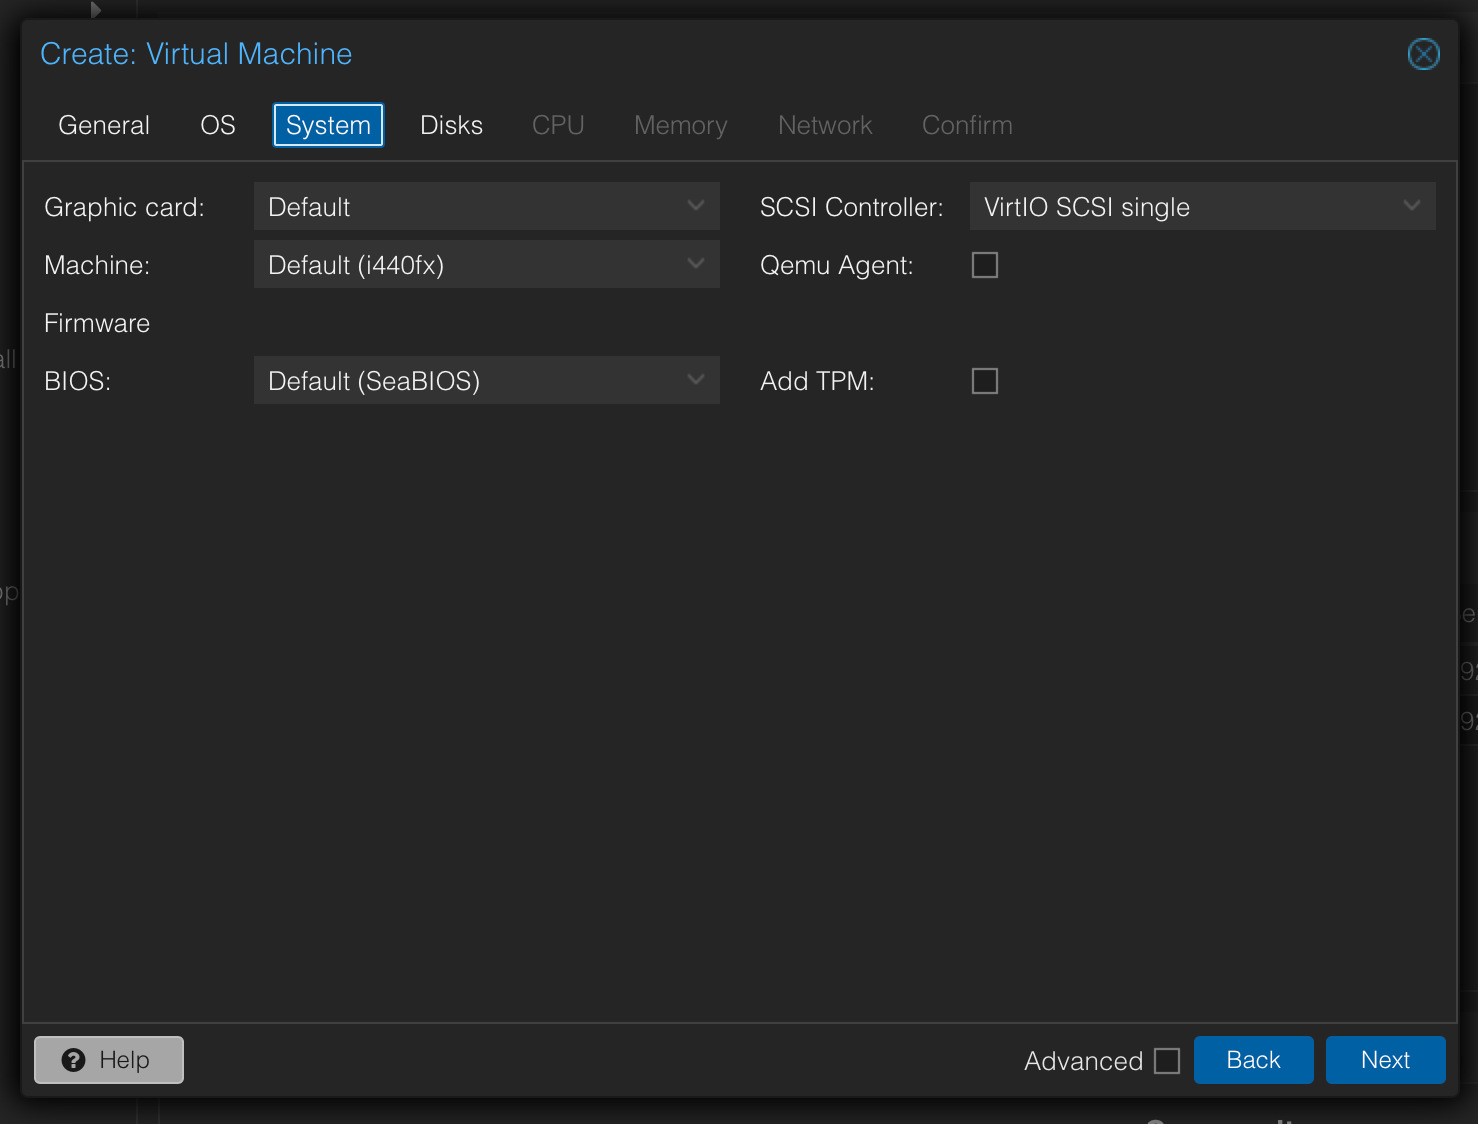
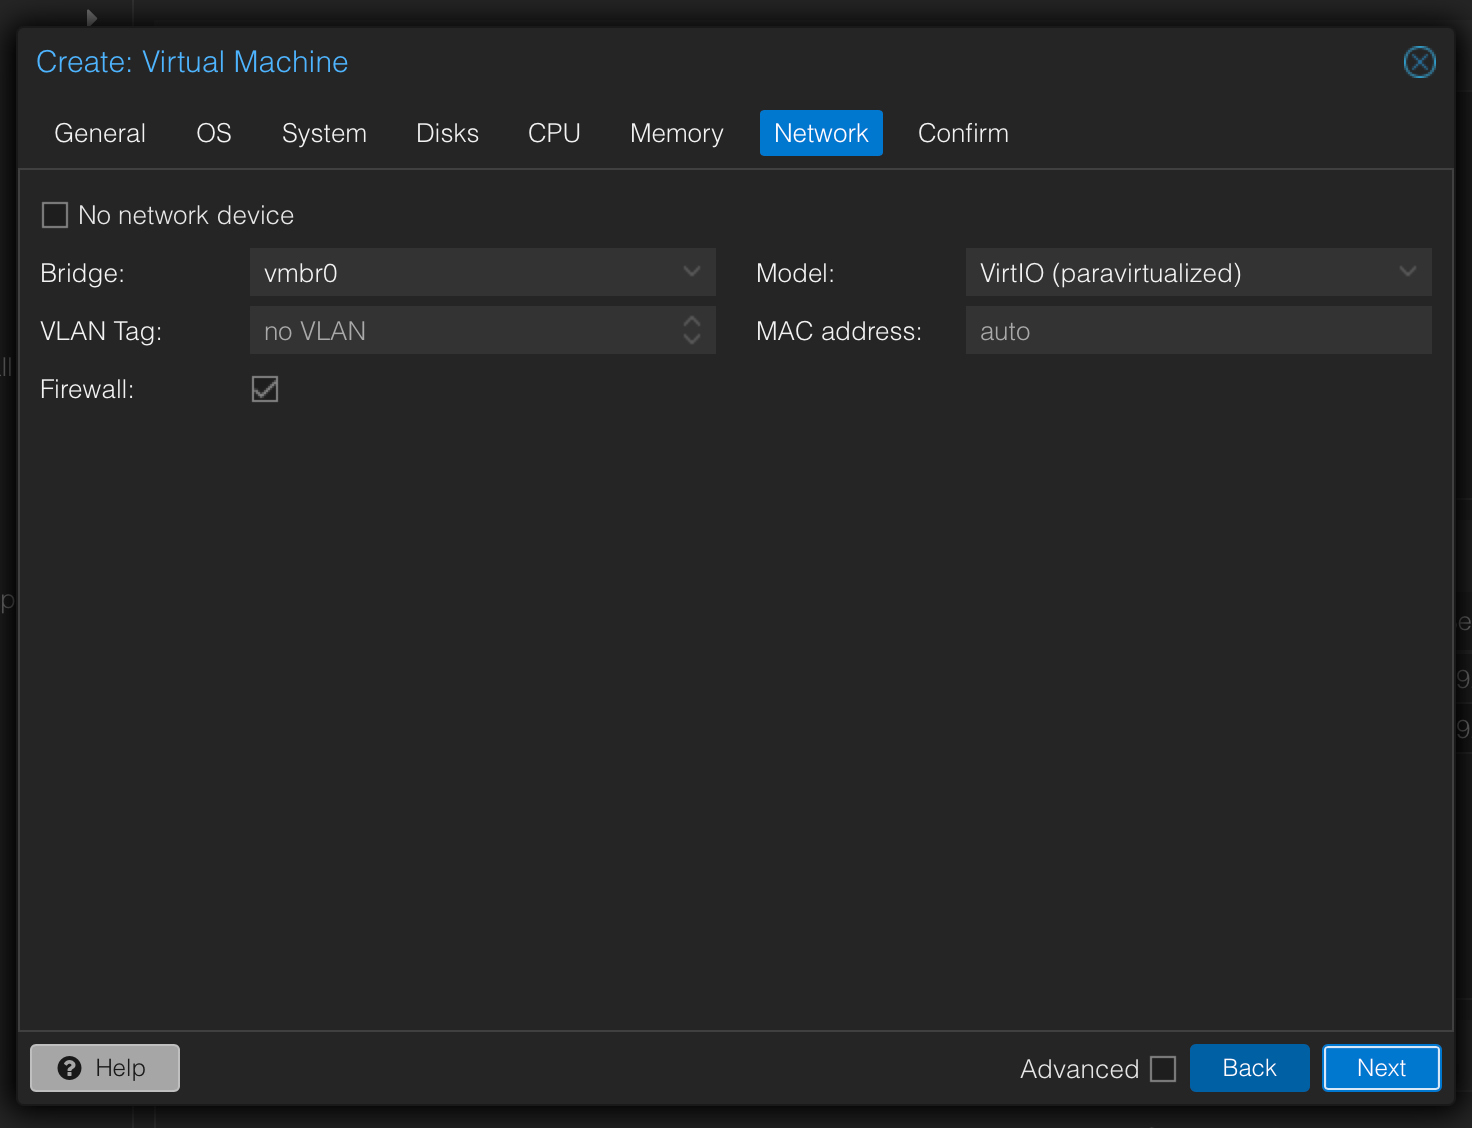
Creating an empty VM on Proxmox
The requirement for this appliance are huge...
Memory 32 GB
CPU 8 vCpus
Hard Drive 120 Gb
So I will go with 16 Gb and 6 vCpus, now create the VM


check if everything is ok :
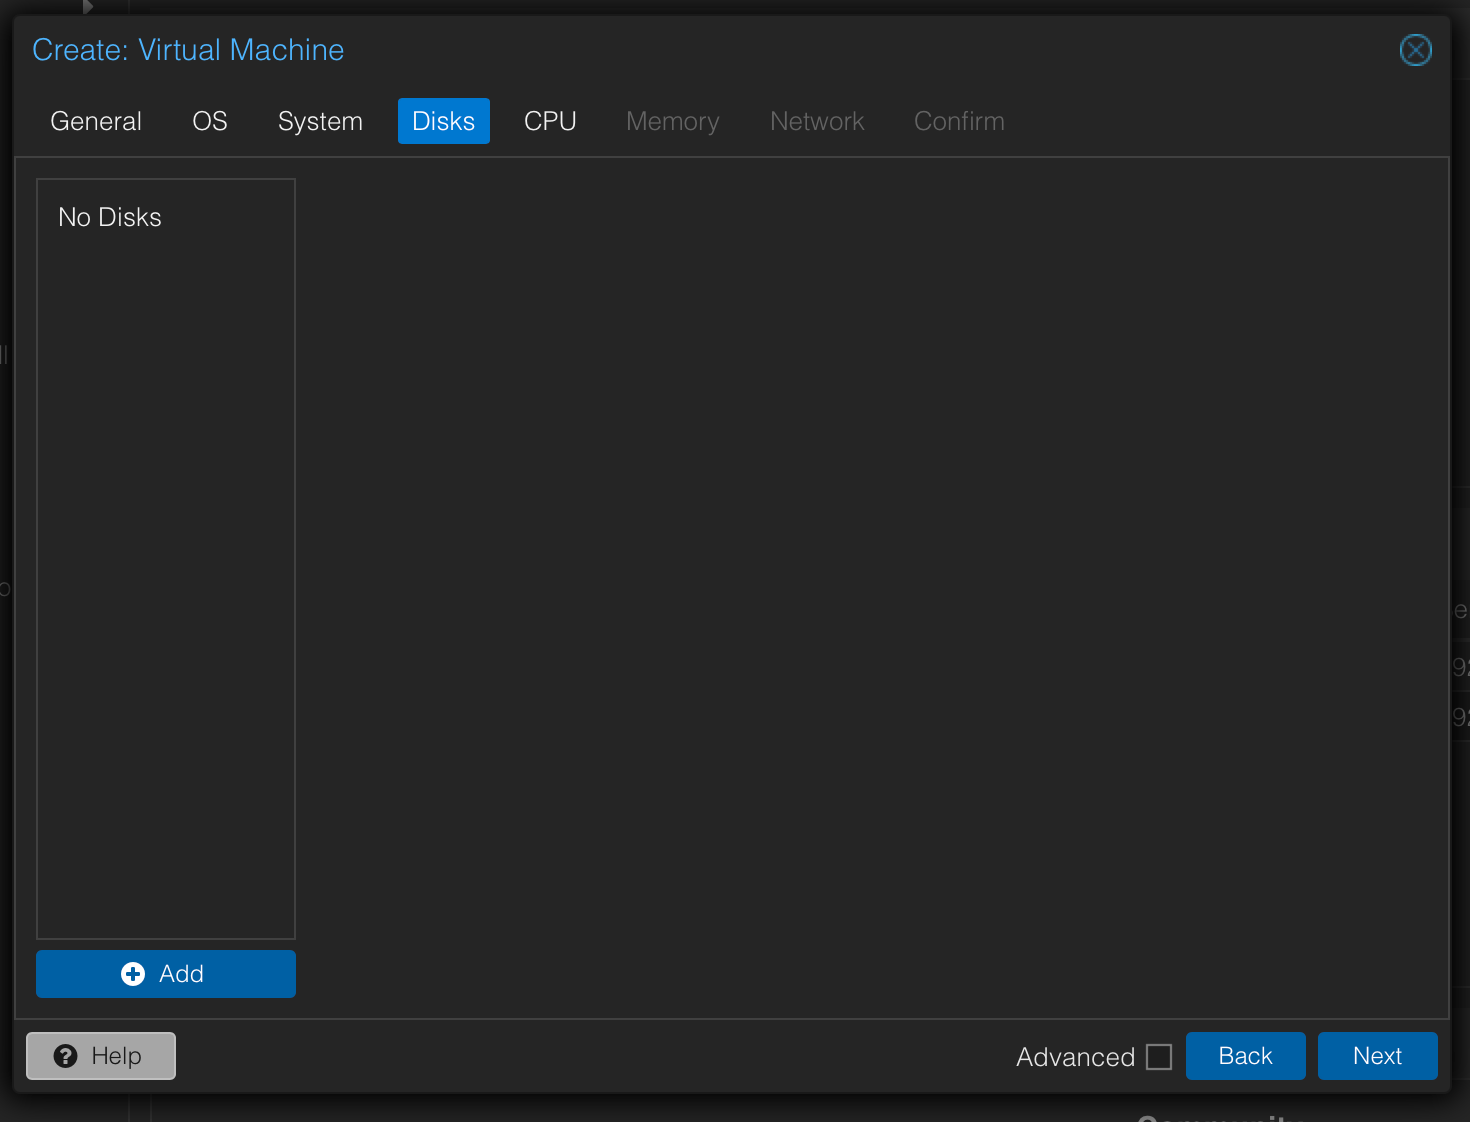
- Remove the disks
- Adjust the memory value
- Adjust the number of CPUs
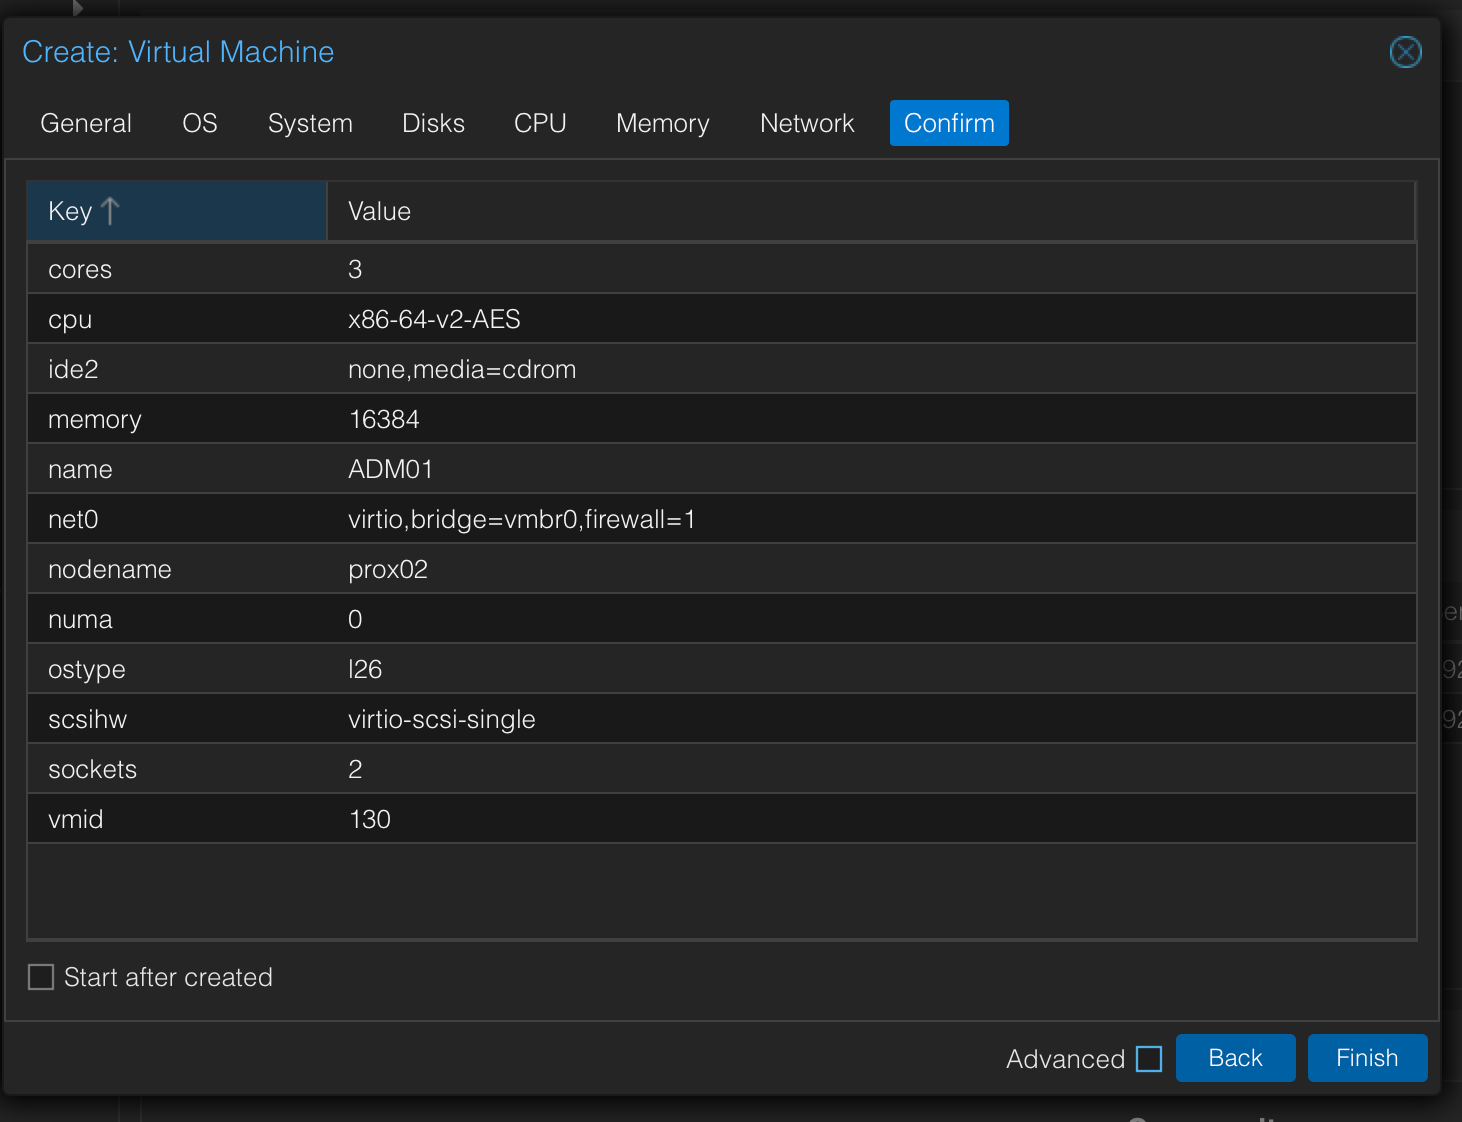
Click on Finish
Adding the KVM disk to the VM
Now to add the disk to the VM, you need to log in with ssh to the Proxmox server where you created the Virtual Machine and where we copied extrac the archive earlier.
Execute this command line to add the disk
qm importdisk [vmid] [pathtoimagefile] [vmstorage]
Which give for me
qm importdisk 130 /var/lib/vz/images/MAS-KVM-14.1-34.43.qcow2 SSD1
Once this is complete, go back to the Proxmox console and select your virtual machine, go to the hardware tab, you can see the disk has been added to the virtual machine
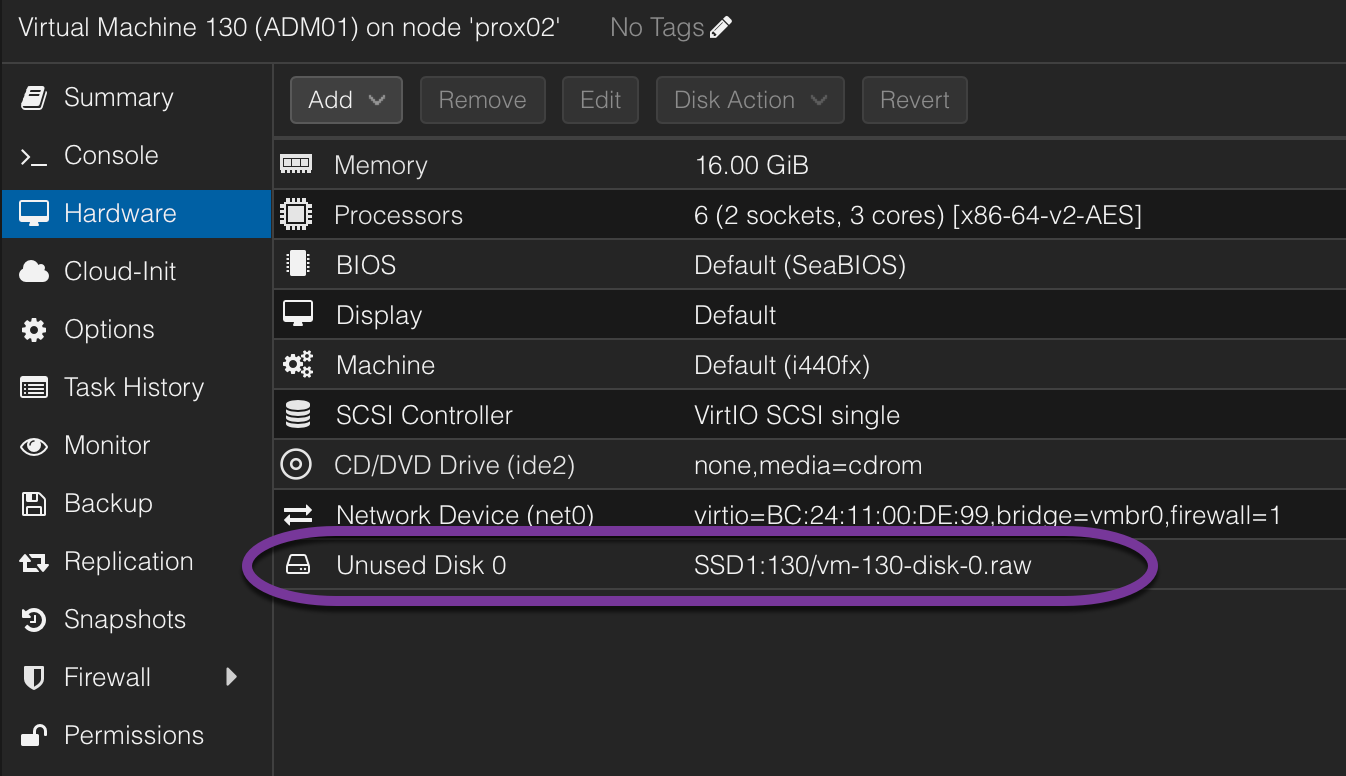
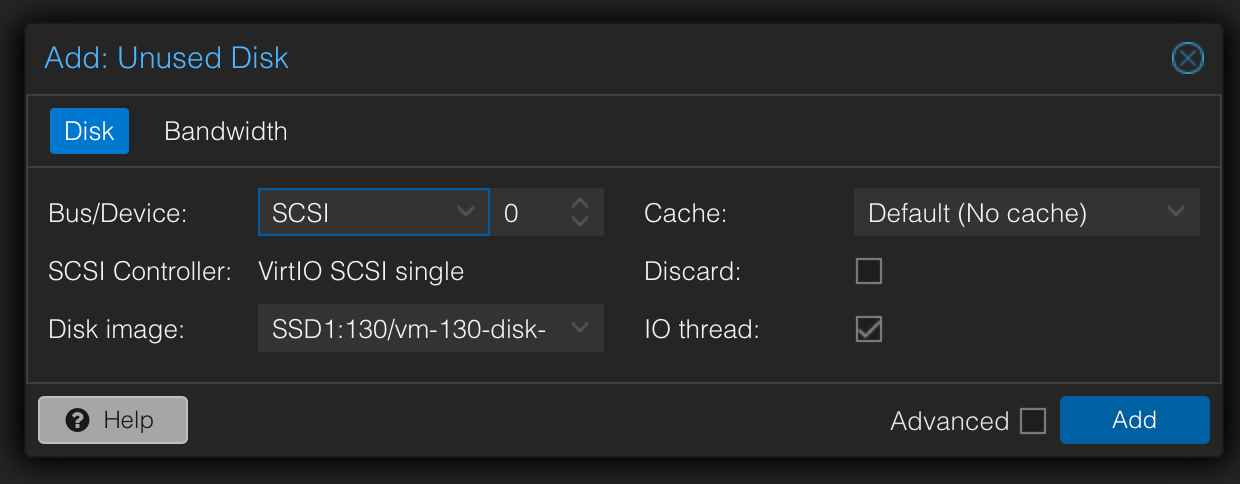
Double click on it and click on Add
Now the disk is added but we need to make a change to allow the VM to boot from it
Navigate to the Options tab and double click on Boot Order
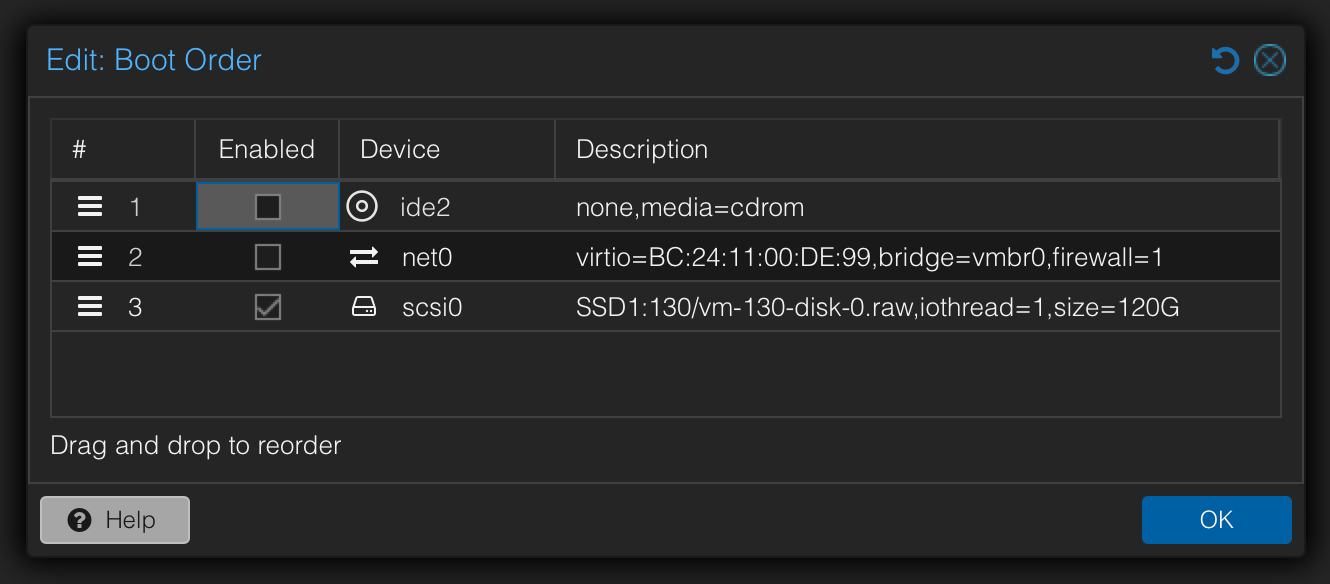
Uncheck everything and leave the scsi0 disk we just added, click on OK
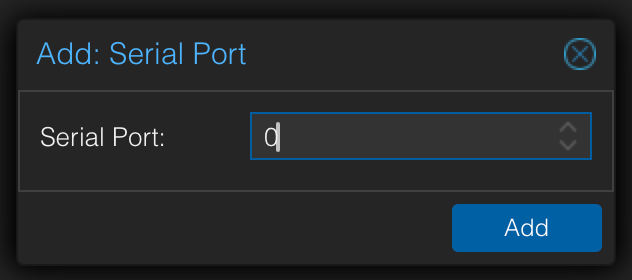
Go back the the Haredware tab and add a Serial Port
Now you can switch on the VM, click on the console button to watch everything unfolding.
once you have the login prompt, log in with nsrecover/nsroot default login password and run the following command :
networkconfig

----------------------------------------------------------------------------
NetScaler Console initial network configuration.
This menu allows you to set and modify the initial IPv4 network addresses.
The current value is displayed in brackets ([]).
Selecting the listed number allows the address to be changed.
----------------------------------------------------------------------------
      1. NetScaler Console Host Name [ns]:
      2. NetScaler Console IPv4 address []:
      3. Netmask []:
      4. Gateway IPv4 address []:
      5. DNS IPv4 Address []:
      6. Cancel and quit.
      7. Save and quit.

Select a menu item from 1 to 7 [7]:
Configure network settings to fit your needs at the end 7 save and quit the reboot
You should now be able to access the web interface of the appliance using the IP you provided above
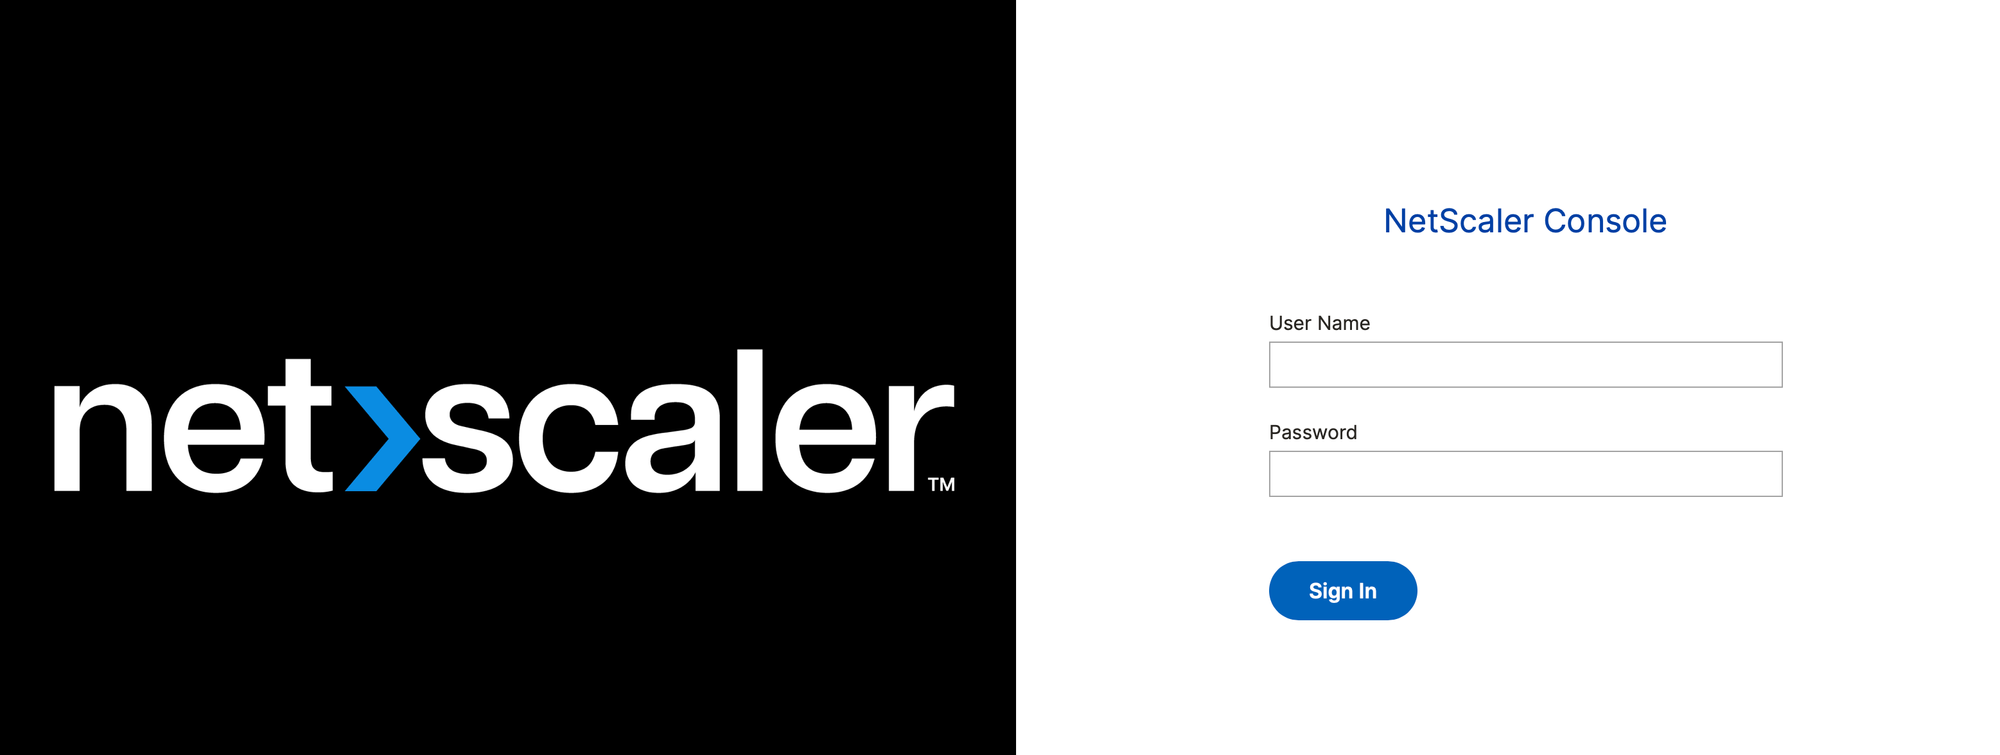
use nsroot/nsroot
Now you can and you should backup your Netscaler configurations, if you want to know how to do, follow this link :