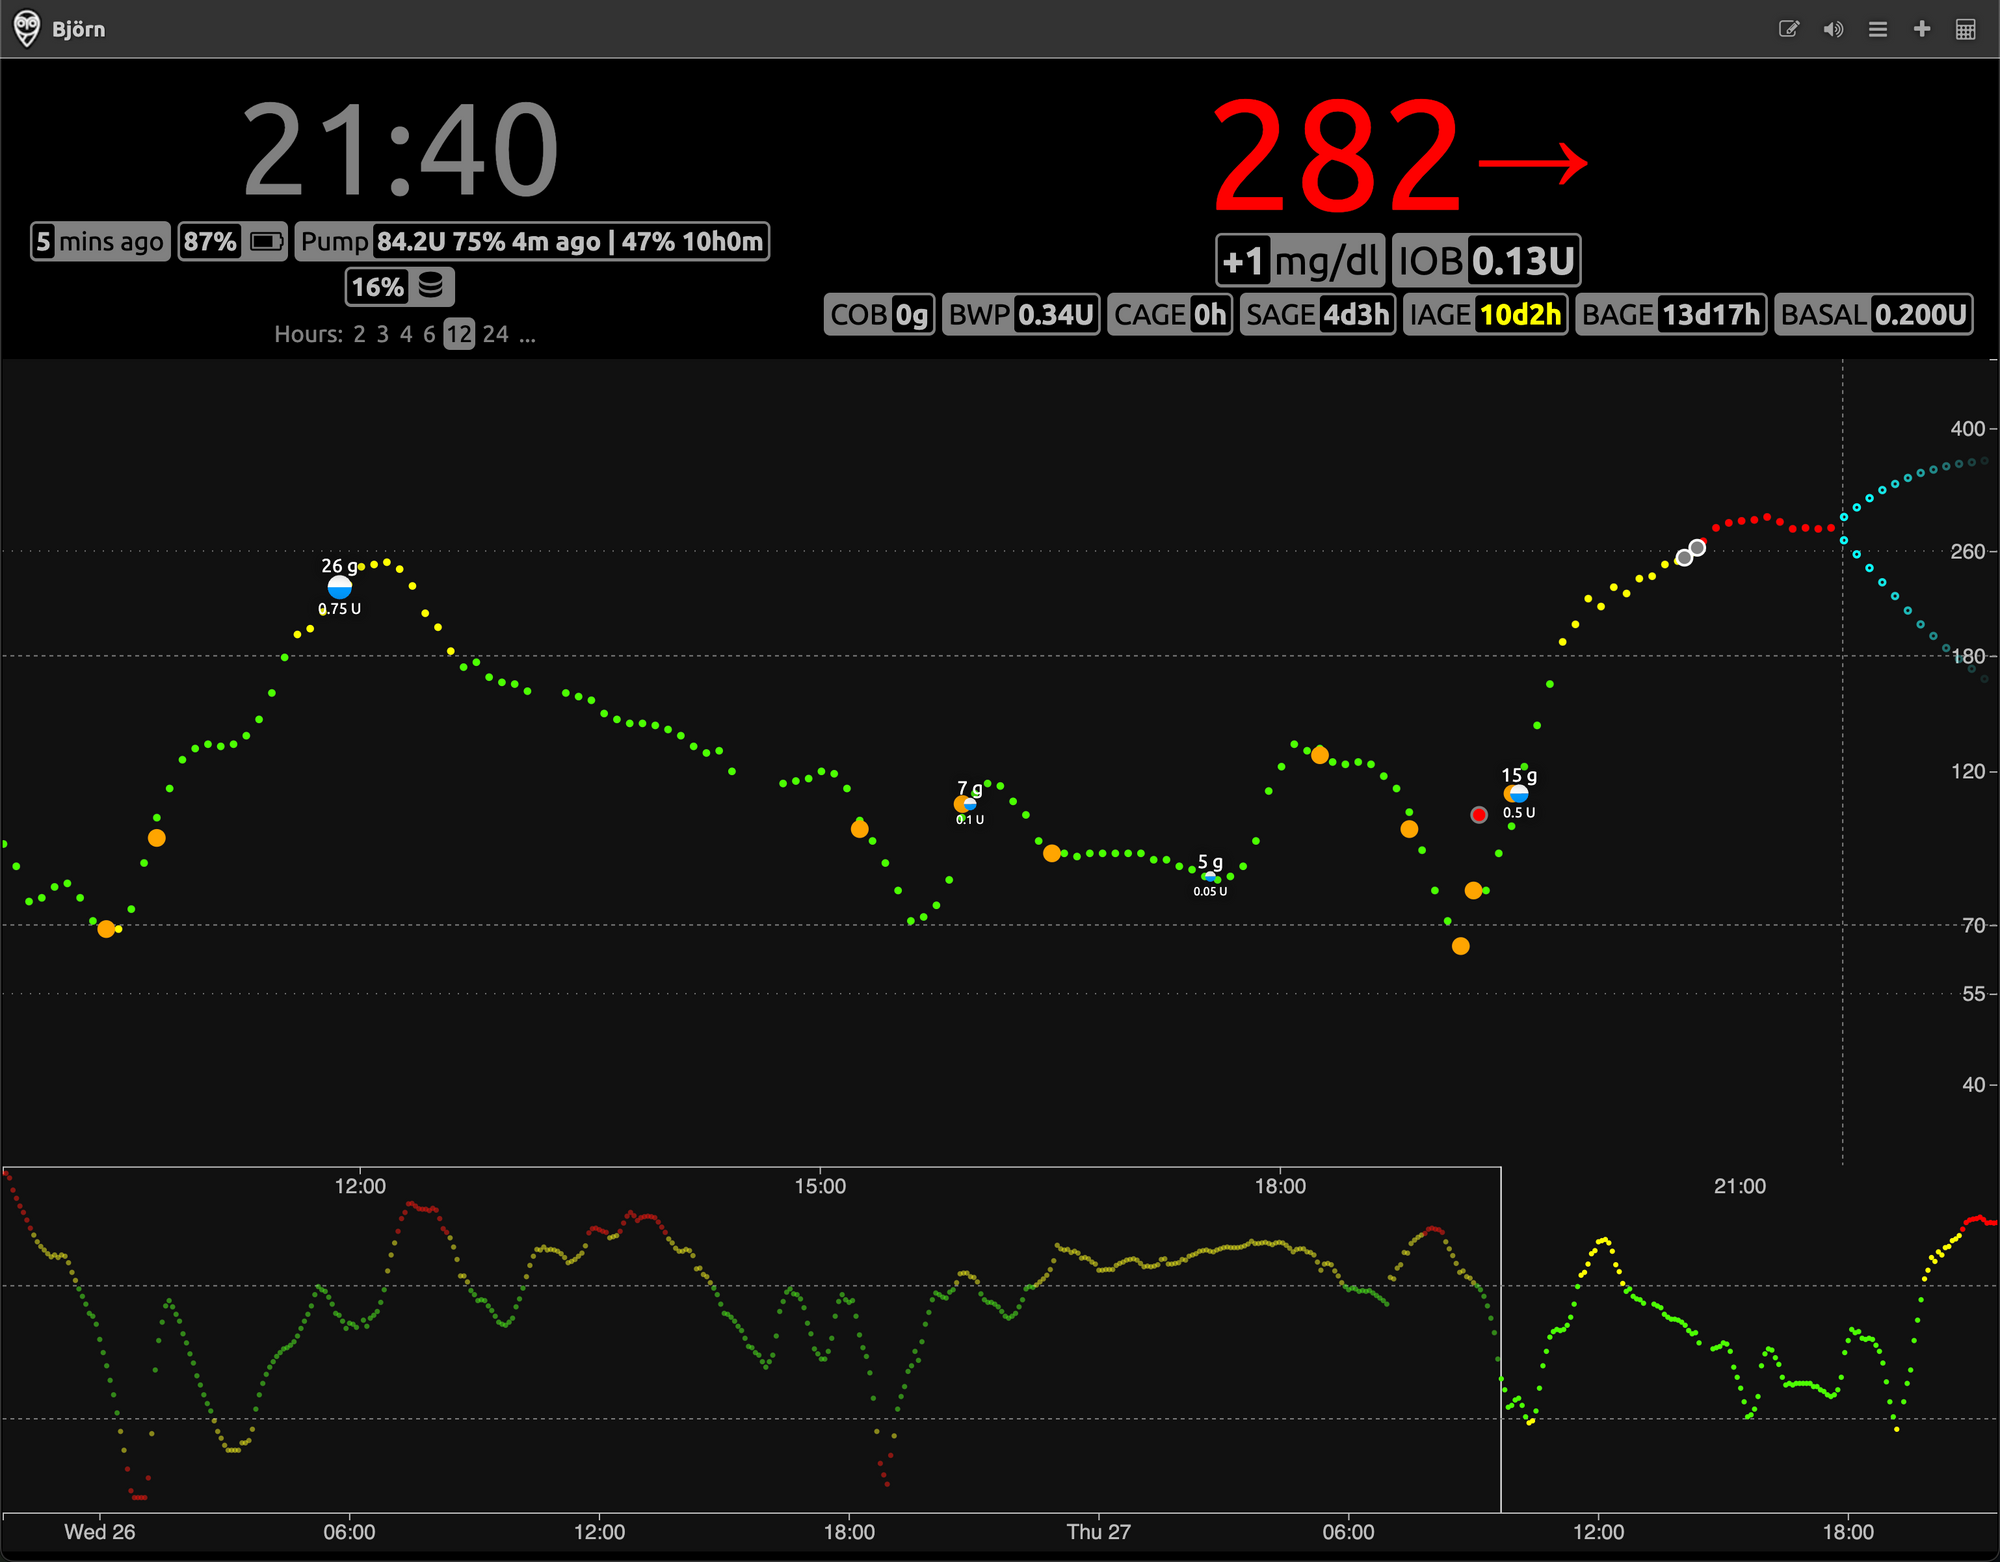
In this post I will explain how to secure and give an external access to your NightScout instance
You can find bellow the previous blog post to setup and configure a NightScout instance with docker-compose :

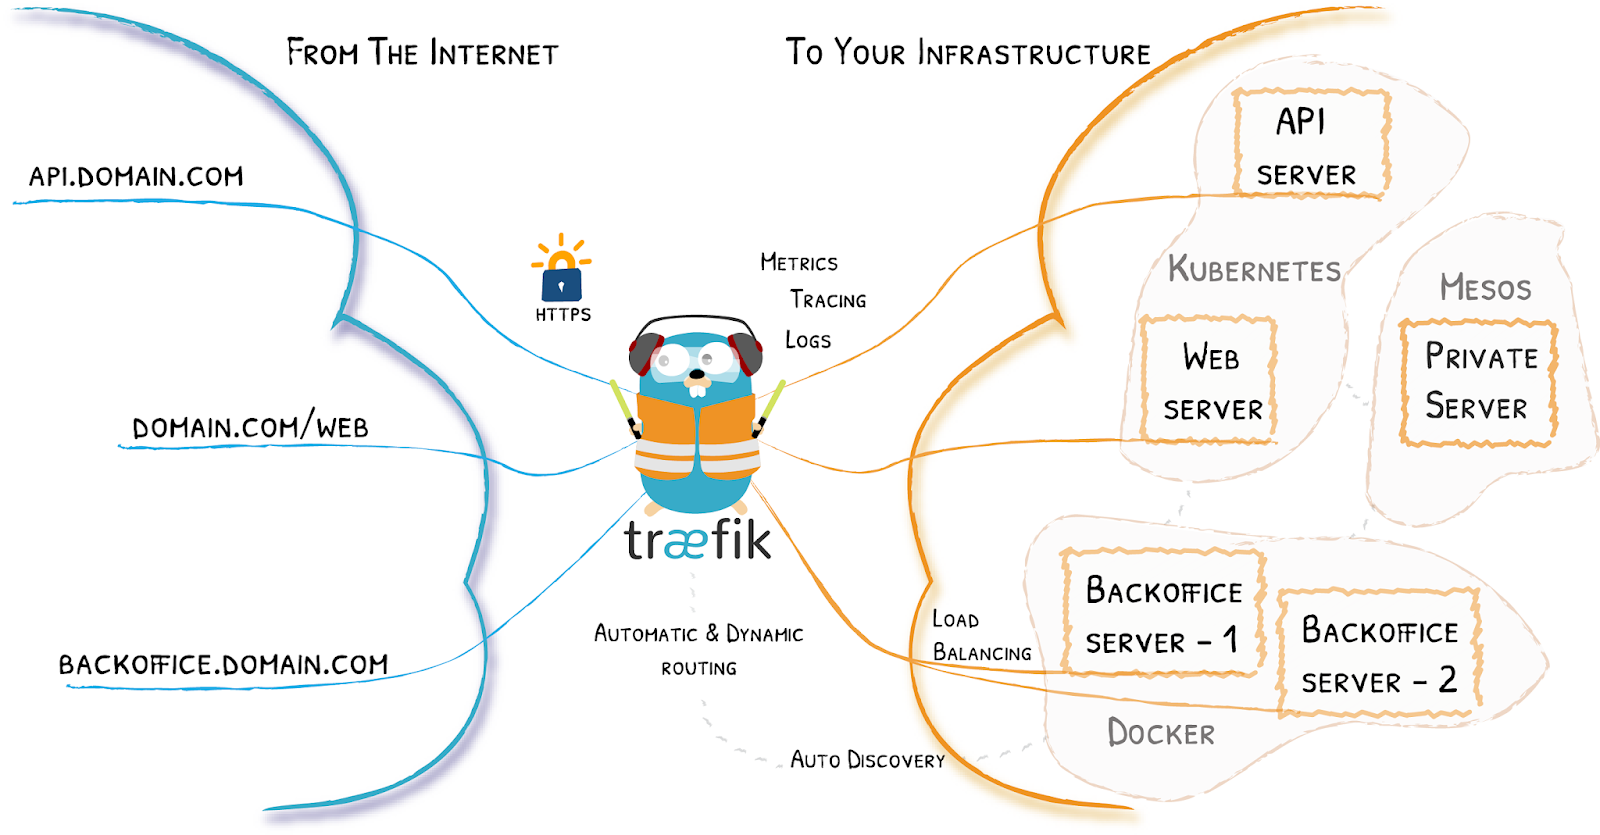
To make this Nightscout instance available from outside we will need some port translation and a proxy to avoid having in front on internet NightScout. I have add Traefik options in the docker-compose.yml file for just that. More info about Traefik here :

What you need :
Public domain name
Internal IP address of the machine where NighScout will be deployed
Your email address for let's encrypt certificate
Few passwords to secure the access to the NightScout instance
So here is the yml file :
version: '3'
services:
  mongo:
    image: mongo:latest
    volumes:
      - ${NS_MONGO_DATA_DIR:-./mongo-data}:/data/db:cached
  nightscout:
    image: nightscout/cgm-remote-monitor:latest
    container_name: nightscout
    restart: always
    depends_on:
      - mongo
    labels:
      - 'traefik.enable=true'
      # Change the below Host from `localhost` to be the web address where Nightscout is running.
      # Also change the email address in the `traefik` service below.
      - 'traefik.http.routers.nightscout.rule=Host(`localhost`)'
      - 'traefik.http.routers.nightscout.entrypoints=websecure'
      - 'traefik.http.routers.nightscout.tls.certresolver=le'
    environment:
      ### Variables for the container
      NODE_ENV: production
      TZ: Europe/Paris

      ### Overridden variables for Docker Compose setup
      # The `nightscout` service can use HTTP, because we use `traefik` to serve the HTTPS
      # and manage TLS certificates
      INSECURE_USE_HTTP: 'true'

      # For all other settings, please refer to the Environment section of the README
      ### Required variables
      # MONGO_CONNECTION - The connection string for your Mongo database.
      # Something like mongodb://sally:sallypass@ds099999.mongolab.com:99999/nightscout
      # The default connects to the `mongo` included in this docker-compose file.
      # If you change it, you probably also want to comment out the entire `mongo` service block
      # and `depends_on` block above.
      MONGO_CONNECTION: mongodb://mongo:27017/nightscout
      # API_SECRET - A secret passphrase that must be at least 12 characters long.
      API_SECRET: ultrasecretpassword_tochange

      ### Features
      # ENABLE - Used to enable optional features, expects a space delimited list, such as: careportal rawbg iob
      # See https://github.com/nightscout/cgm-remote-monitor#plugins for details
      ENABLE: basal dbsize rawbg iob maker cob bwp cage iage sage boluscalc pushover treatmentnotify loop pump profile food openaps bage override cors

      # AUTH_DEFAULT_ROLES (readable) - possible values readable, denied, or any valid role name.
      # When readable, anyone can view Nightscout without a token. Setting it to denied will require
      # a token from every visit, using status-only will enable api-secret based login.
      AUTH_DEFAULT_ROLES: denied

      # For all other settings, please refer to the Environment section of the README
      # https://github.com/nightscout/cgm-remote-monitor#environment

  traefik:
    image: traefik:latest
    container_name: 'traefik'
    command:
      - '--providers.docker=true'
      - '--providers.docker.exposedbydefault=false'
      - '--entrypoints.web.address=:80'
      - '--entrypoints.web.http.redirections.entrypoint.to=websecure'
      - '--entrypoints.websecure.address=:443'
      - "--certificatesresolvers.le.acme.httpchallenge=true"
      - "--certificatesresolvers.le.acme.httpchallenge.entrypoint=web"
      - '--certificatesresolvers.le.acme.storage=/letsencrypt/acme.json'
      # Change the below to match your email address
      - '--certificatesresolvers.le.acme.email=changeme@change.org'
    ports:
      - '443:443'
      - '80:80'
    volumes:
      - './letsencrypt:/letsencrypt'
      - '/var/run/docker.sock:/var/run/docker.sock:ro'
To deploy the container just run
mkdir NightScout
cd NighScout
Nano docker-compose.yml (paste the below informations)
docker-compose uo -d
This will allow to expose 443 port (SSL) instead of the 1337 default NightScout port, which will be more secure :


Then on your internet provider router interface, just forward the port 443 to the ip of the NightScout instance internal IP address.

You can now try to access your NightScout interface by using the public domain name url you set in the yml file.
if you're having trouble to access it, try to change in your host file the public domain name with the internal IP address and make sure it's working. If it's not working it means your deployment have some issue. You should delete all the containers, all the directories and deploy it again.


