In a previous blog (https://www.archy.net/cloud-yes-but-no-thanks-there-is-some-citrix/) I described how I manage to find a solution and try to get more sleep having a baby with Diabetes Type 1. The goal was to have some kind of remote monitoring with alerting and self hosted.
In a second time I had to find a solution to allow remote monitoring while my son was at the daycare so the ladies could have a small display to check his glucose level without having to check his insuline pump.
This will be a serie of 2 blogs, this first one to setup, deploy a Nightscout container and to connect the insuline pump to Nighscout, the second one will be to secure the Nightscout instance and give access from outside to be able to monitor outside of home, making database backups as well. There will maybe be a 3rd one about other tools that can be used to display the data like grafana :
I will describe in this post an easiest way to set up a NighScout instance on a Raspberry Pi for example. I will use Ubuntu 22.04, you can install it on Raspberry as well. The installation will be done using container technology Docker.
First we need to make sure everything is up to date, i use a server install of Ubuntu with ssh server, no need a desktop here.
sudo apt update && sudo apt upgradeThen we need to install docker binaries and pre requisites
sudo apt install -y \
    apt-transport-https \
    ca-certificates \
    curl \
    gnupg-agent \
    software-properties-common
curl -fsSL https://download.docker.com/linux/debian/gpg | sudo apt-key add -sudo add-apt-repository \
"deb [arch=amd64] https://download.docker.com/linux/debian \
$(lsb_release -cs) stable"sudo apt update
sudo apt install -y docker docker-compose containerd
sudo docker run hello-worldit should display this Hello worl from Docker :
Unable to find image 'hello-world:latest' locally
latest: Pulling from library/hello-world
719385e32844: Pull complete
Digest: sha256:926fac19d22aa2d60f1a276b66a20eb765fbeea2db5dbdaafeb456ad8ce81598
Status: Downloaded newer image for hello-world:latest

Hello from Docker!
This message shows that your installation appears to be working correctly.

To generate this message, Docker took the following steps:
 1. The Docker client contacted the Docker daemon.
 2. The Docker daemon pulled the "hello-world" image from the Docker Hub.
    (amd64)
 3. The Docker daemon created a new container from that image which runs the
    executable that produces the output you are currently reading.
 4. The Docker daemon streamed that output to the Docker client, which sent it
    to your terminal.

To try something more ambitious, you can run an Ubuntu container with:
 $ docker run -it ubuntu bash

Share images, automate workflows, and more with a free Docker ID:
 https://hub.docker.com/

For more examples and ideas, visit:
 https://docs.docker.com/get-started/
Adding your current user to run docker and docker-compose
sudo usermod -aG docker $USER
newgrp docker
And then try it by running the following command
docker run hello-worldIt should display the Hello World from Docker, same as before, it means everything works as intended
Next we need to create a docker-compose.yml file where all the information we will need will be written
Create a directory to keep your container somewhat organised
mkdir Nightscout
cd Nighscout
Now create a file named docker-compose.yml
nano docker-compose.ymland paste it this code, you will need to adapt it a little bit to secure it and use your own password where you can read {{** CHANGE ME **}}
I added a mosquitto client to send information into my mosquitto broker so I can automate some alert like sending sms, vocal message over google home speaker for example.
broker:
  image: 'prologic/mosquitto:latest'
  ports:
    - '1883:1883'
database:
  image: 'tutum/mongodb:latest'
  environment:
    - MONGODB_PASS={{** CHANGE ME **}}

# Uncomment if you want to expose the MongoDB port directly
# If you're using the API interface (highly recommended) then you can
# safely leave this commented out
#  ports:
#    - '27017:27017'

nightscout:
  image: 'nightscout/cgm-remote-monitor-development:latest'
  environment:
    - API_SECRET={{** CHANGE ME **}}
    - 'MONGO_CONNECTION=mongodb://admin:{{** CHANGE ME **}}@database/admin'
    - 'MQTT_MONITOR=mqtt://{{** CHANGE ME **}}@broker'
    - PORT=1337
  links:
    - broker
    - database
  ports:
    - '1337:1337'
now you can fire it up by running this command line
docker-compose up -dafter few seconds (it takes some times) youn should see this :

if you want to make sure container is running, you can run this command :
docker-compose pswhich will give you something like that :

Now you can access your new Nightscout instance using the url with the IP of the device you chose to install it on and authenticate with the api sectre your entered ealier in the docker-compose.yml file
http://your_ip:1337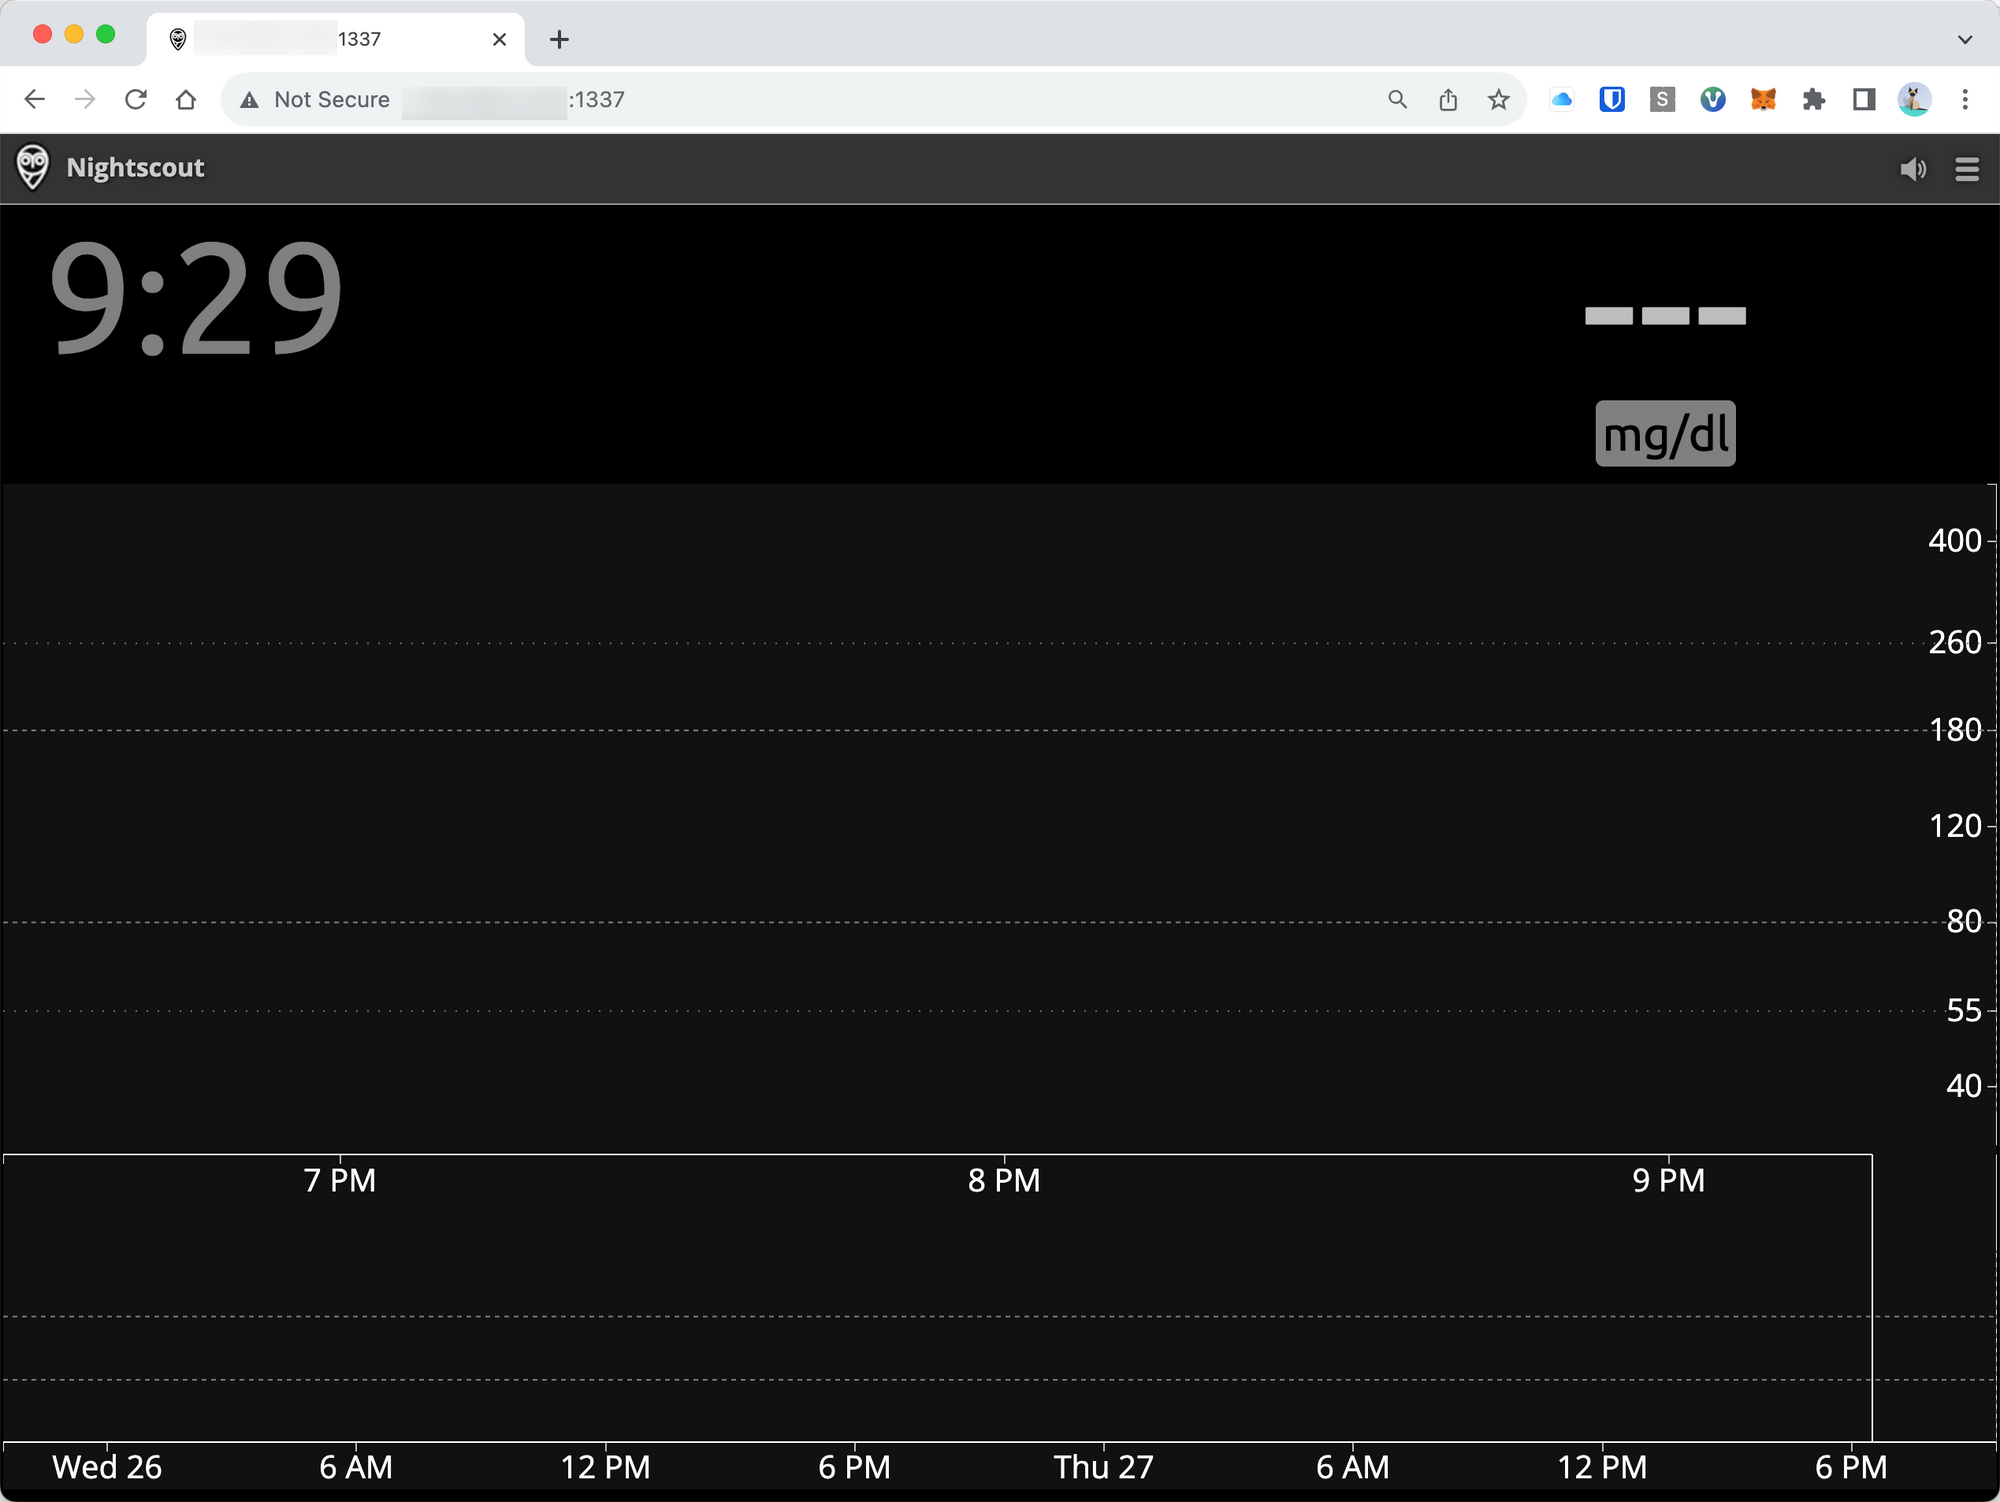
This is empty. Now we need to allow the insuline pump to send data to Nightscout. My son have a Medtronic 640G with a Medtronic Contour Next 2.4 (USB) and one Enlite sensor for continuous glycemic monitoring. (Bluetooth)
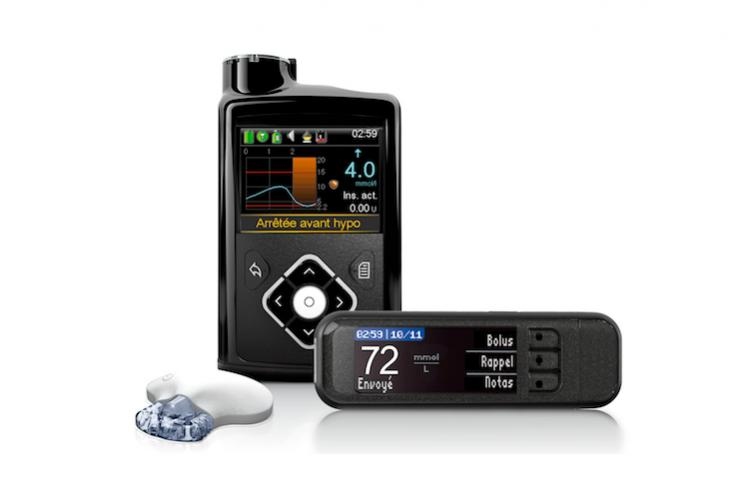
This model doesn't support and doesn't allow to connect directly to a phone / remote device beside the Medtronic Contour Next 2.4 (USB) which we use to upload data to private corporate company website used by doctors.
The goal will be to use this usb device to poll the data from the pump every 5 mins or so, as iyt's done using bluetooth my son needs to stay around this usb device. The range may vary with numbers and wall thickness.
In the first blog i posted I used another Raspberry Pi to plug this device that become an uploader. One guy wrote a software that does all the work, the only downside of it is it's running only on android OS. (the reason why I installed LineageOS)
Now I changed this device with a regular Android Phone (Samsung Galaxy A21) with just required to have a 5g sim card and a USB-C to USB (female) adaptator which will give us the mobility we were looking for.
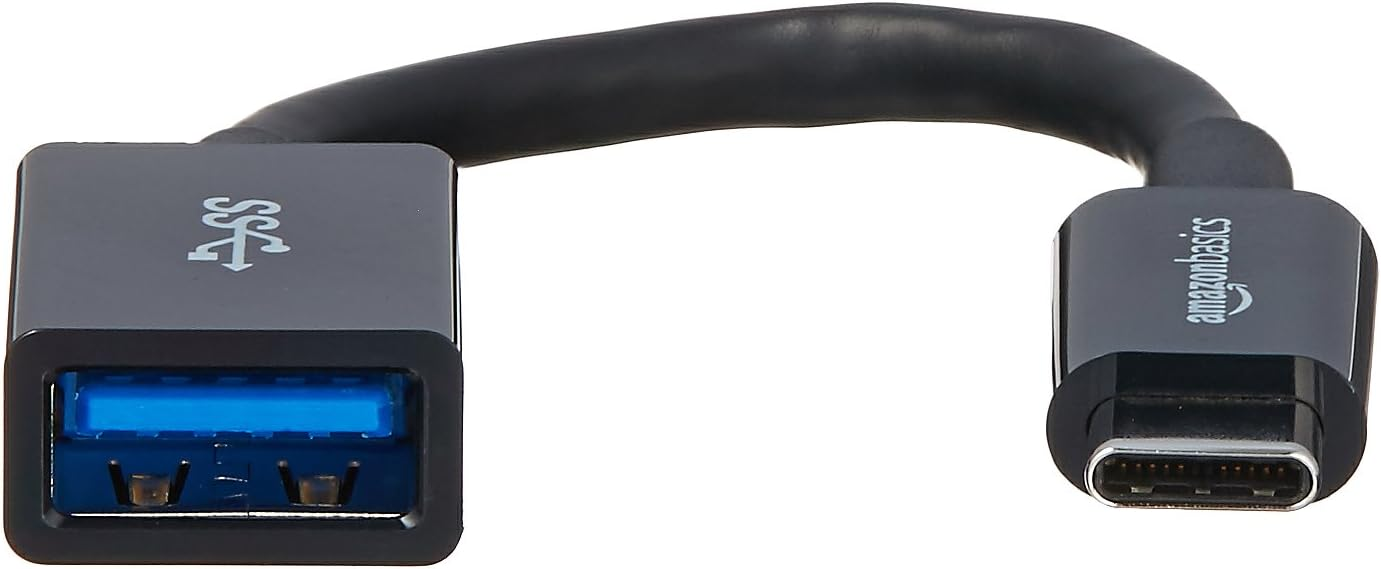
You can find one here : https://amzn.eu/d/hxTJ8ye
The uploader software 600SeriesAndroidUploader can be find here : https://github.com/pazaan/600SeriesAndroidUploader/wiki it's an APK application you will need to download and install on the phone.
To configure the uploader you can read the follwing guide :
 pazaan
I copy here as well for reference :
Configuring the app
- Open the app icon, read the pop-up Disclaimer notice carefully - and accept it if you want to continue
- Select the
Preferencesmenu
Note - depending on your Android device, 'Preferences' may be accessed either via an on-screen button (e.g. three dots in the action bar at the top of the screen, or elsewhere) or your device may have a physical button – usually the same button as settings
- Select the BG units you want to use - mg/dl or mmol/l
- Set the
REST API Uploadoption toon - For release 0.2.x and above
- Set the
Nightscout URLtohttps://your.nightscout.site/ - Set the
API Secretto the same setting as used in your Nightscout website - For release 0.1.x
- Set the
API BASE URLtoyourapisecret@https://your.nightscout.site/api/v1/ - Set 'Wifi hack' to off
Click the Back Arrow to return to the app's main screen
- Plug in your Contour Next Link 2.4 to your Android device using the USB OTG cable
- Select the
Register USB Stickmenu option
- Follow the on-screen instructions
- Return to the main screen, and press the
Get Nowbutton
- You should see a status message in the log area below the buttons, and the top section should update with status information from your pump
- Your numbers should arrive on your Nightscout website within a few minutes.
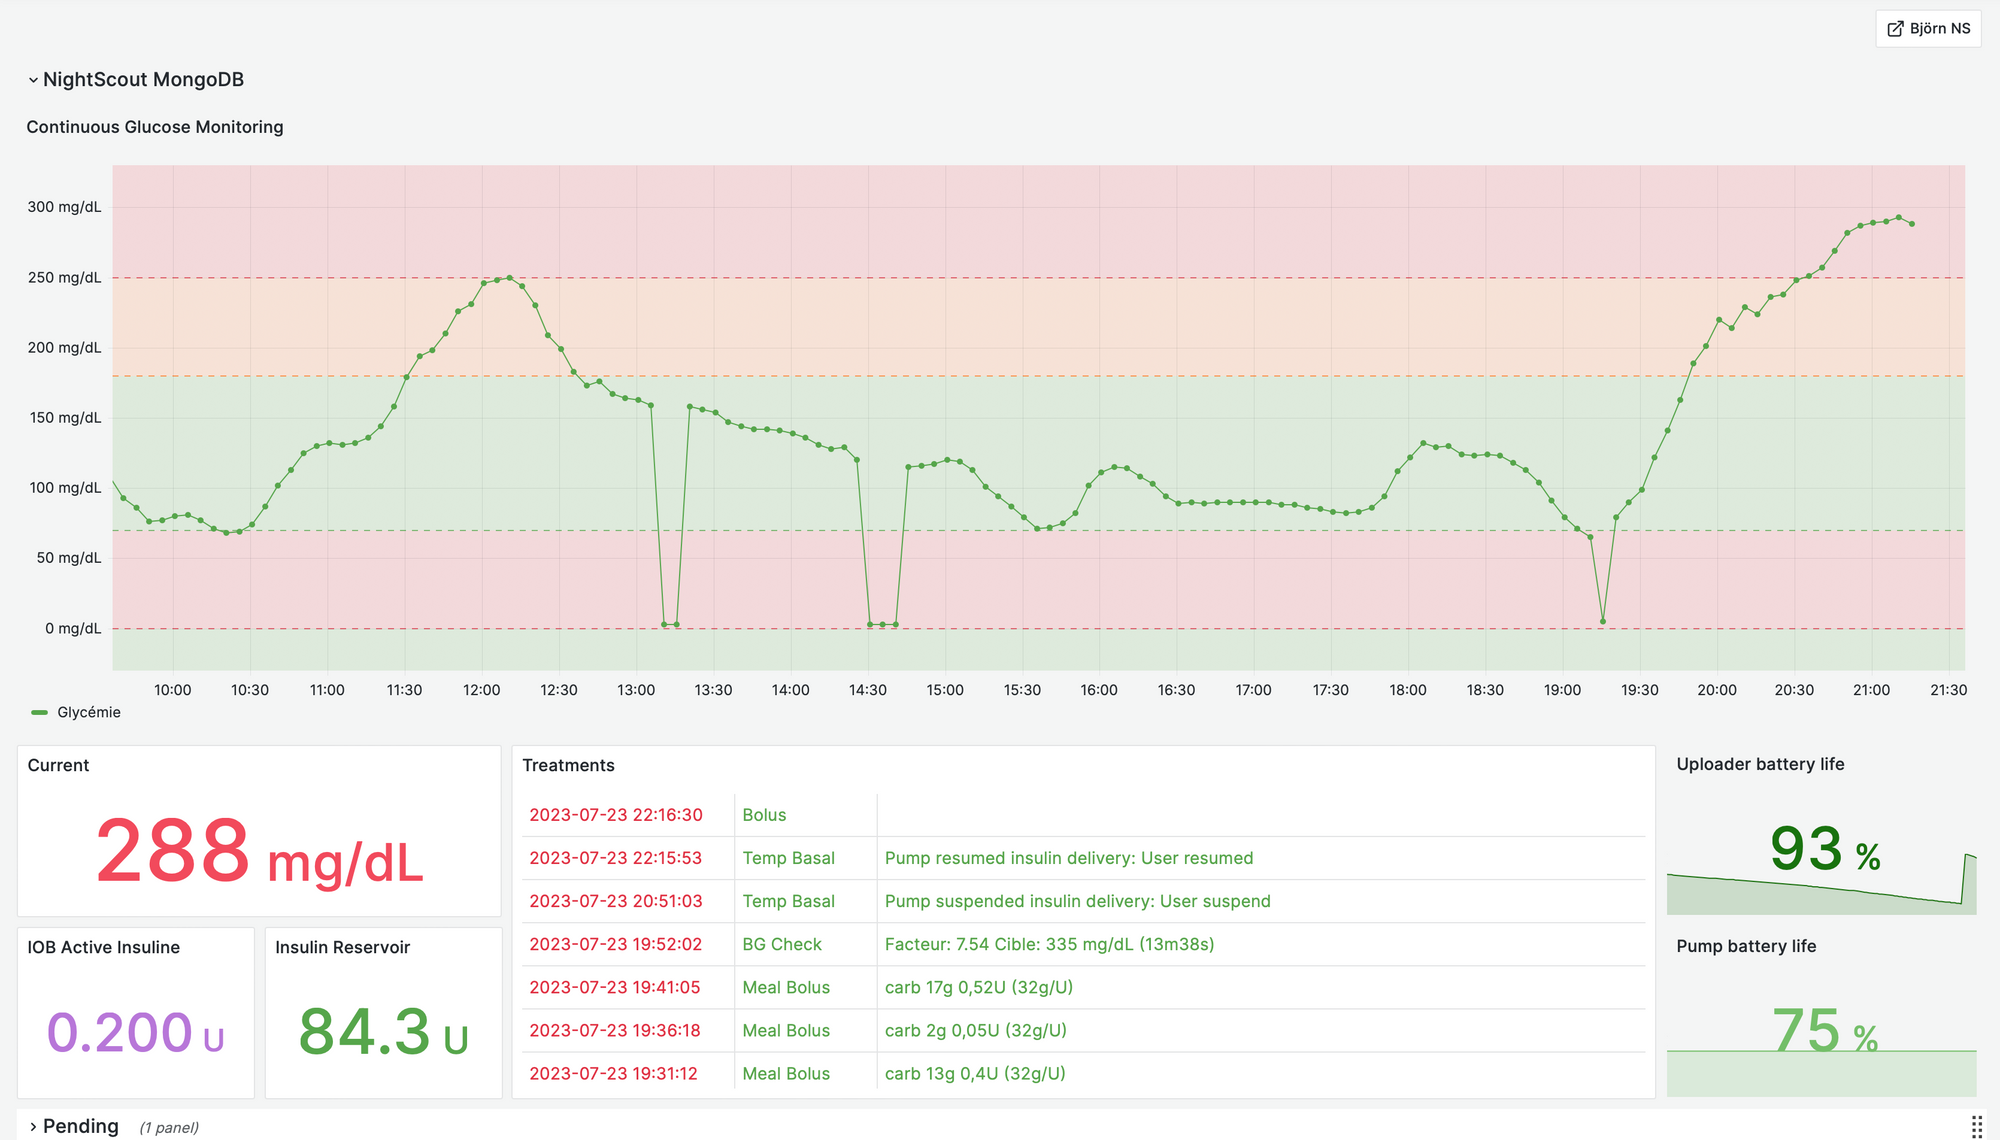
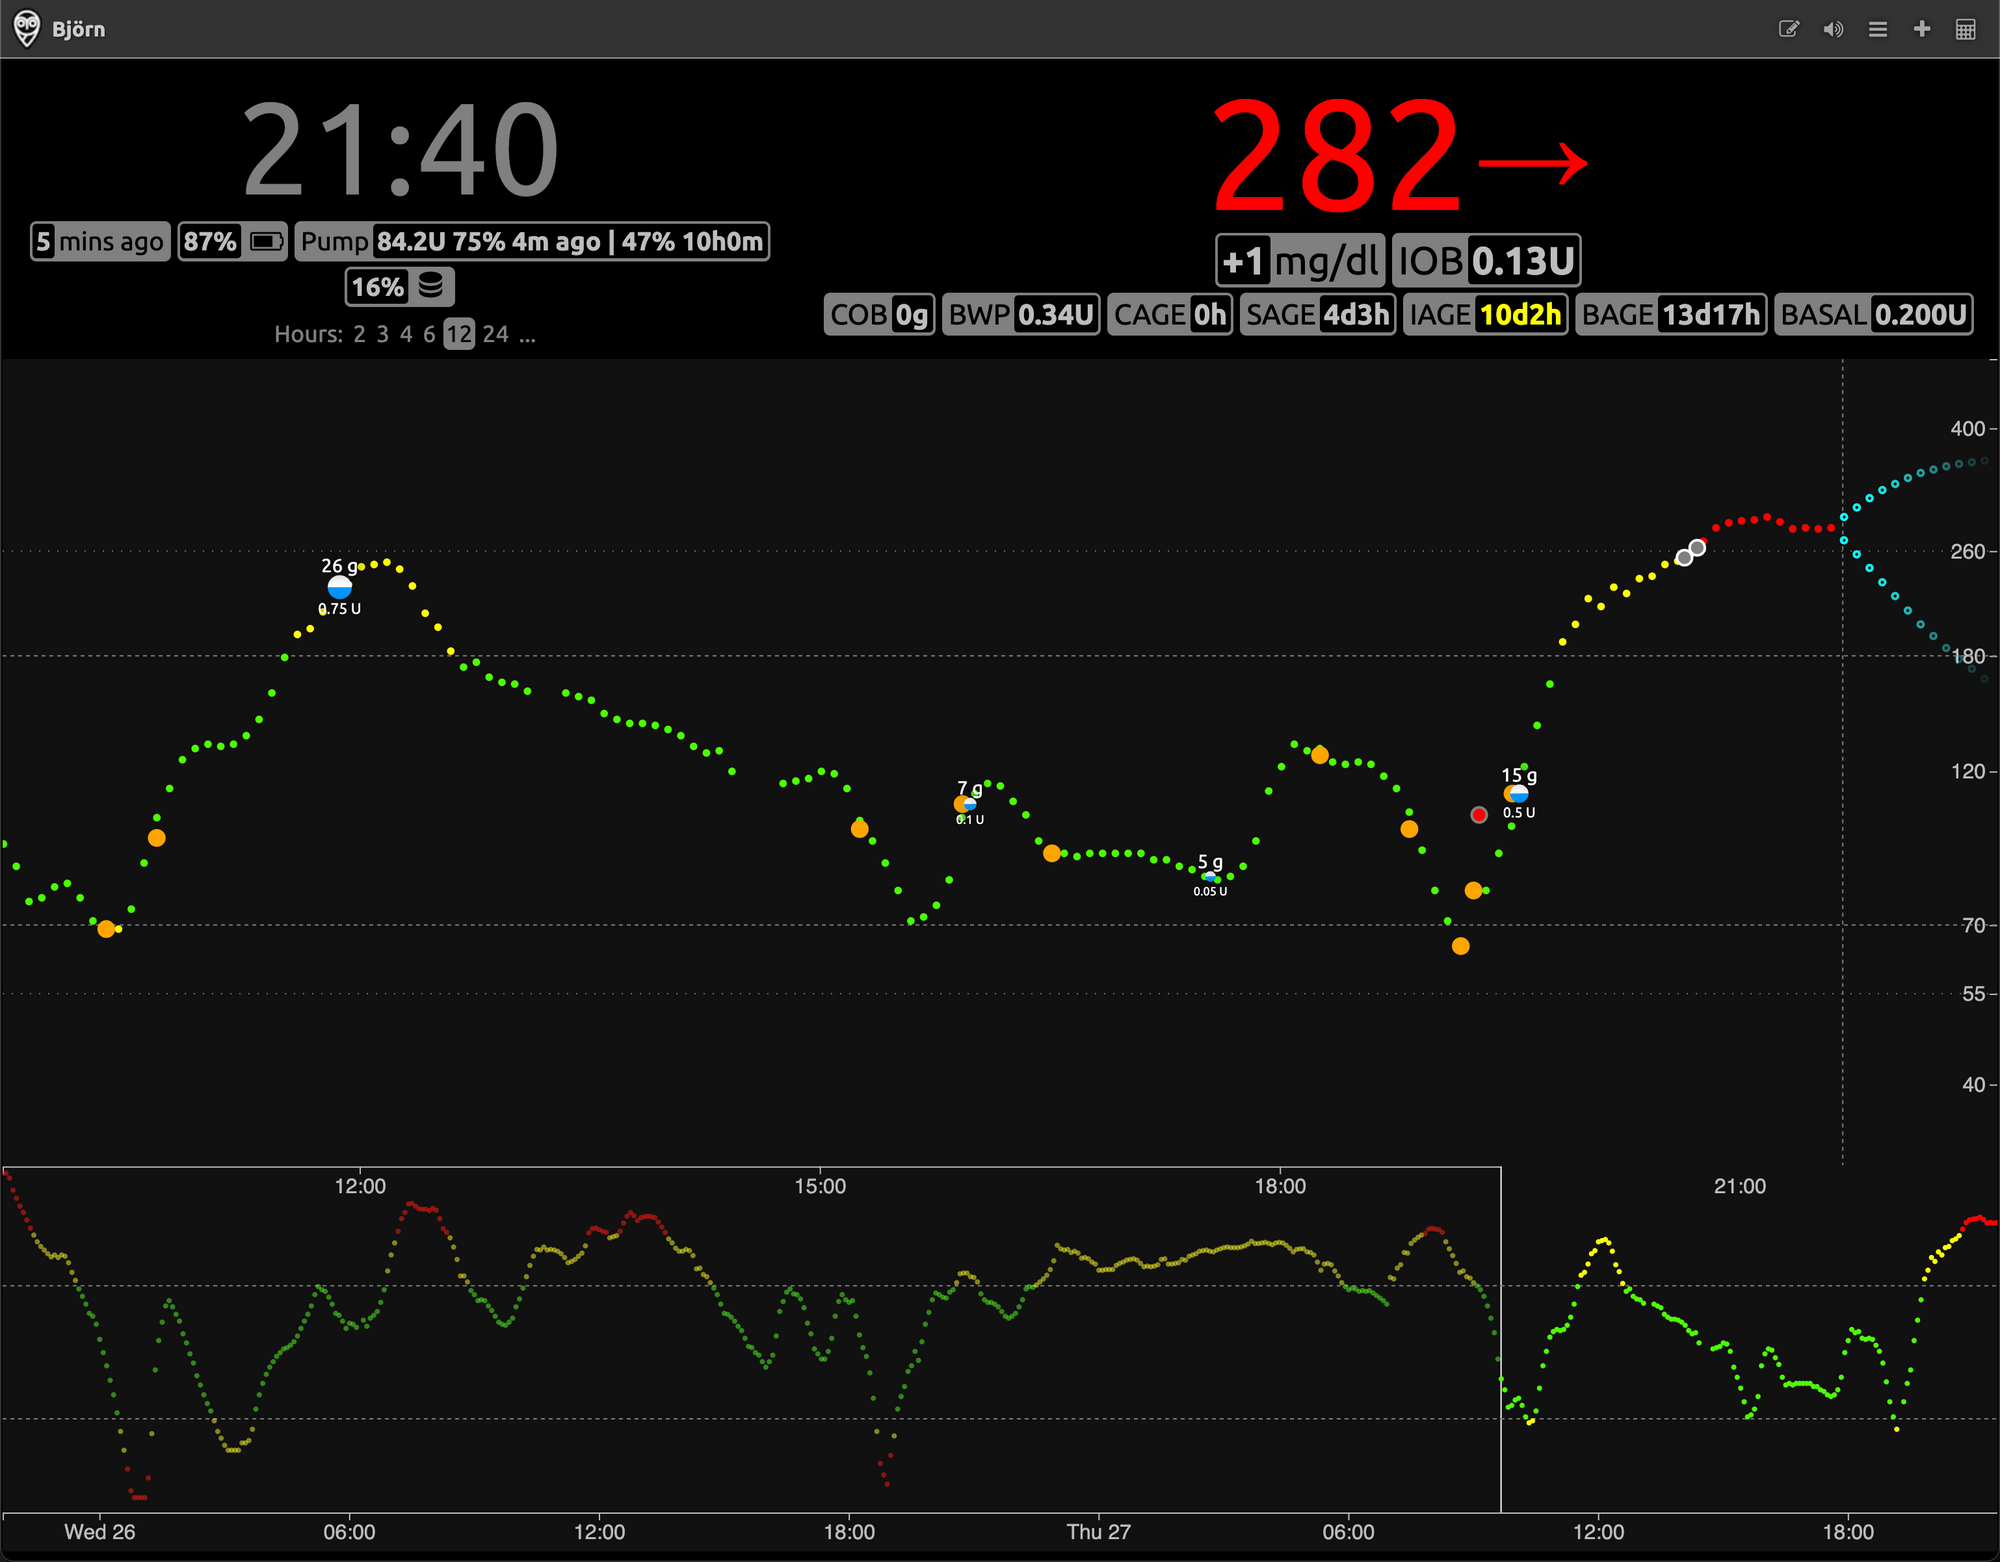
On your Nightscout URL you now must use your private IP adress as we didn't configure anything to access it from outside your network. Never the less you should be able to see some data coming in after few minutes :
if you have any questions or comments, feel free to reach me.
Next step :