Context
This document describes how to migrate farm ADFS install in Windows 2016 server operating system to Windows 2019 server operating system.
Environment
ADFS Farm
- The ADFS farm is composed by:
- Two ADFS servers:
- ADFS01
- ADFS02
- One server WAP
- One MS SQL server 2016
- Two ADFS servers:
Requirements
To realize these operations, we need to have an account with enterprise admin privileges. Ensure ADFS service account has the administrative permissions on the SQL server and each server in the ADFS farm.We recommend to backup your environment with the official Microsoft tools before start this migration. Minimum 20 Go free space on system drive.
Migration plan
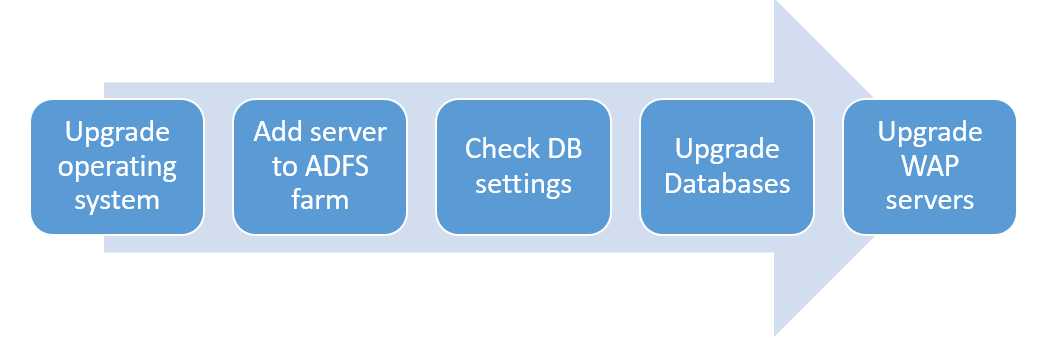
Upgrade operating system
In this first step, we upgrade operating system with upgrade in place mode. In this mode we just upgrade the operating system in place with new operating system server.
| Comments | Captures |
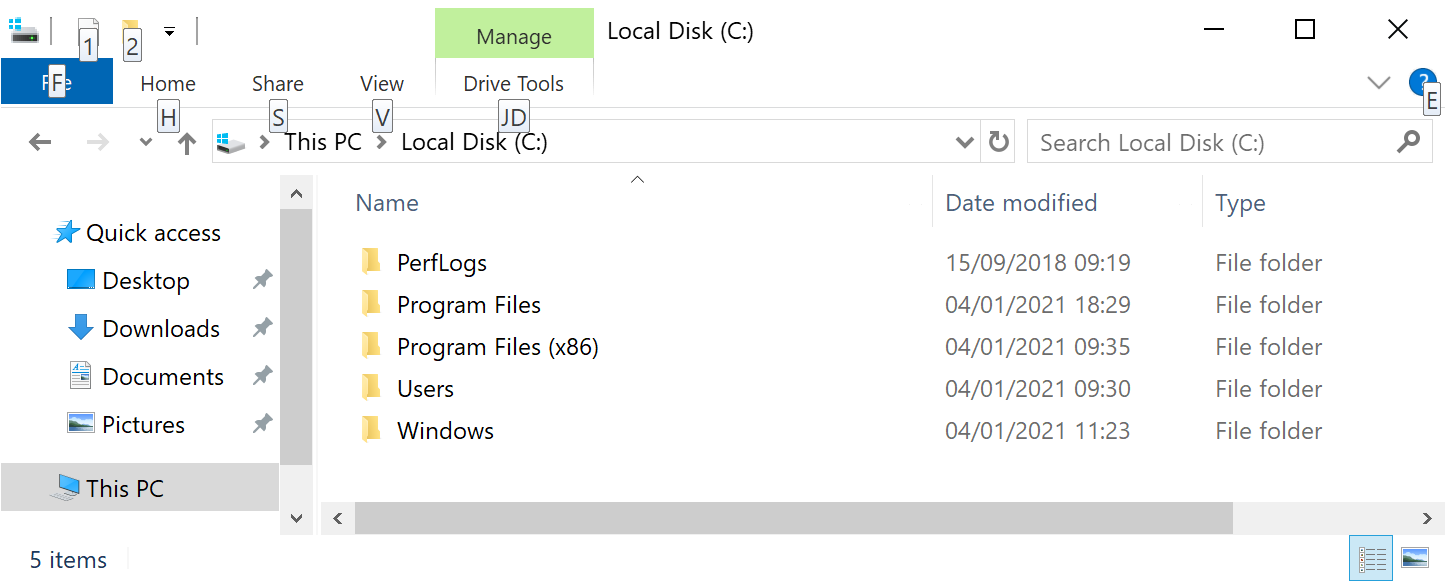
| Insert DVD of Windows server 2019 in the drive of the server | 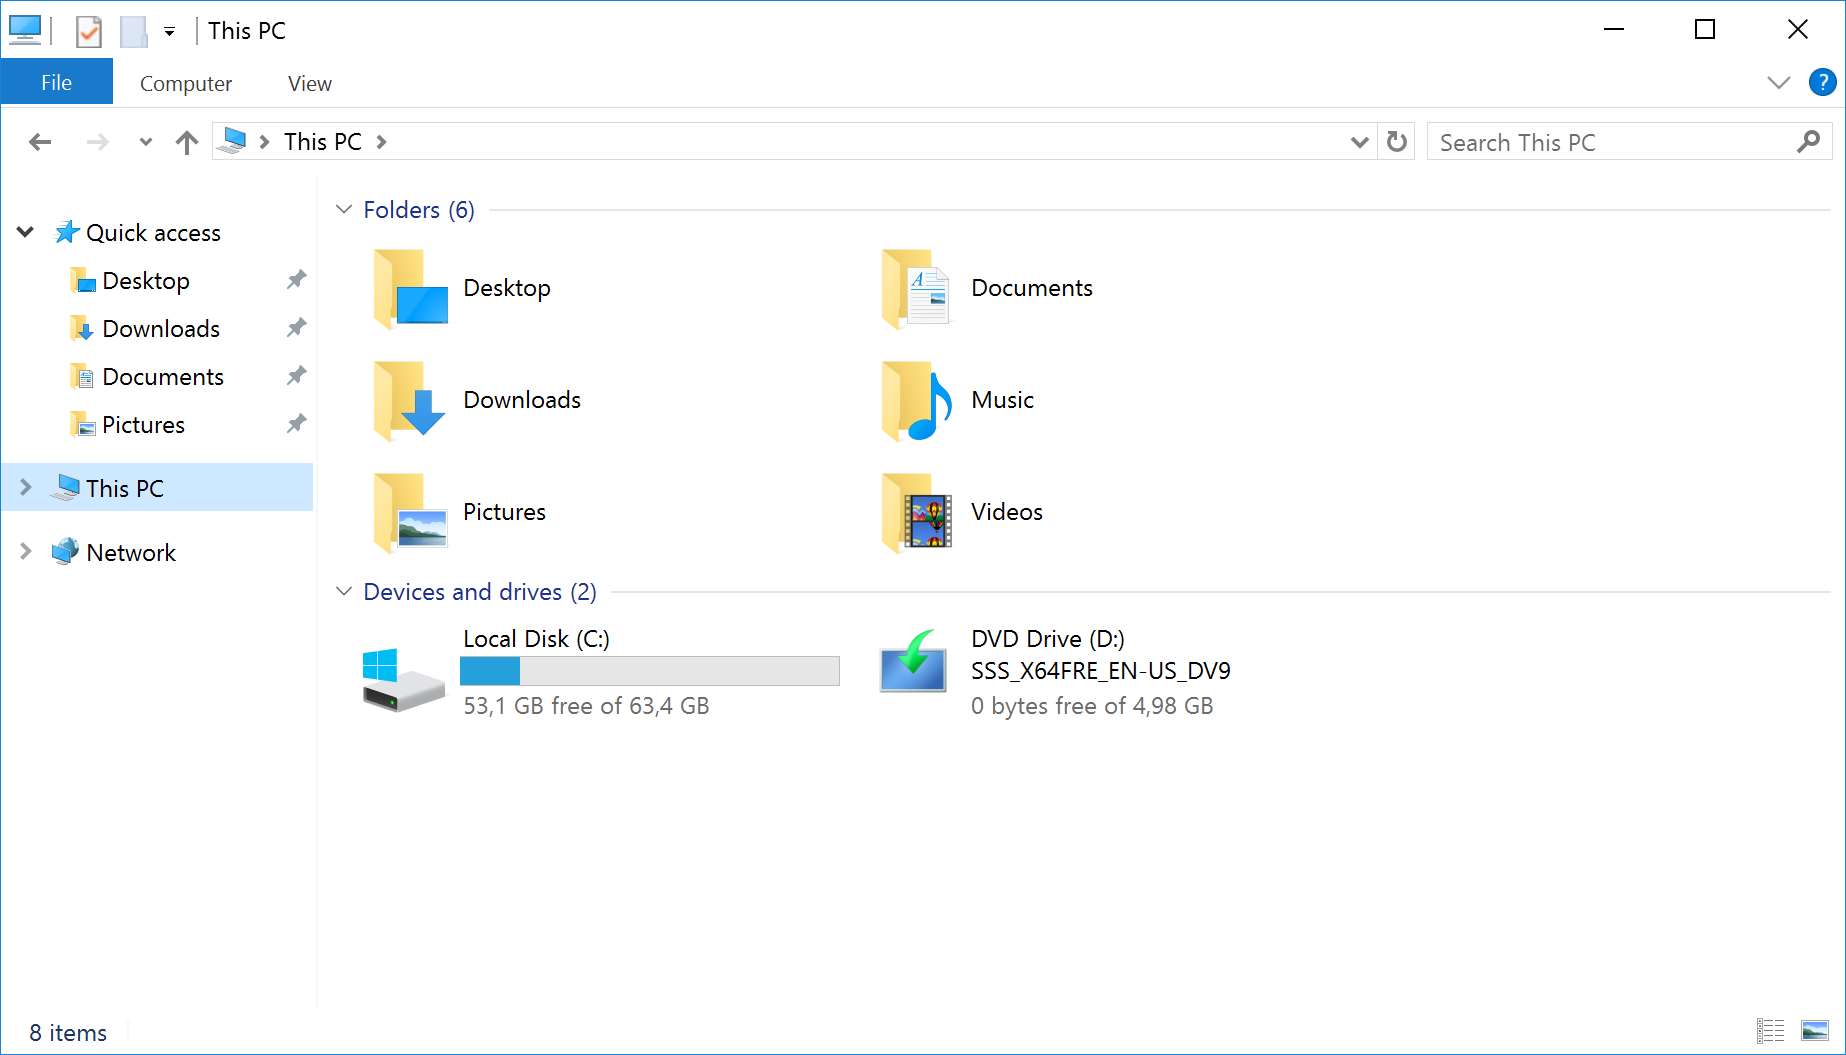 |
| Double click on DVD drive to explore the content | 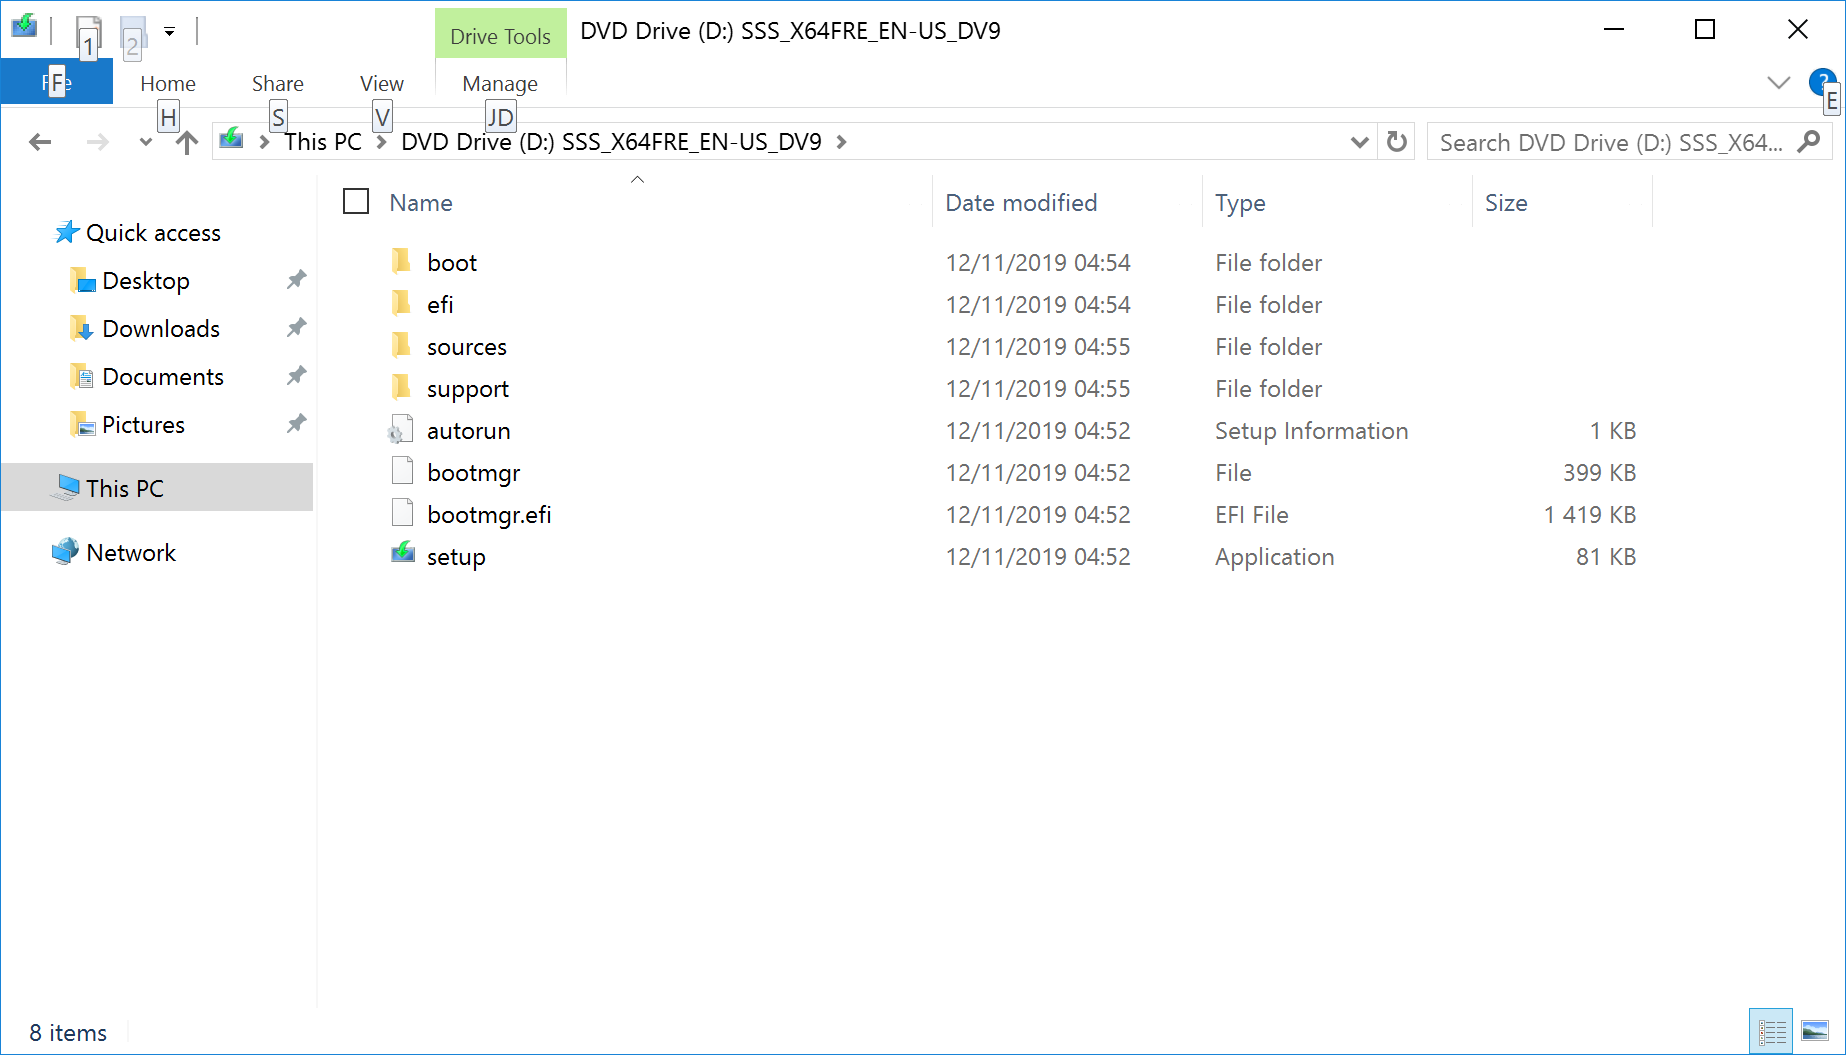 |
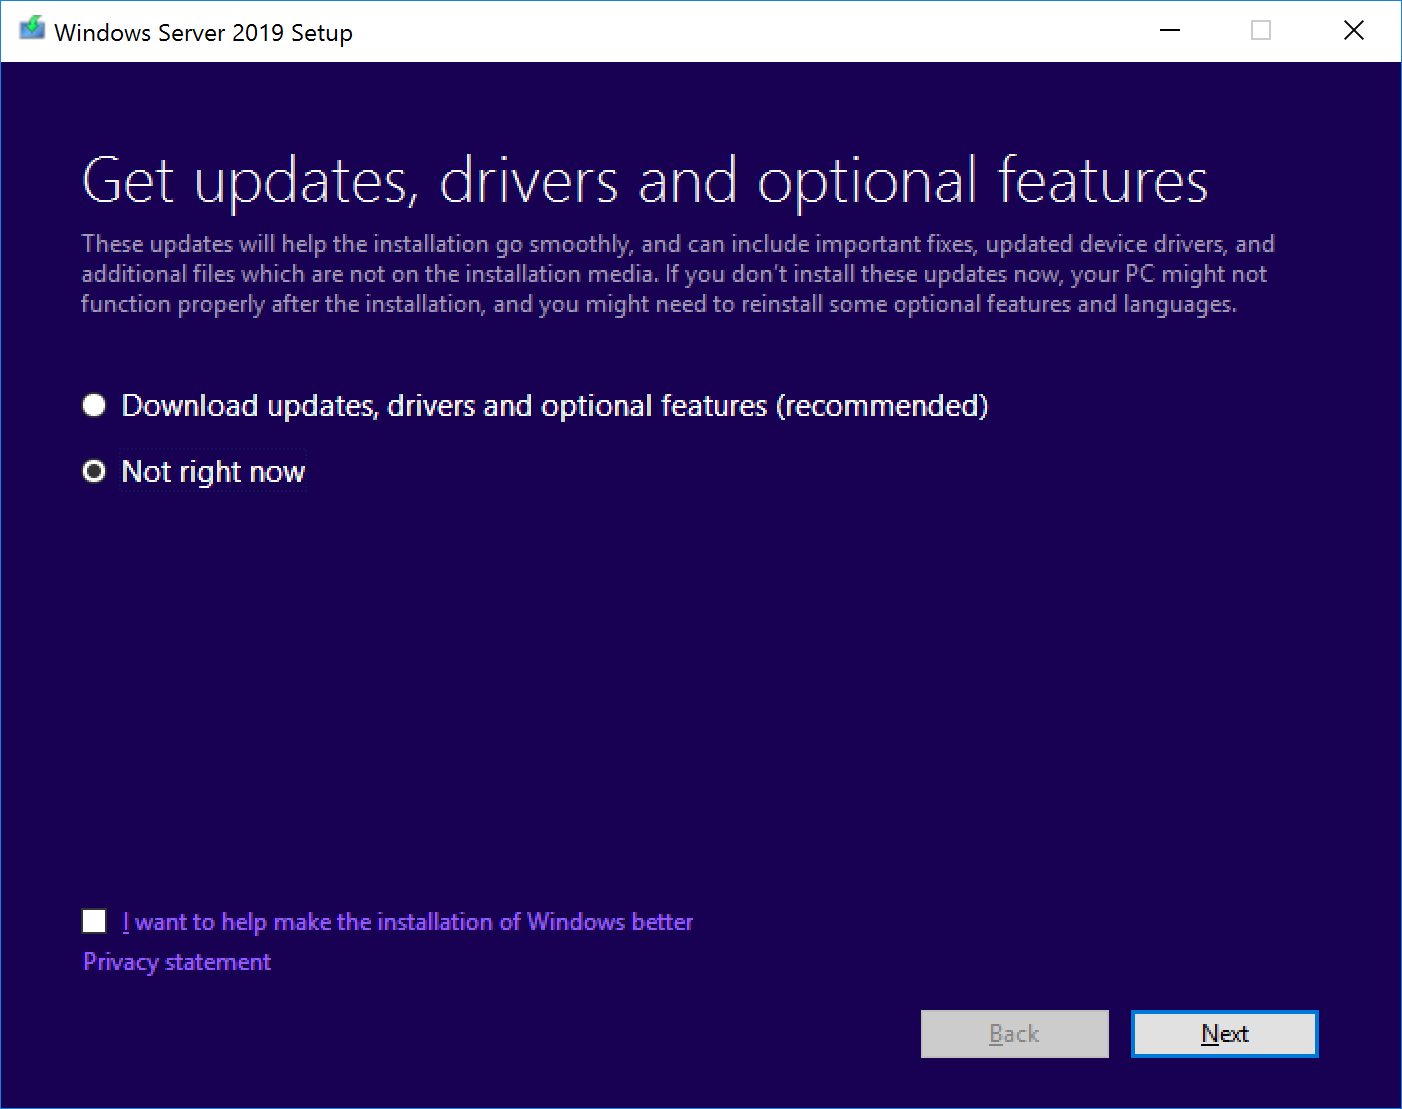
| Double click on setupe.exe file to launch upgrade
Select in the panel “Not right now” Click on “Next” button |
 |
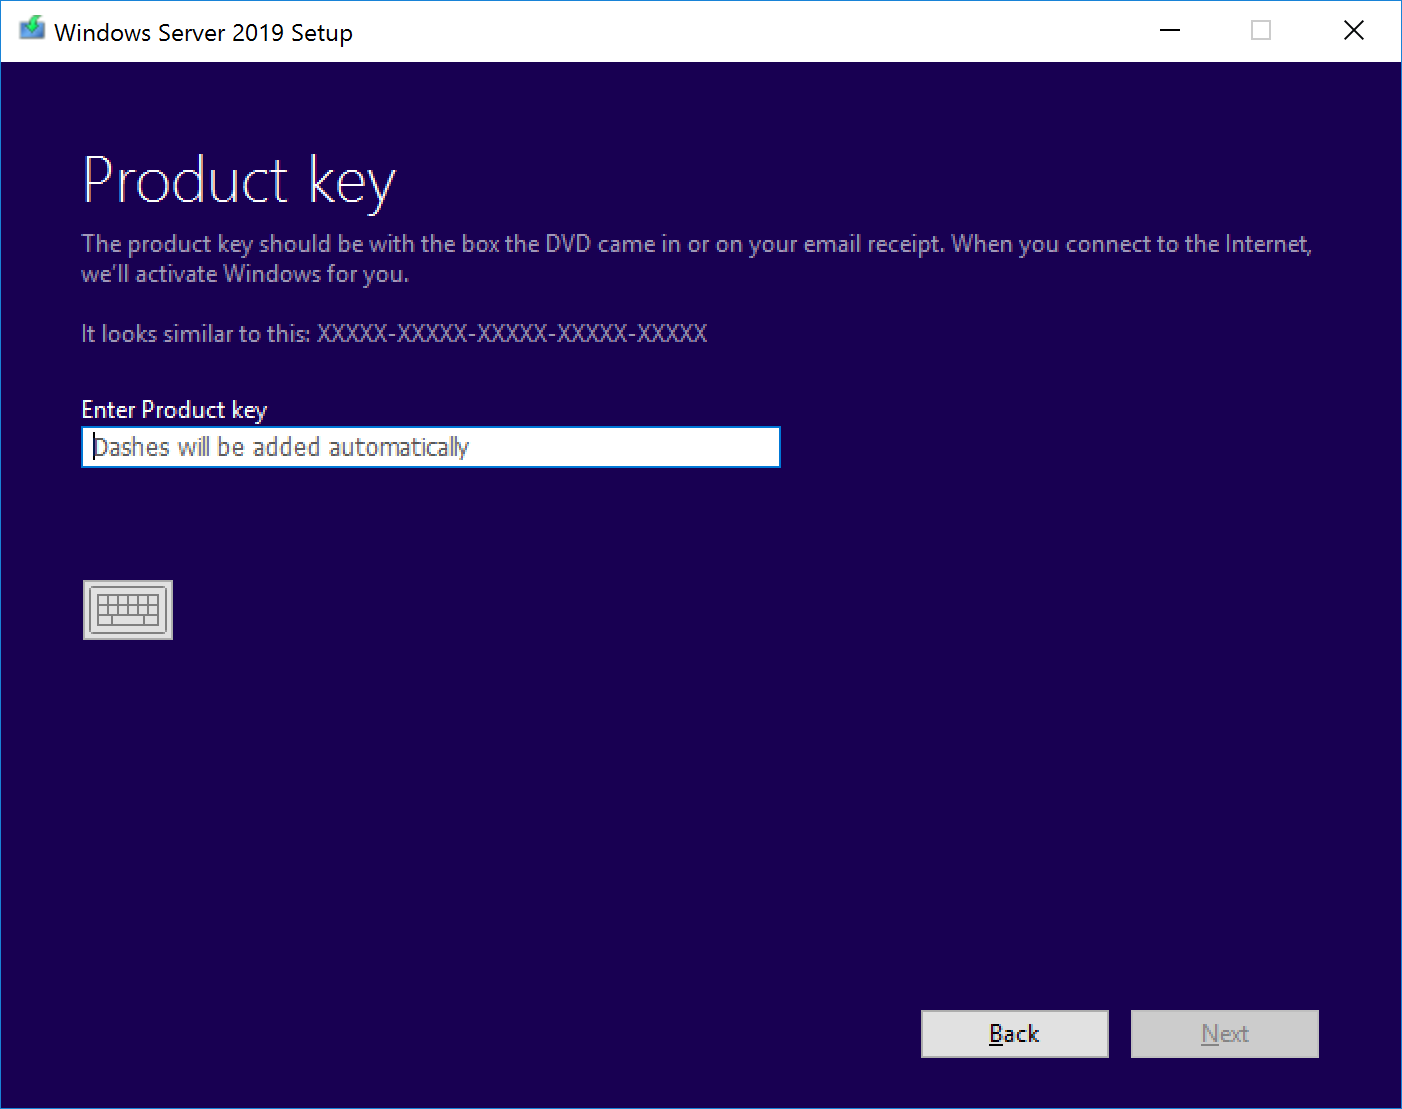
| Add license key
Click on “Next” button |
 |
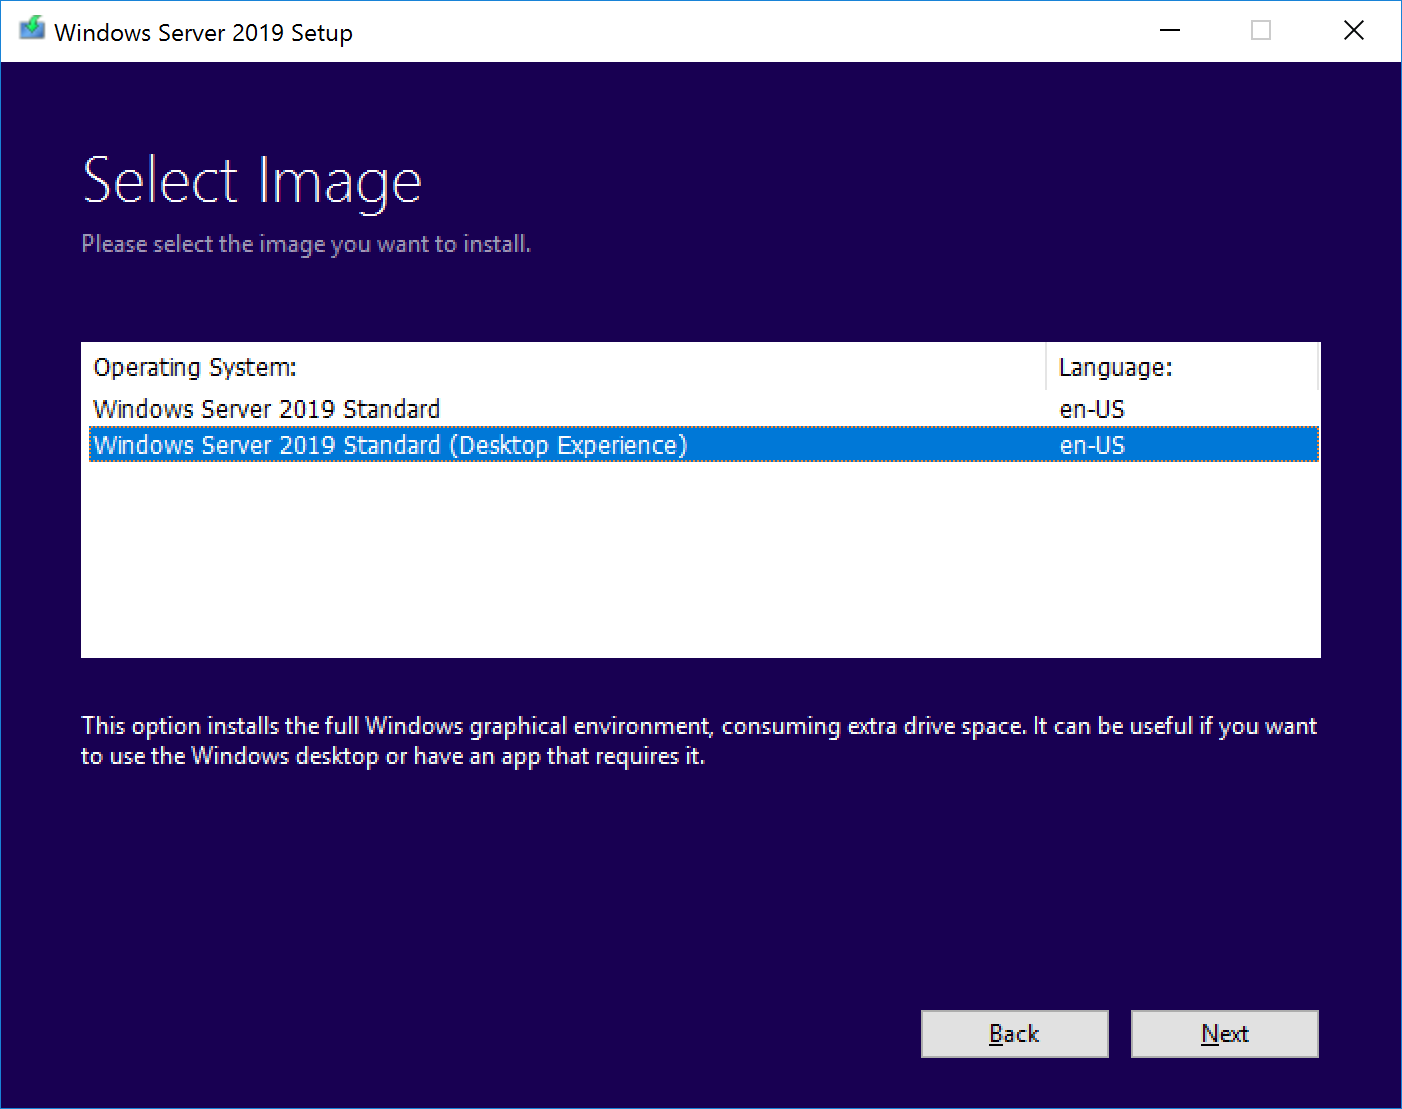
| Select “GUI” installation mode
Click on “Next” button |
 |
| Accept license terms | 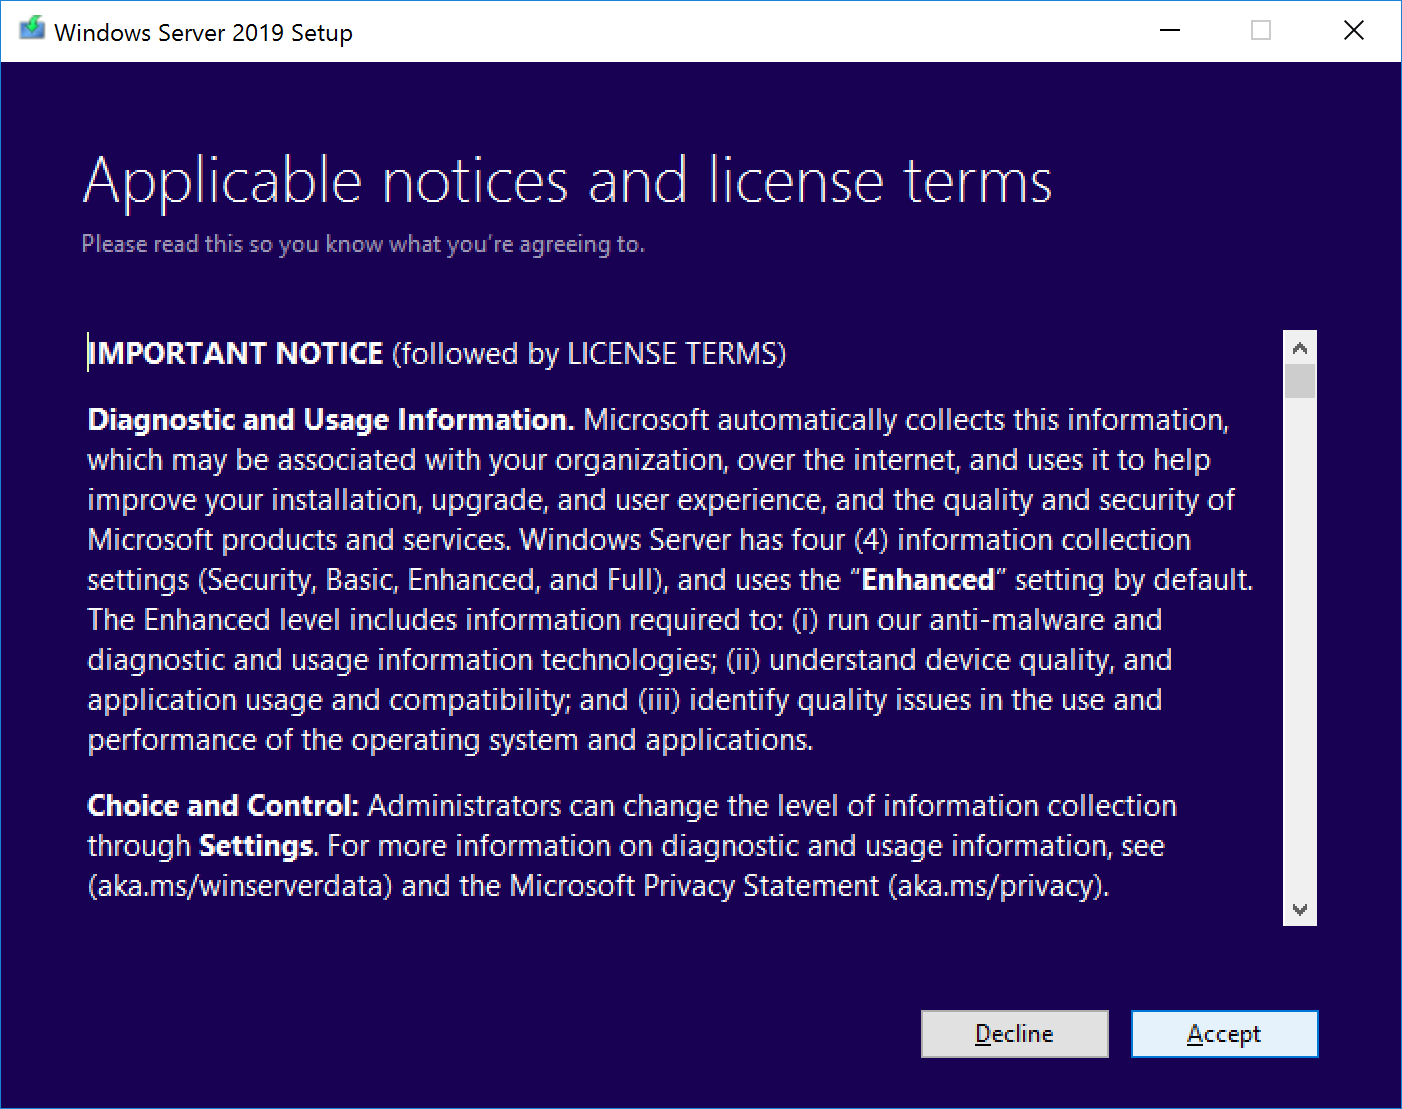 |
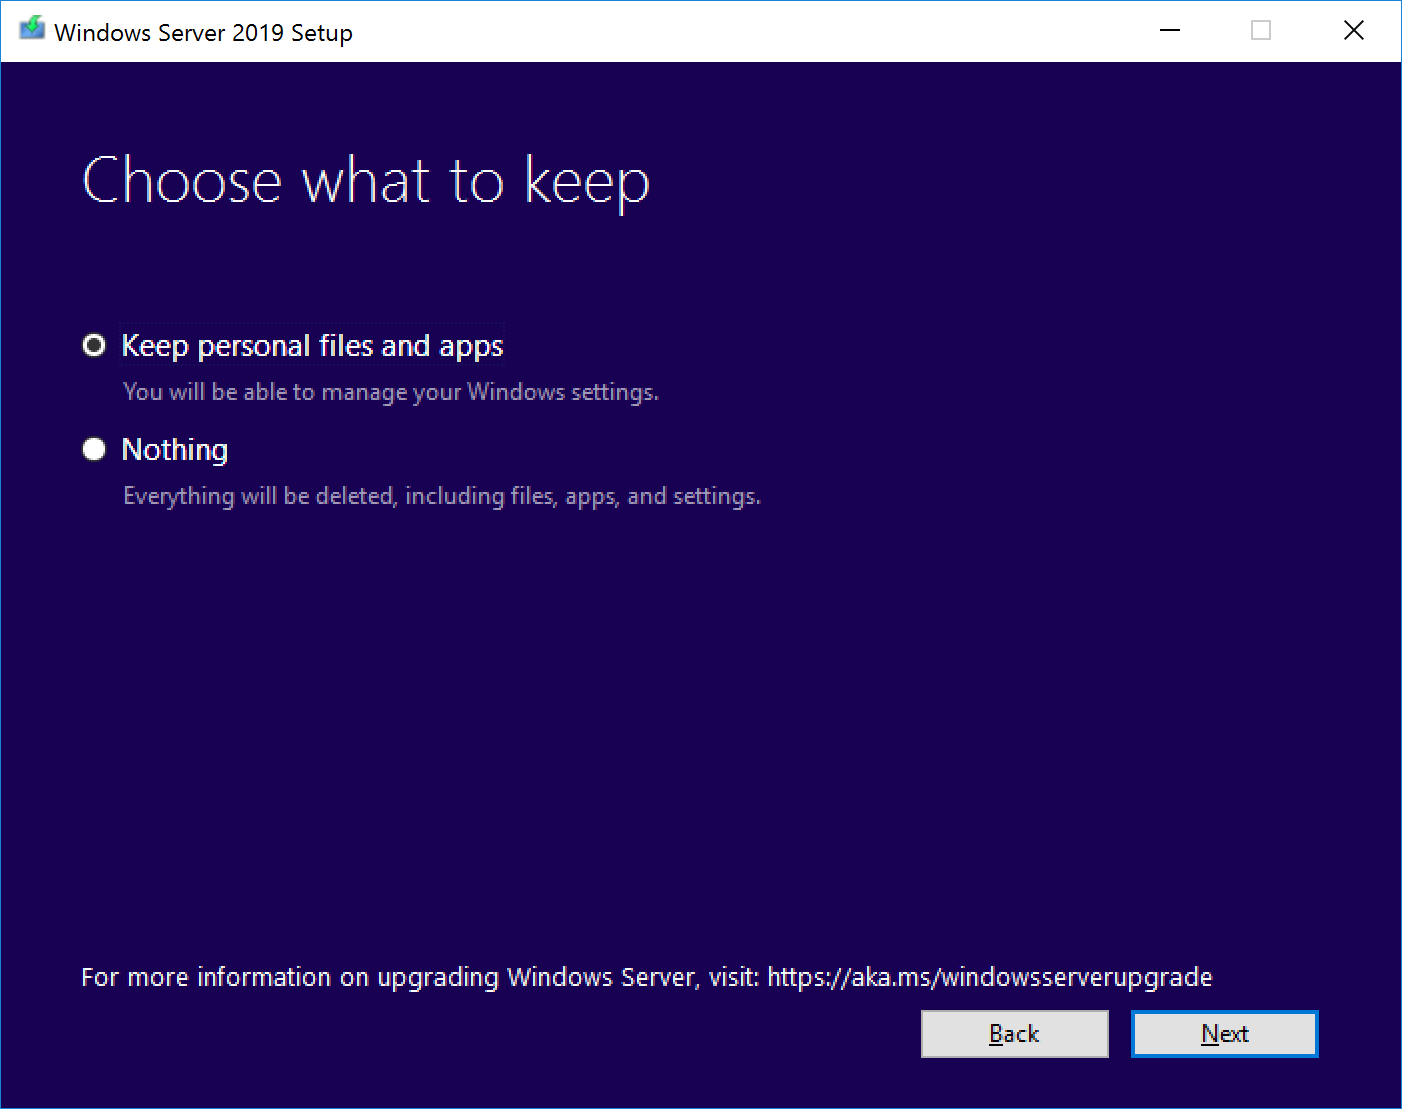
| Select “Keep personal files and apps”
Click on “Next” button |
 |
| Click on button “Confirm” to validate we need to setting AD FS service after upgrade | 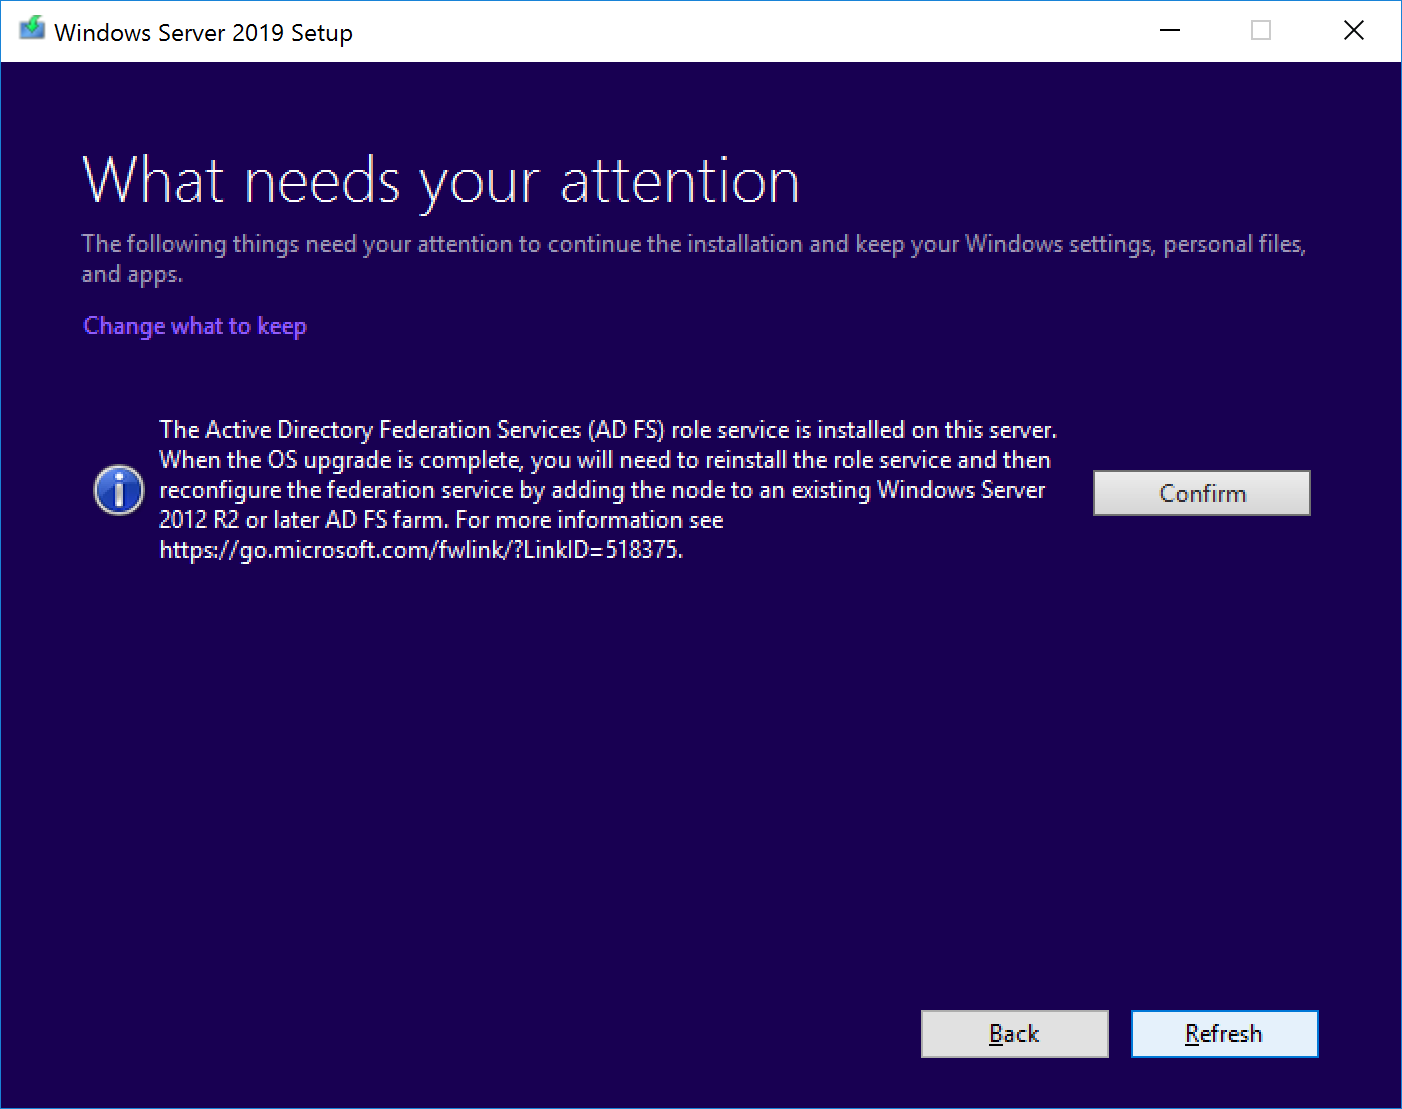 |
| Click on button “Install” | 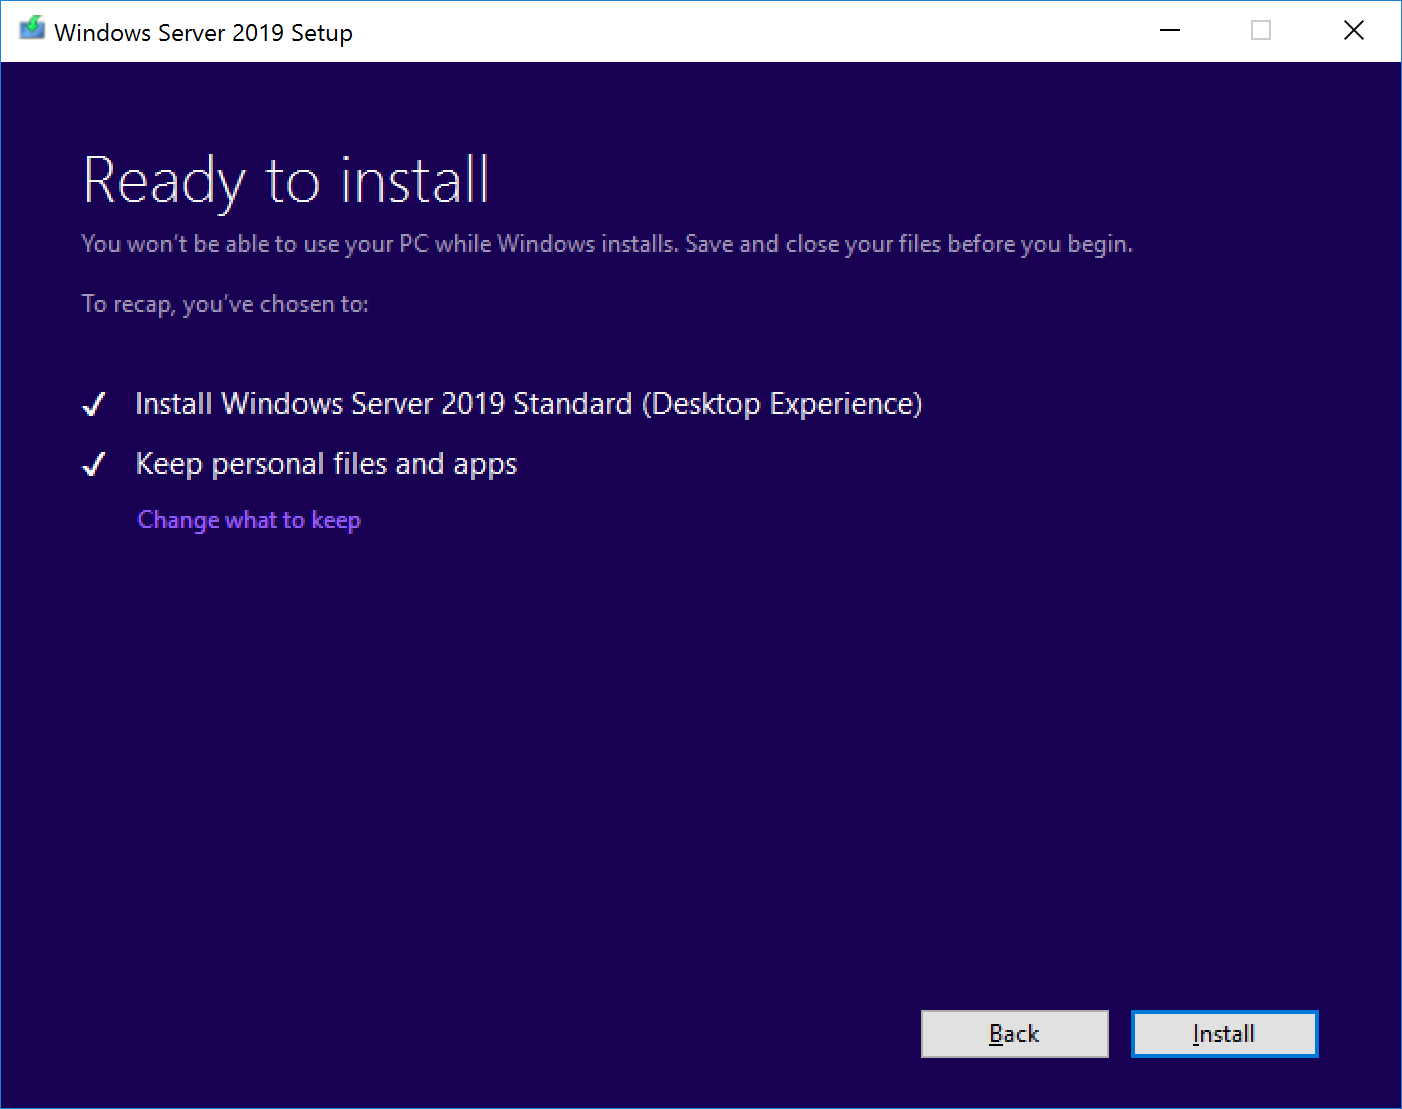 |
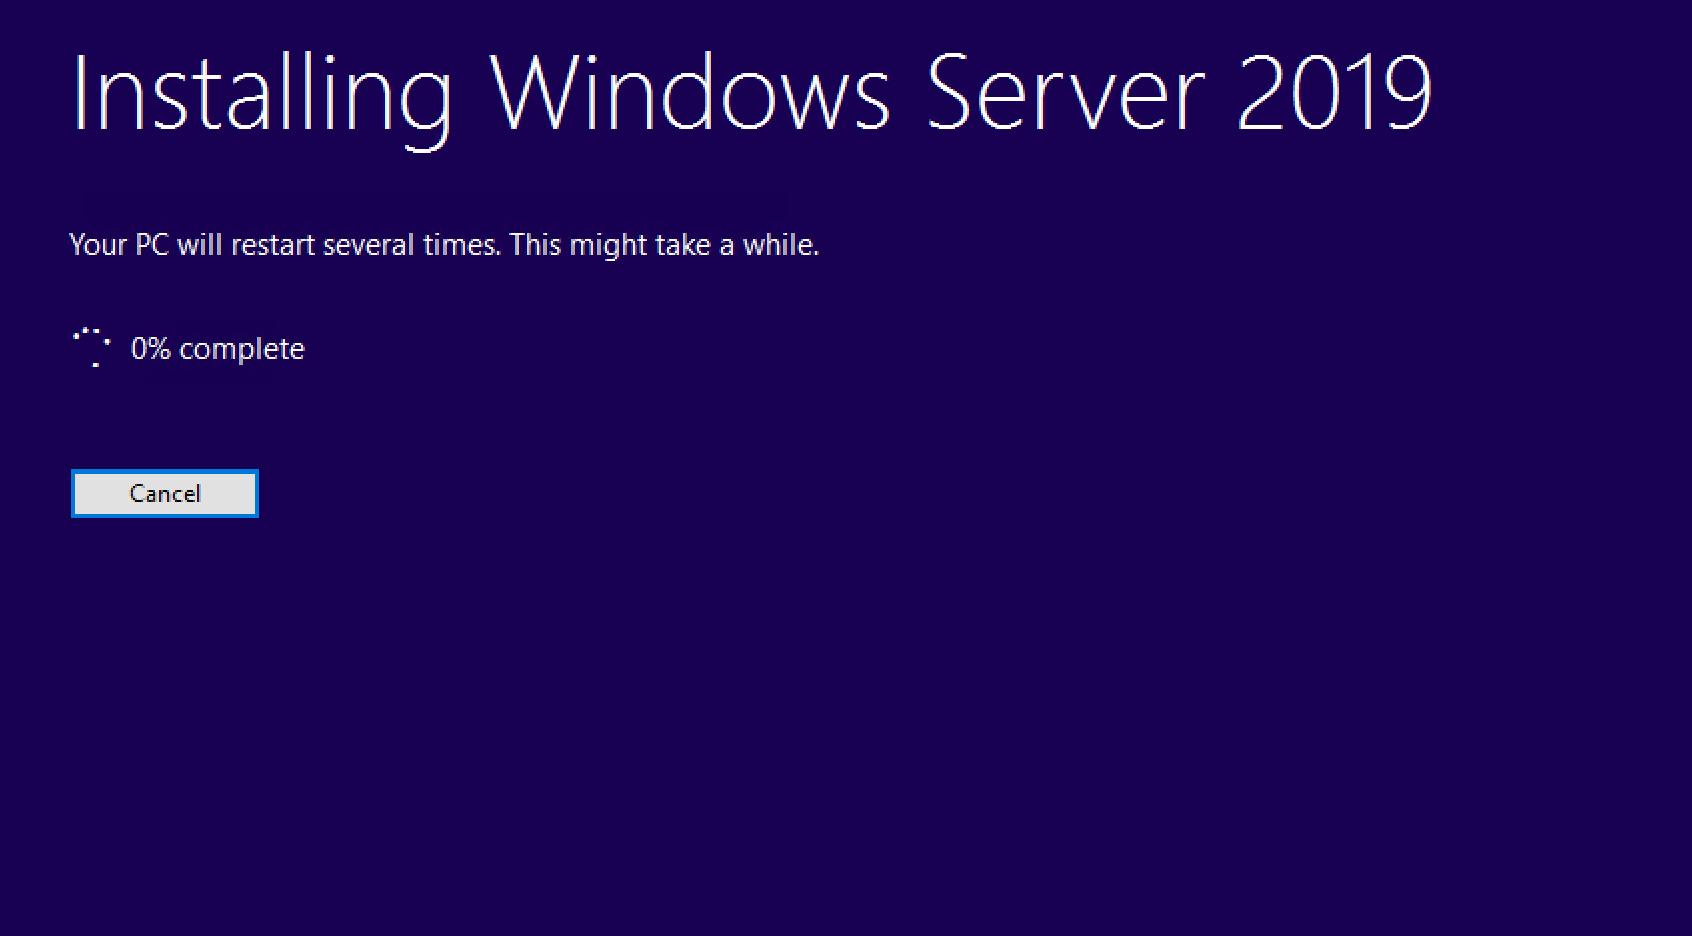
| The upgrade start
The progress of the installation take 30 minutes |
 |
Setup AD FS service
| Comments | Captures |
| After the update is completed, open a session on the server with an account with privileges Enterprise admin | |
| In server manager console, launch “configure the federation service on this server” | 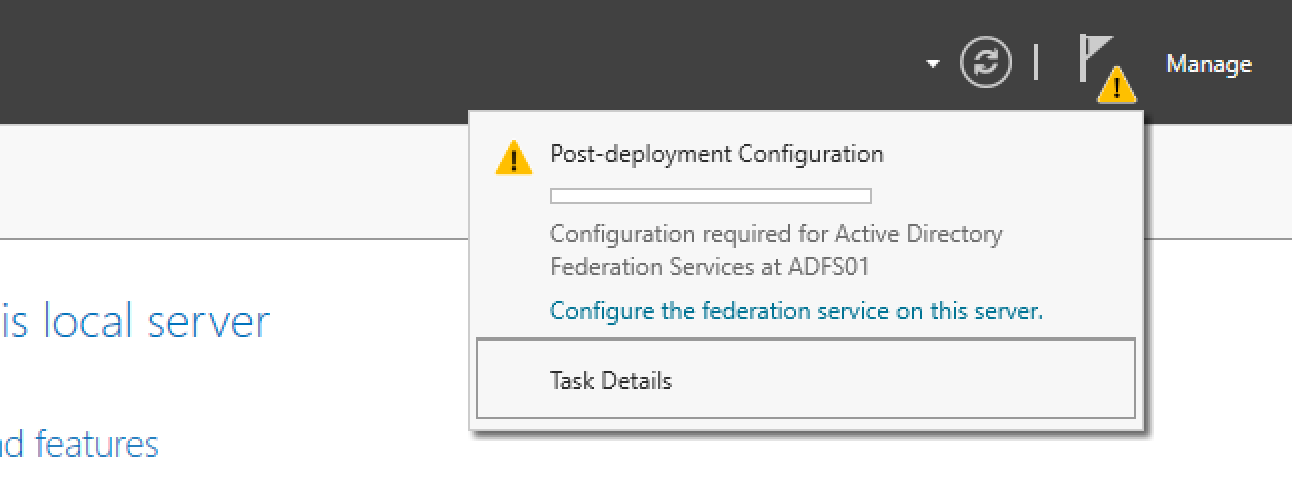 |
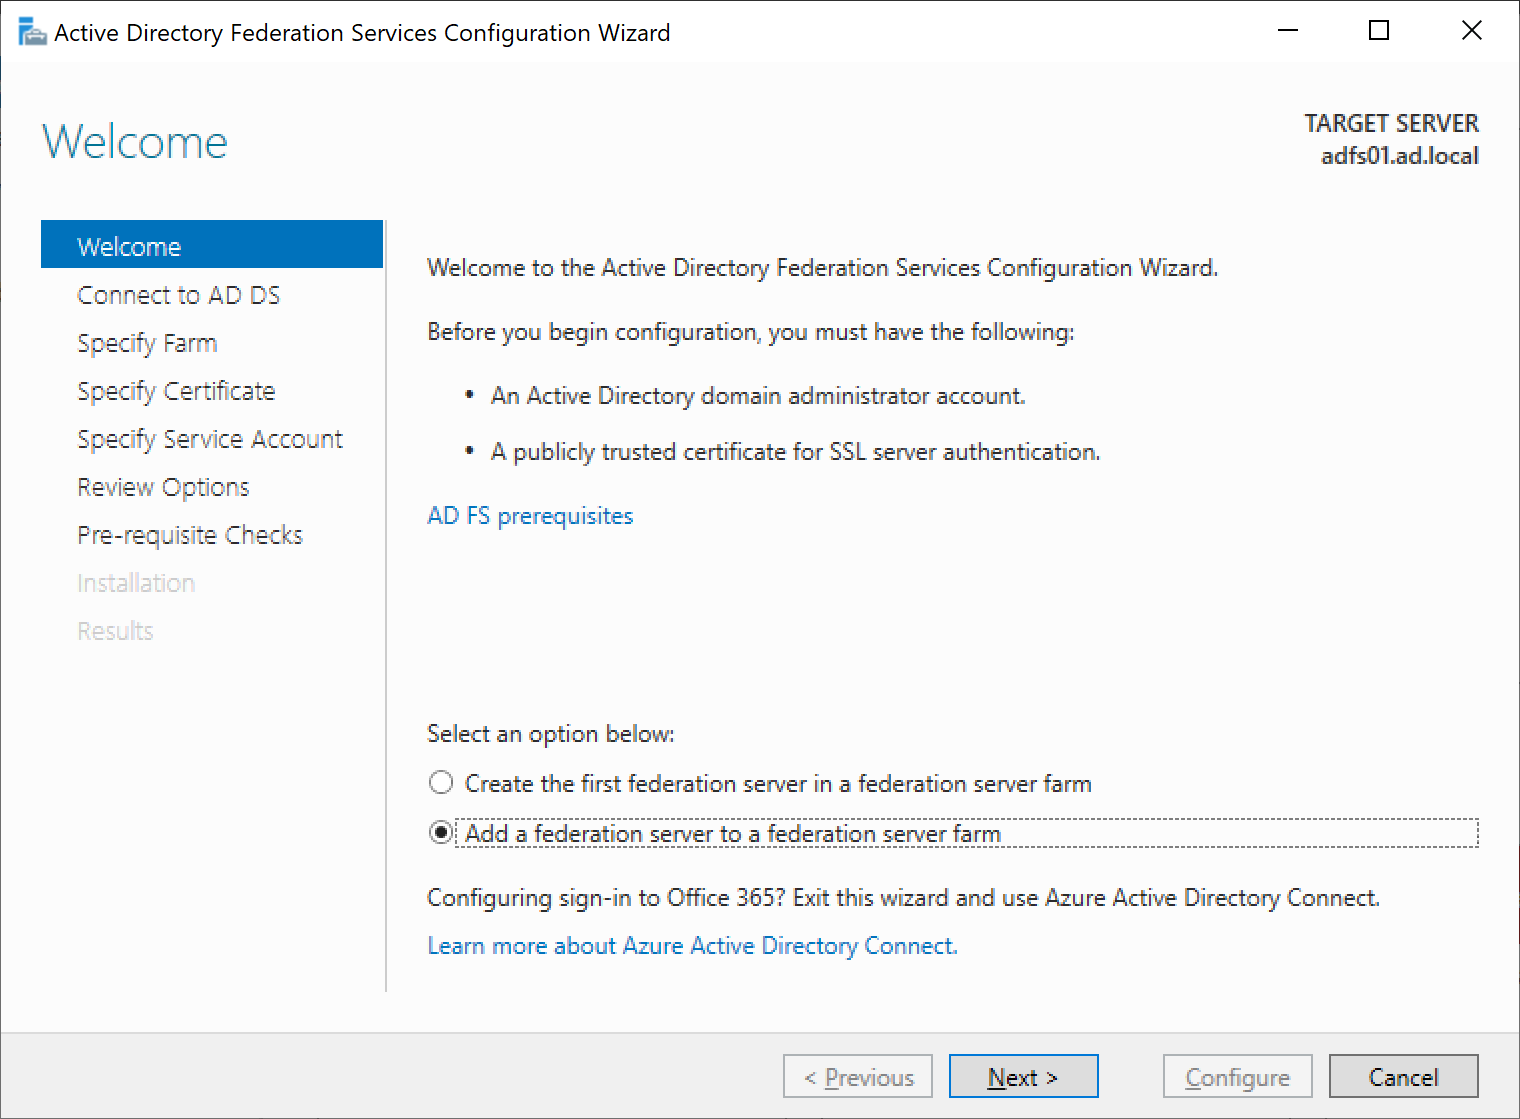
| Select “add a federation server to a federation server farm”
Click on “Next” button |
 |
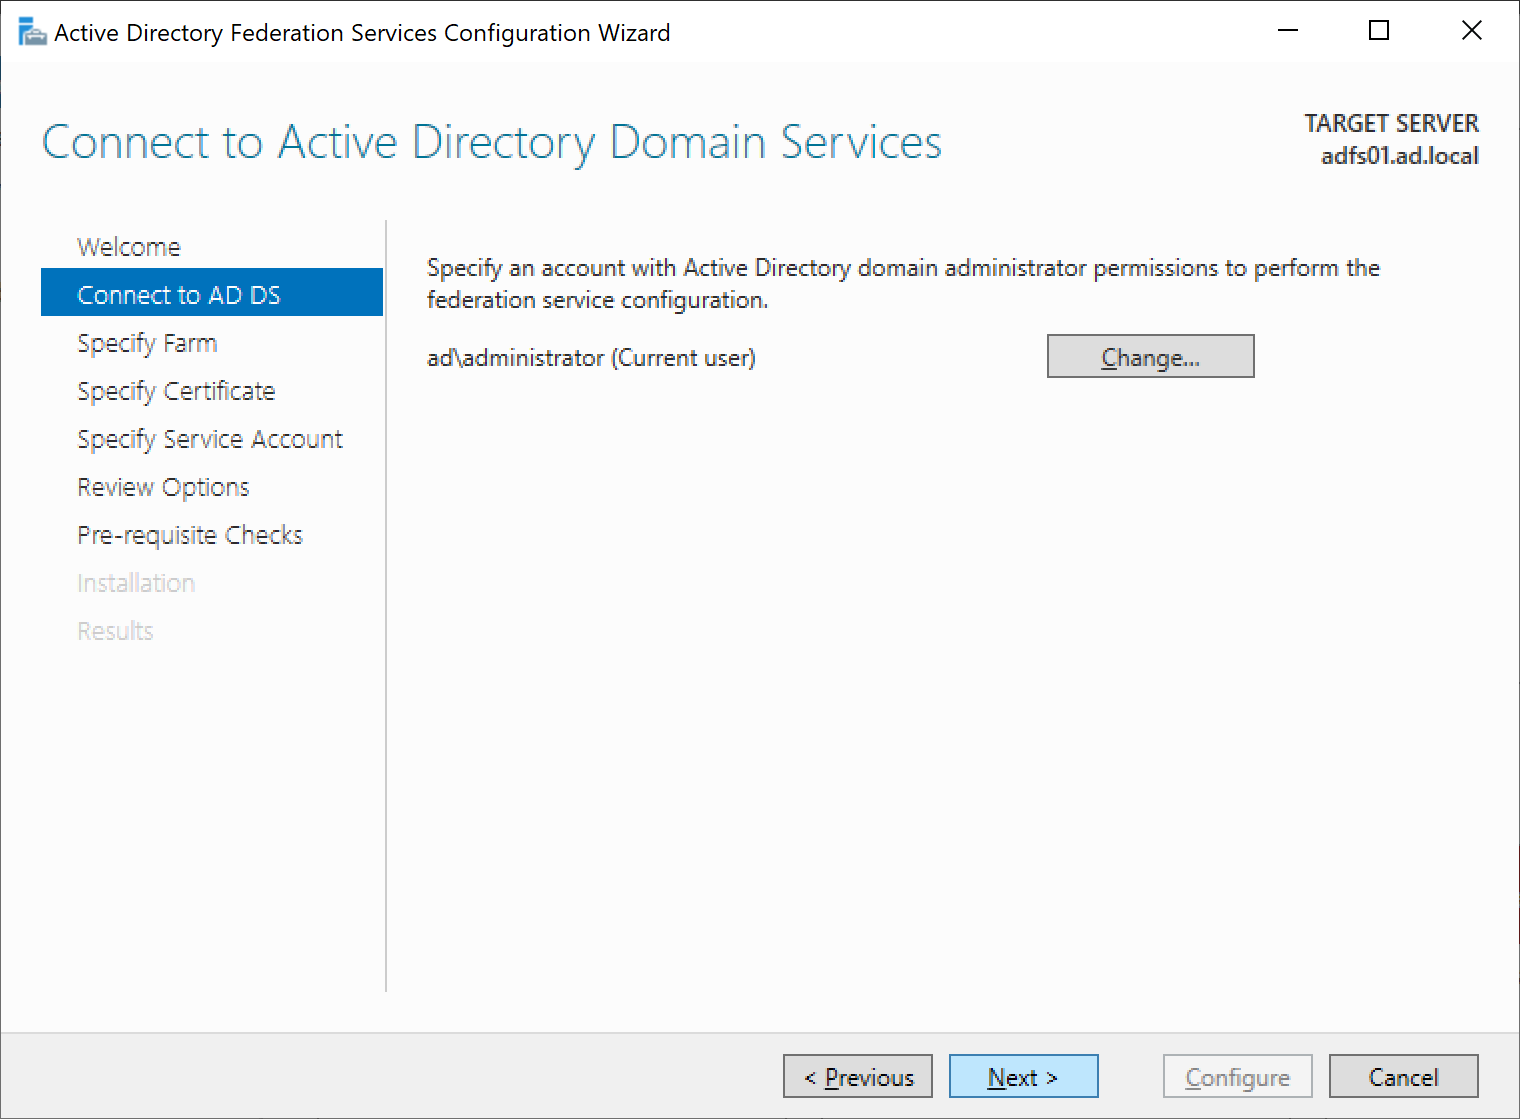
| Select the account with the enterprise admin privileges
Click on “Next” button |
 |
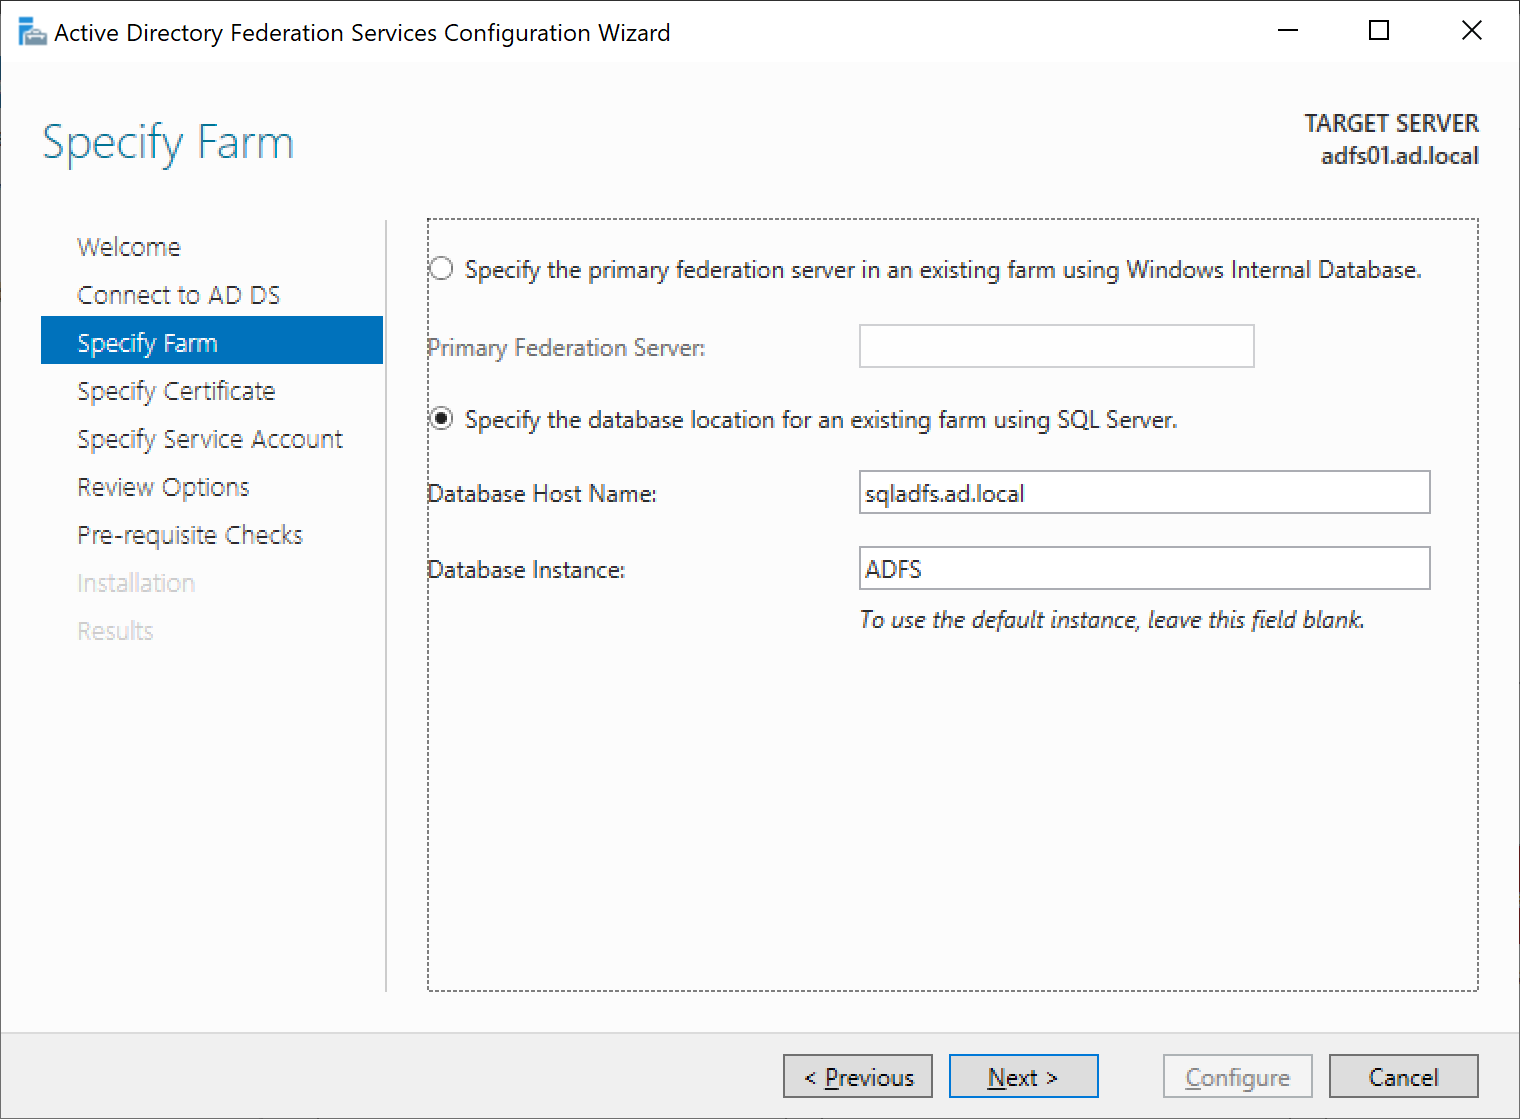
| Select “Specify the database location for an existing farm using SQL Server”
Add “Database Host Name” and “Database instance” Click on “Next” button |
 |
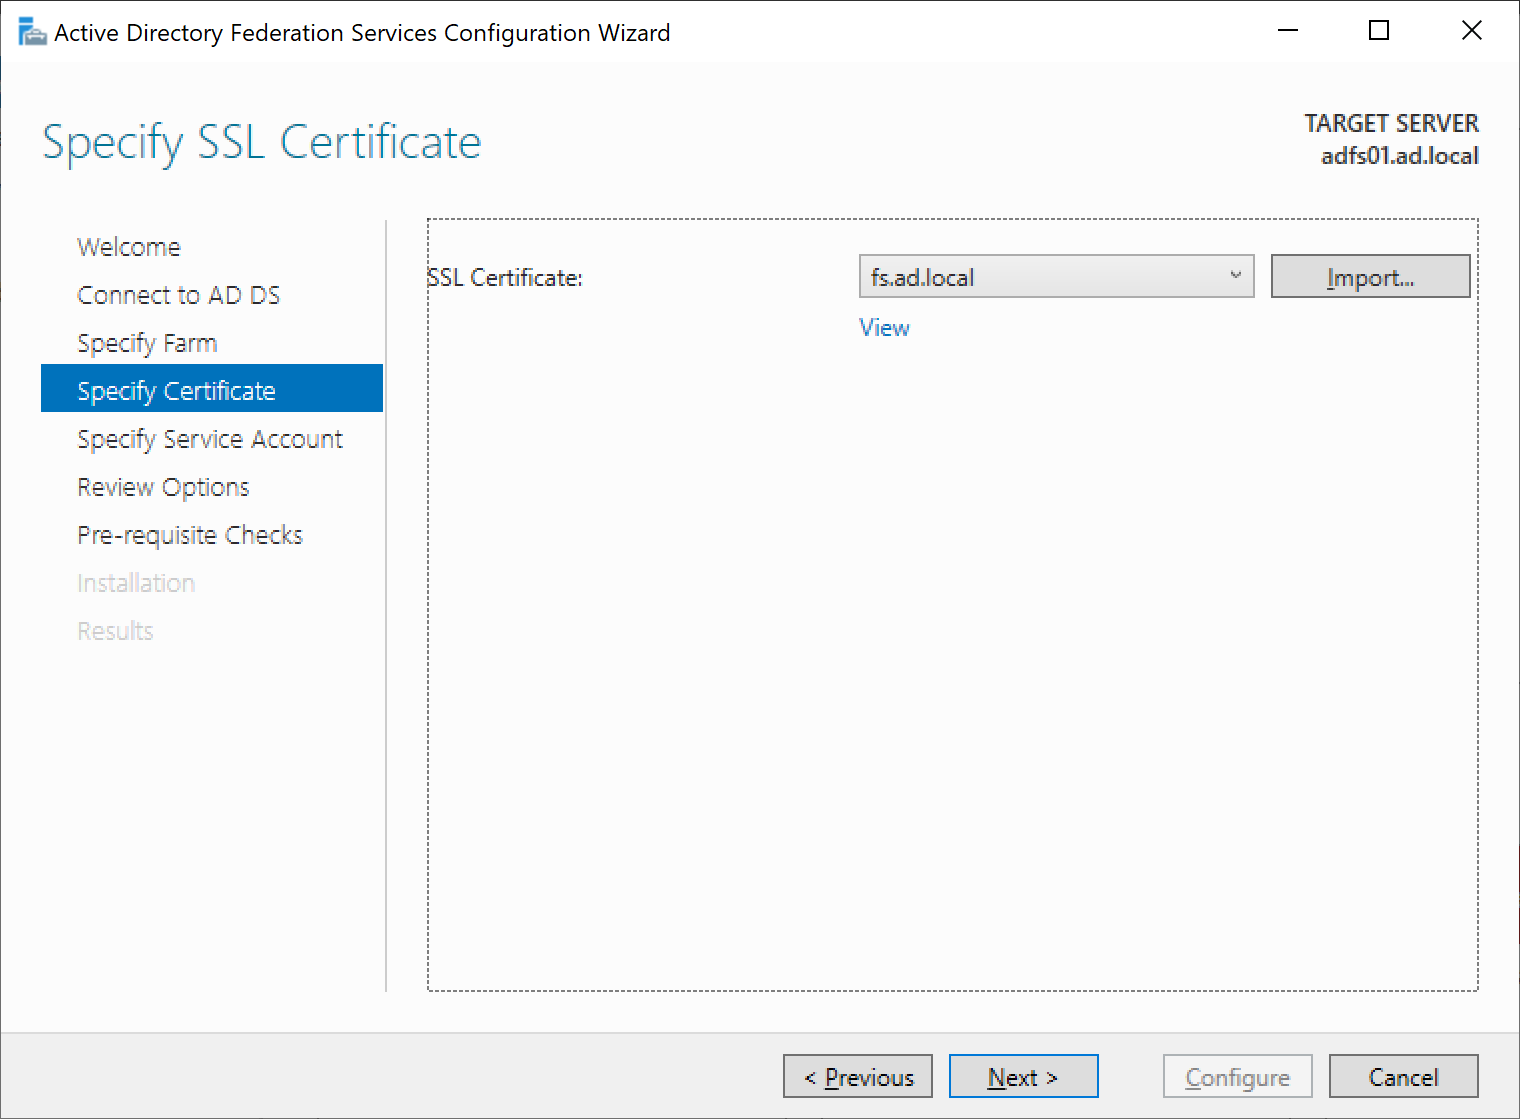
| Select in drop menu the good communication certificate
Click on “Next” button |
 |
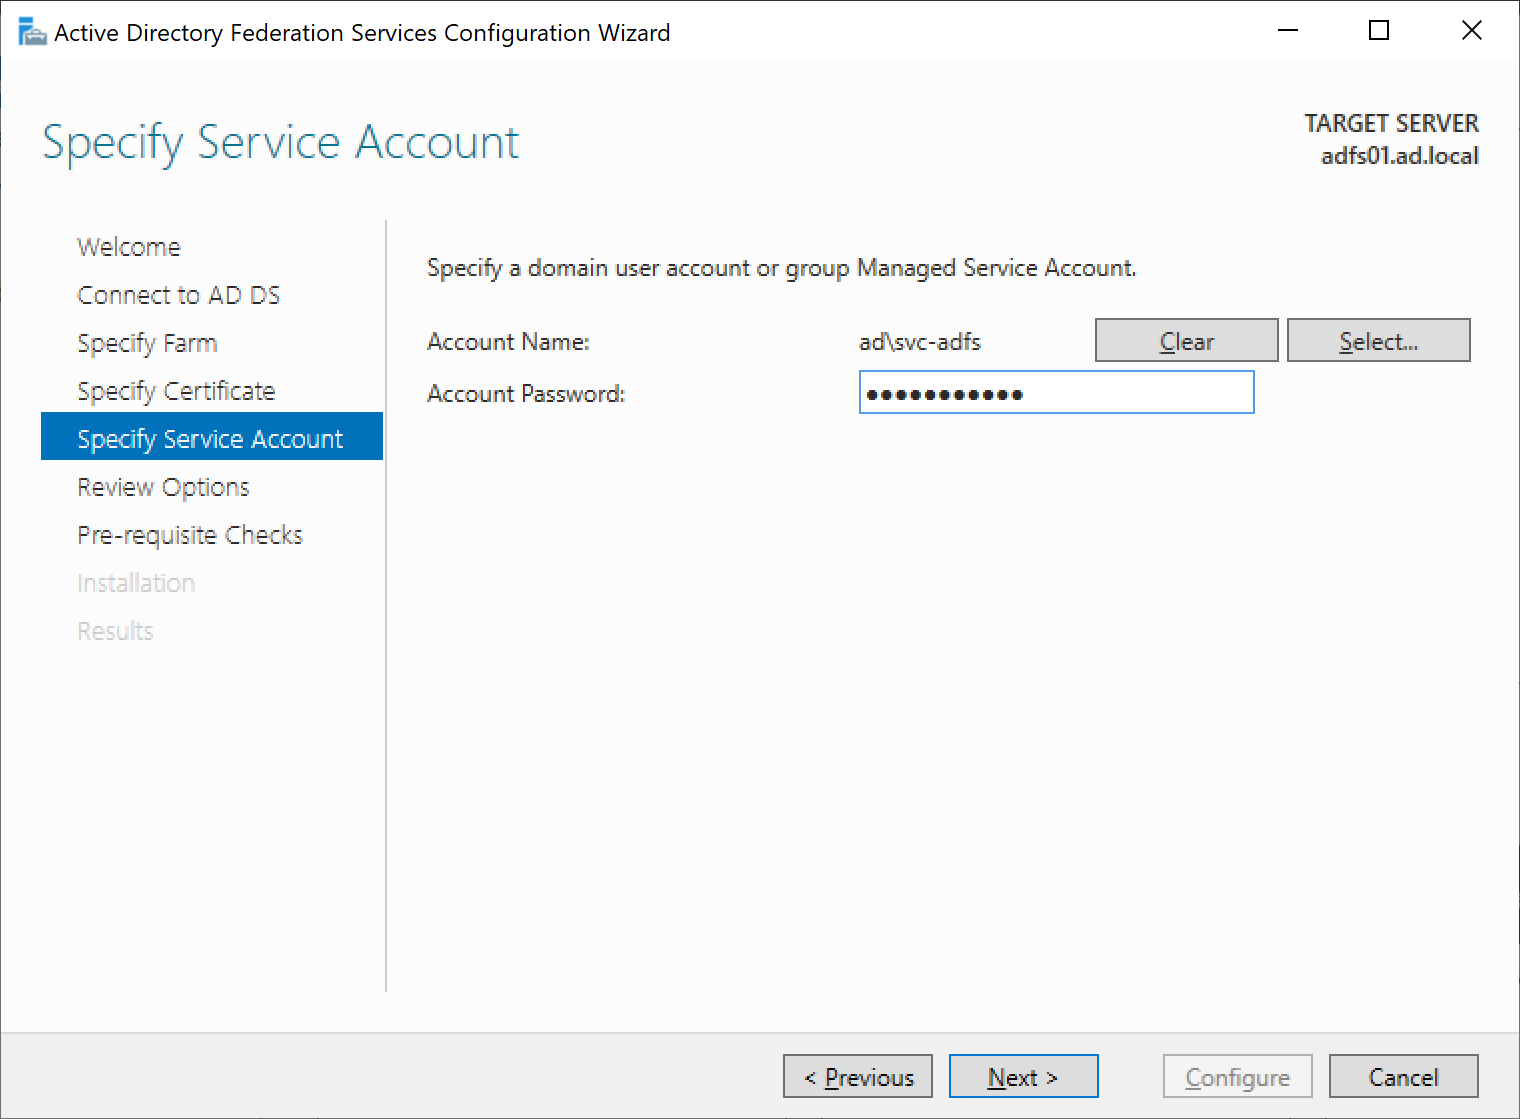
| Add the account service for AD FS service and password
Click on “Next” button |
 |
| Click on “Next” button | 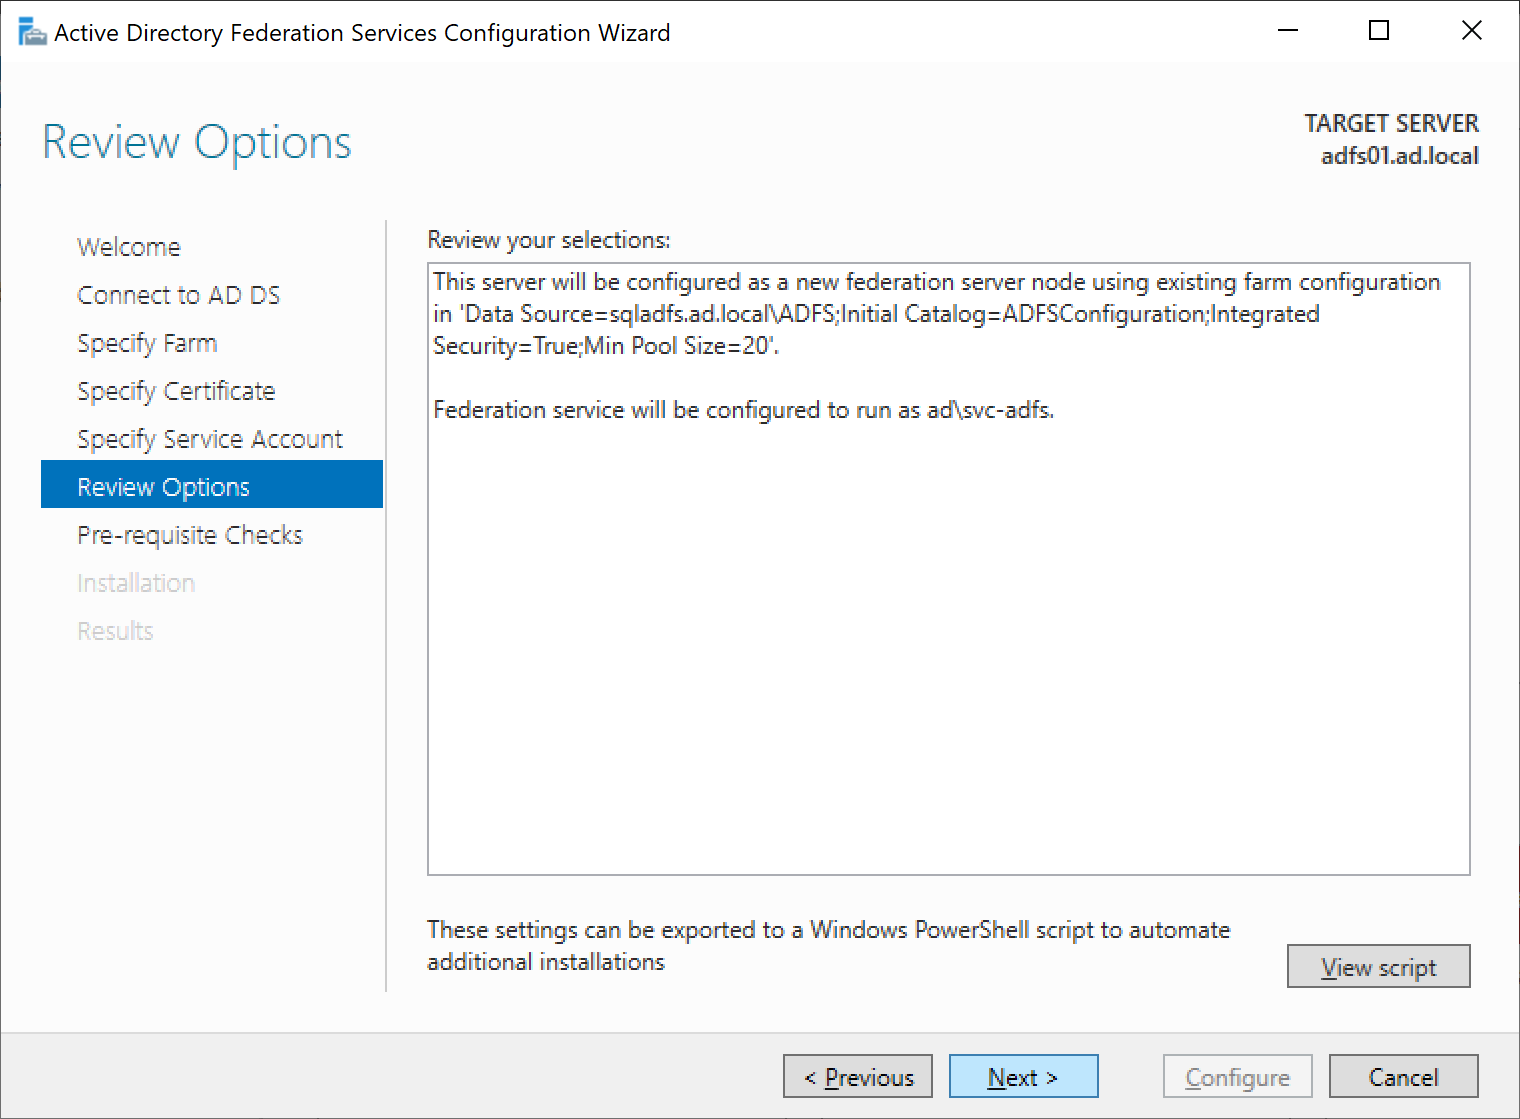 |
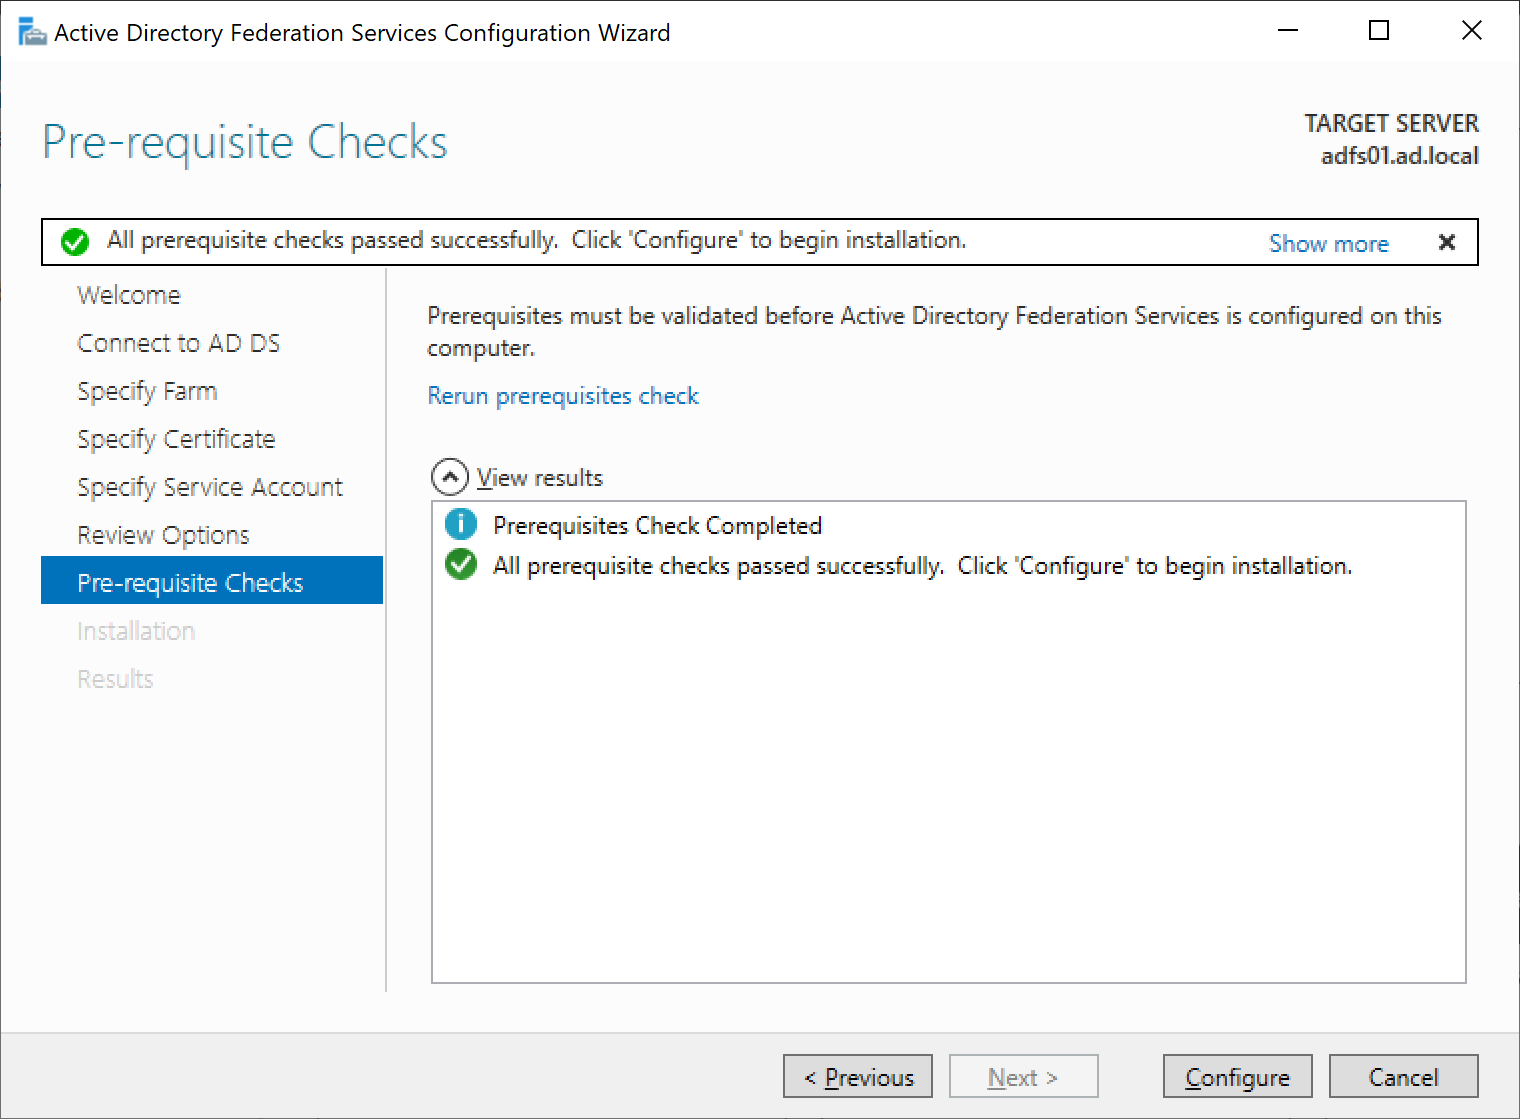
| Verify if no issues
Click on “Configure” button |
 |
| Click on “Close” button | 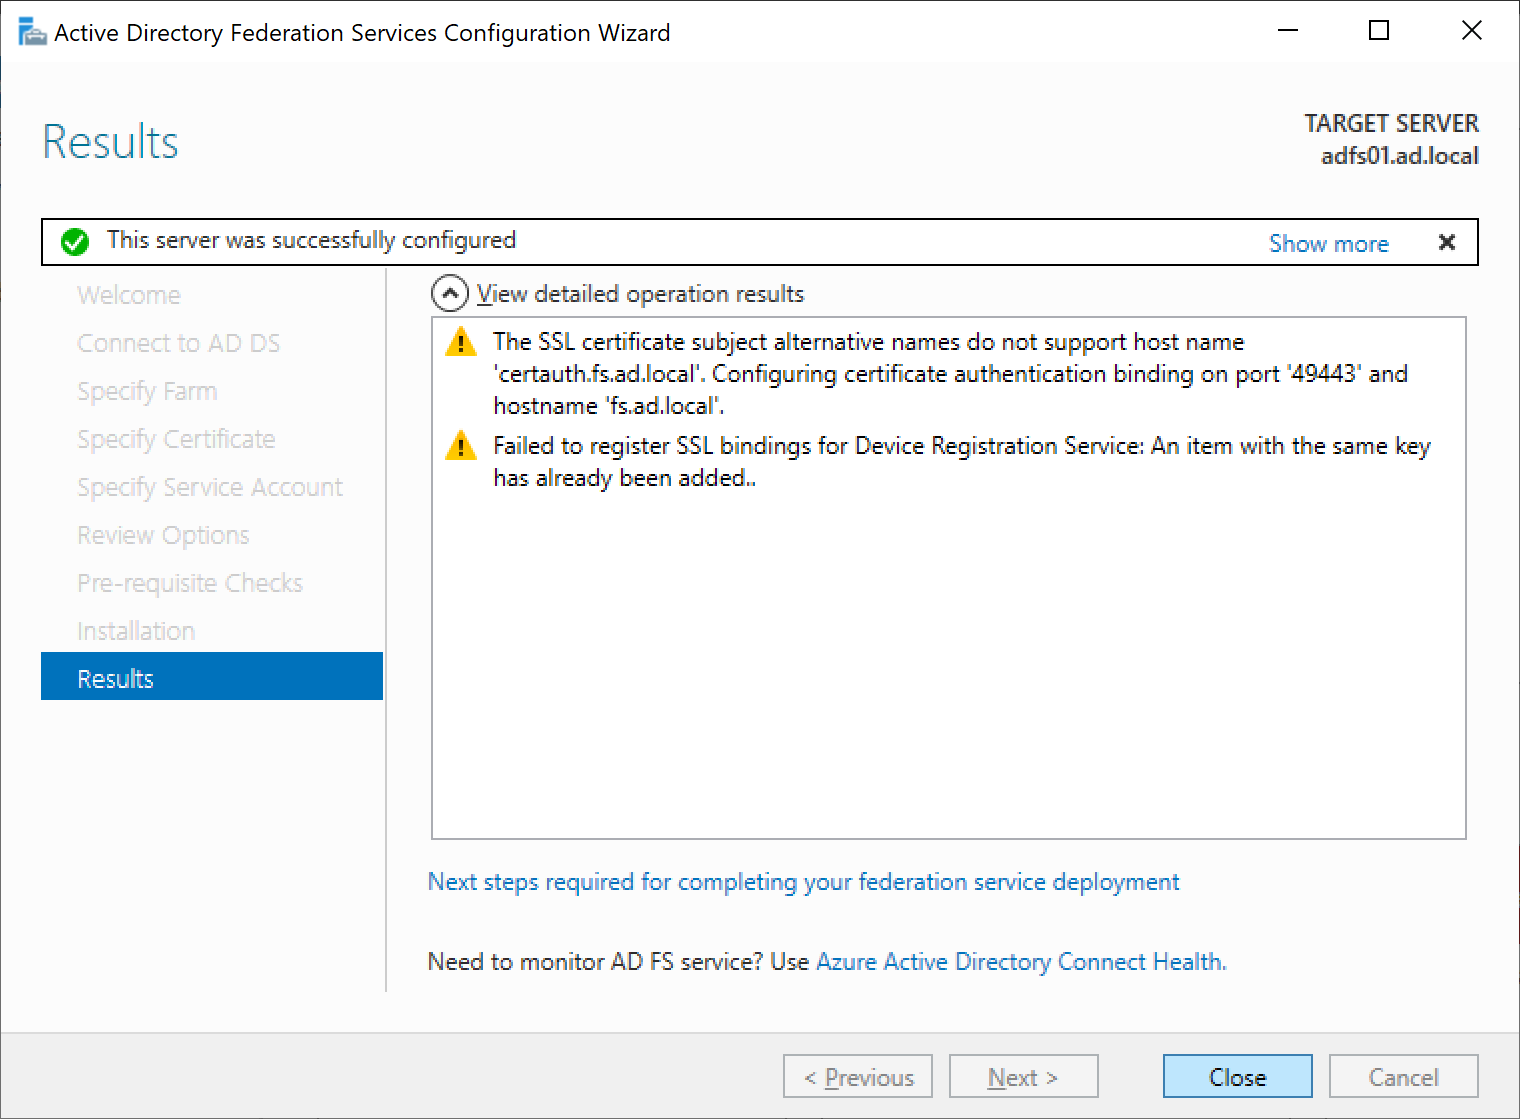 |
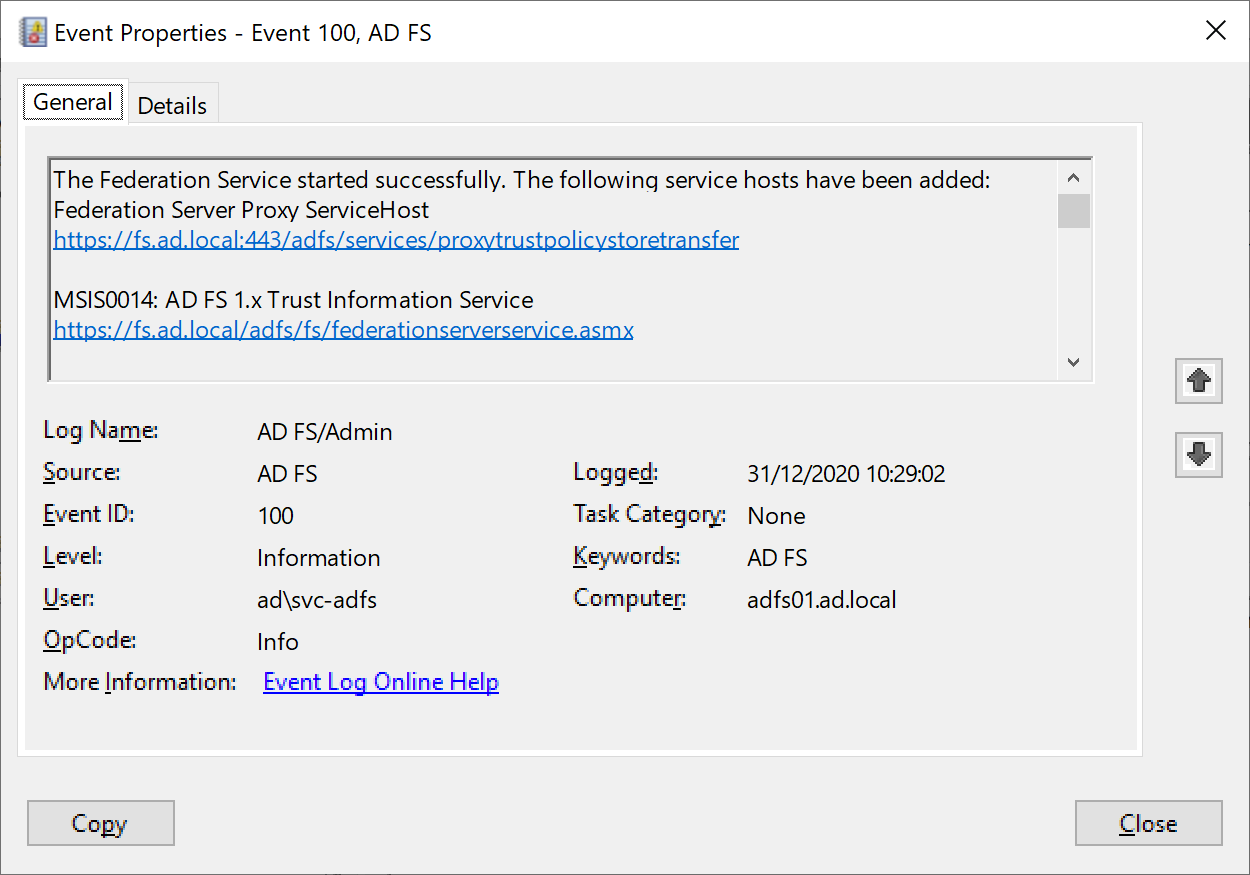
Check AD FS service
To check if the service is started, retrieve event ID 100 in event viewer console
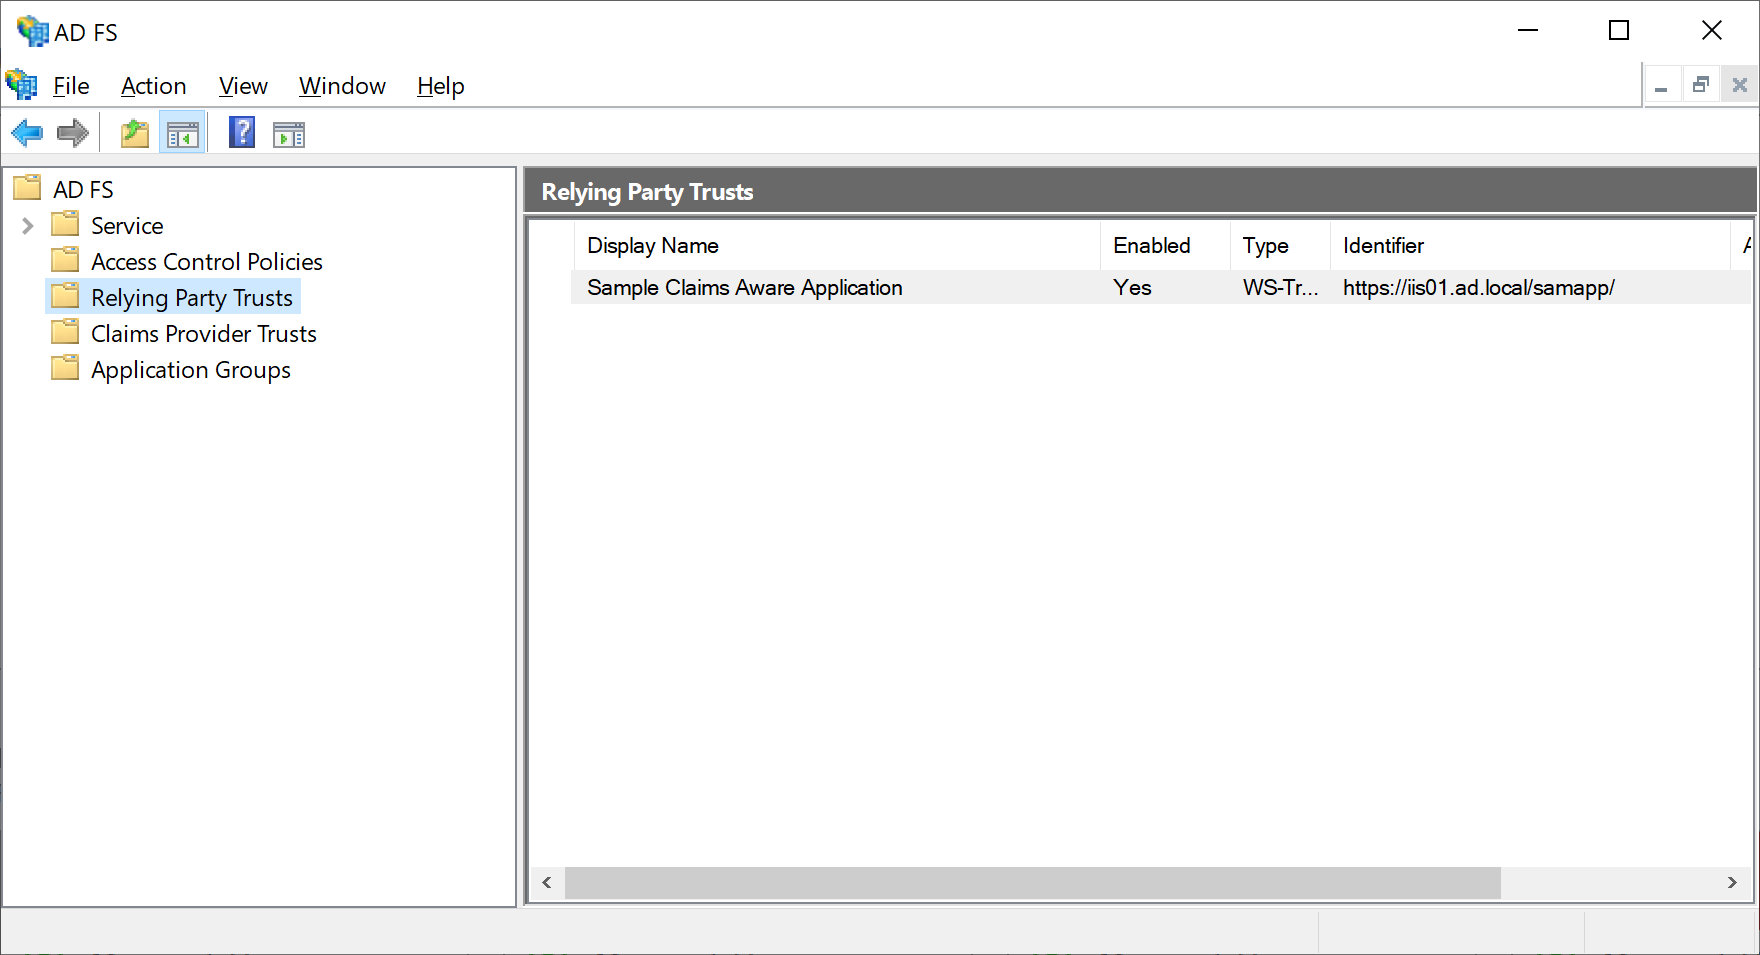
Check in AD FS mmc if you are connected to the service and verify if you retrieve all relaying party truts
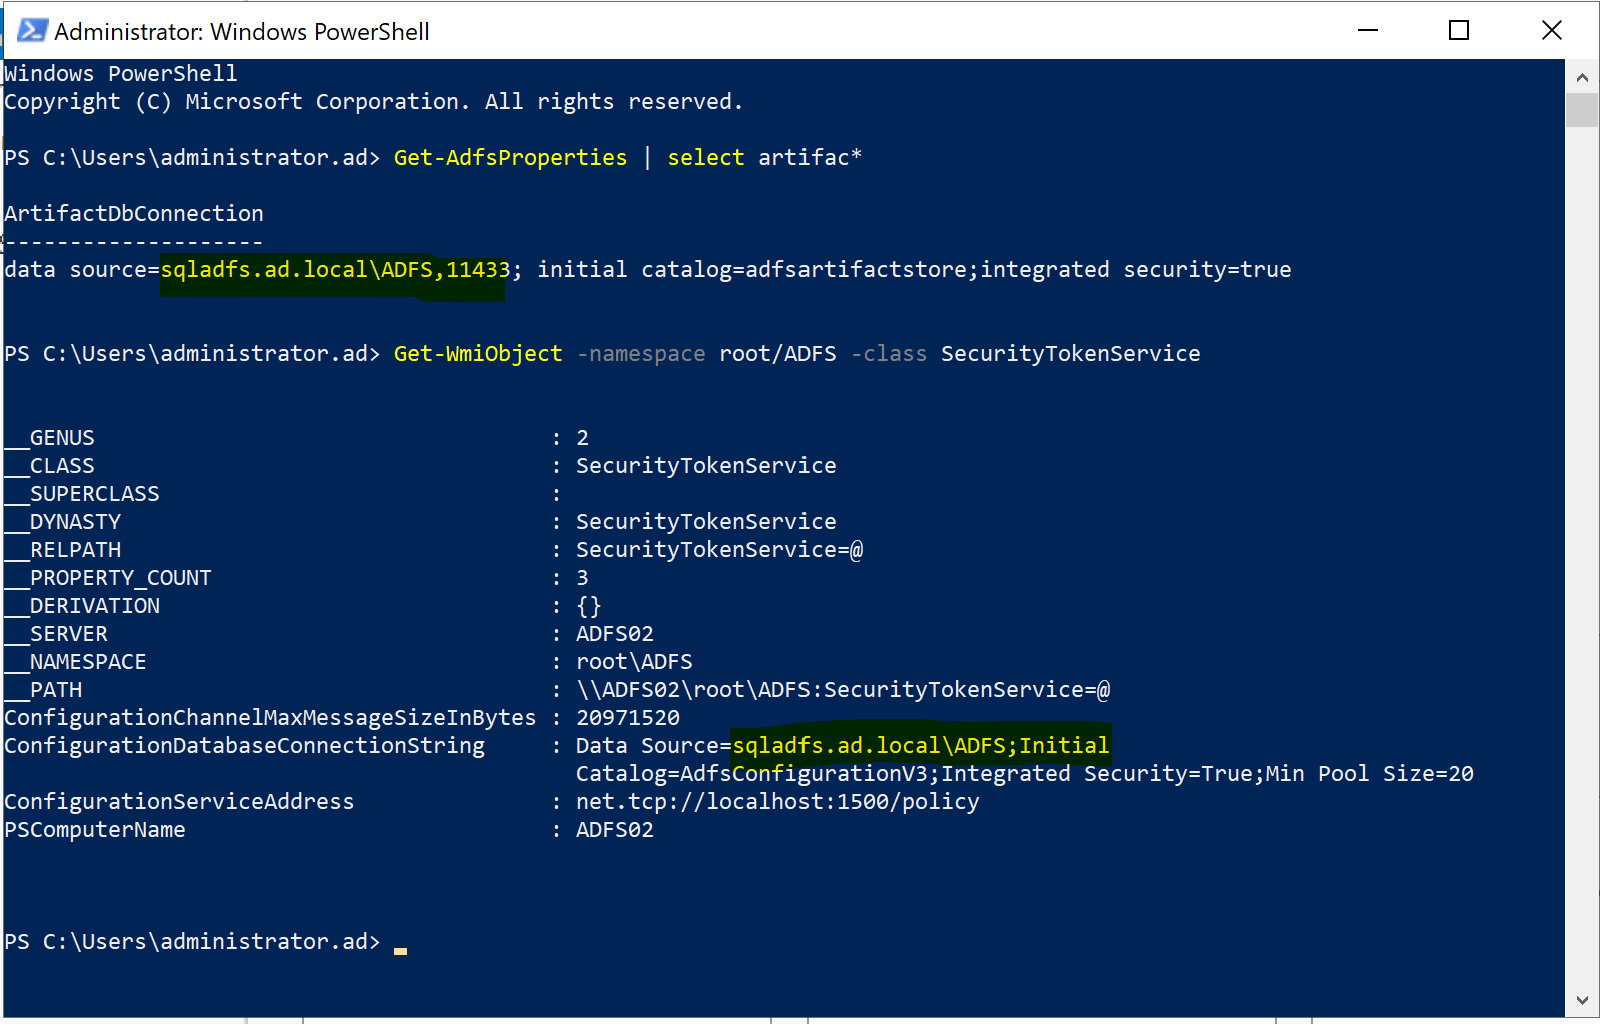
Check the connection to the database
Deploy new DB on MS SQL Server
Export script to creation
Execute the following command:
Export-AdfsDeploymentSQLScript -DestinationFolder c:temp -ServiceAccountName "adsvc-adfs"
This command export two scripts with all command lines to create the new DB in V4.
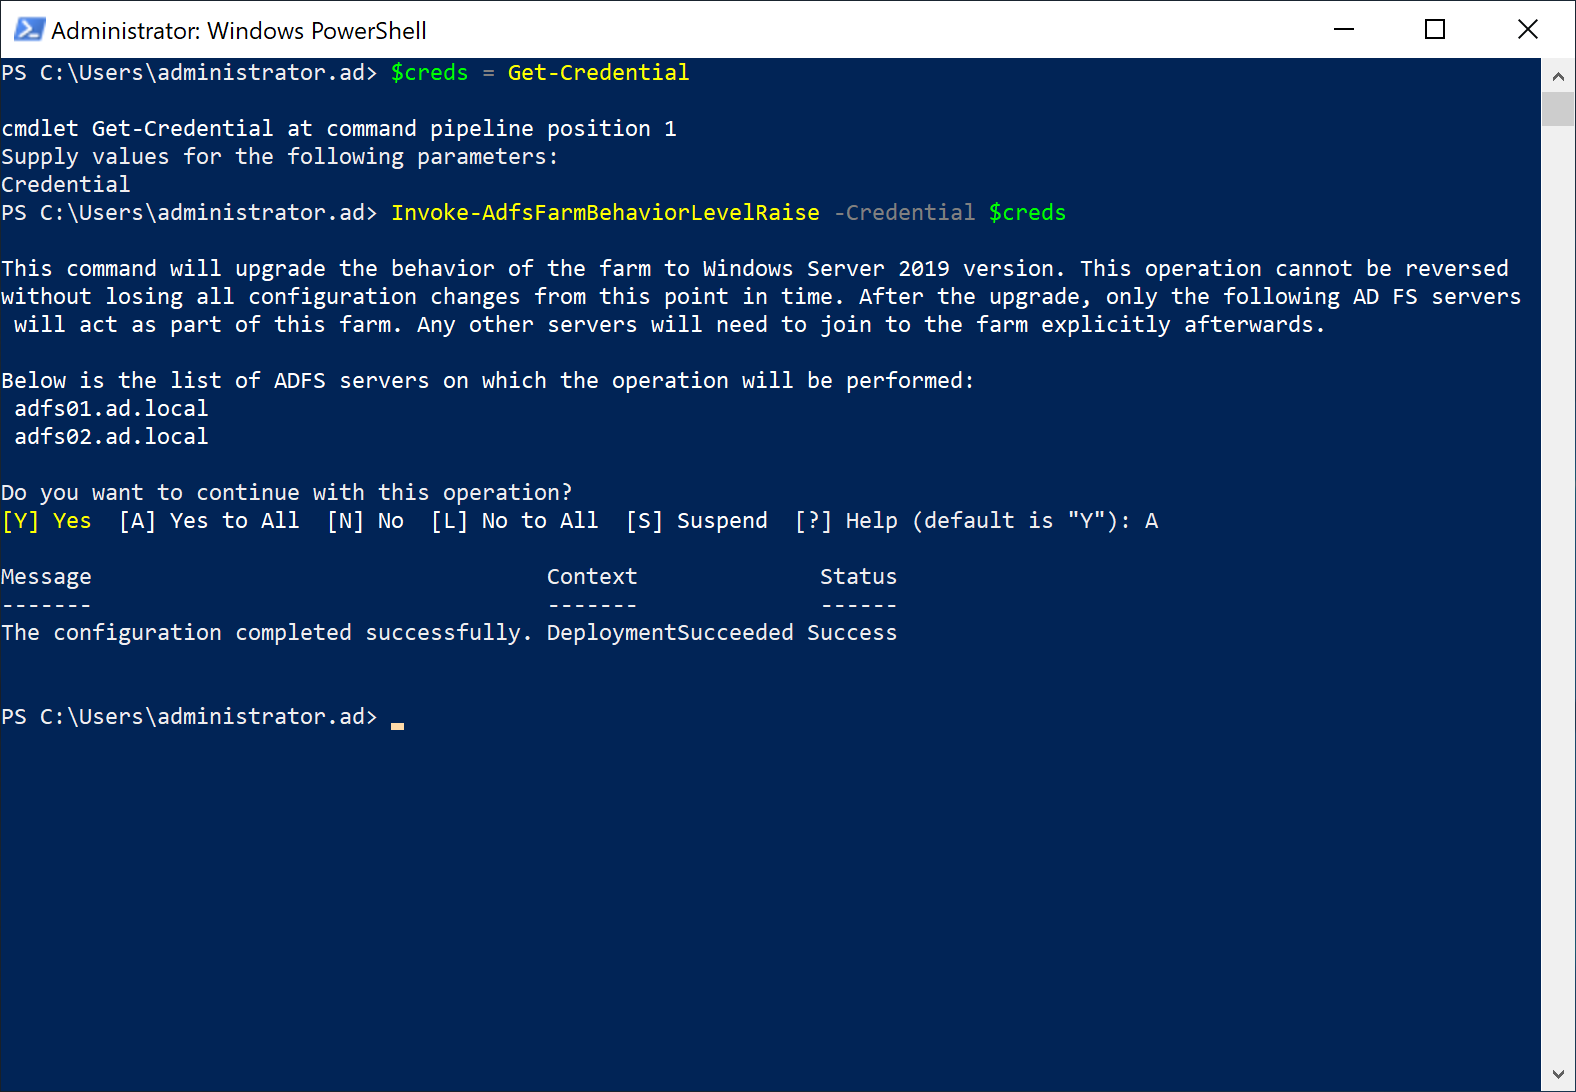
Raise level of the farm
 |
Ensure ADFS service account has the administrative permissions on the SQL server and each server in the ADFS farm. |
From an ADFS server run Powershell in administrator mode and execute this command:
$creds = Get-Credential
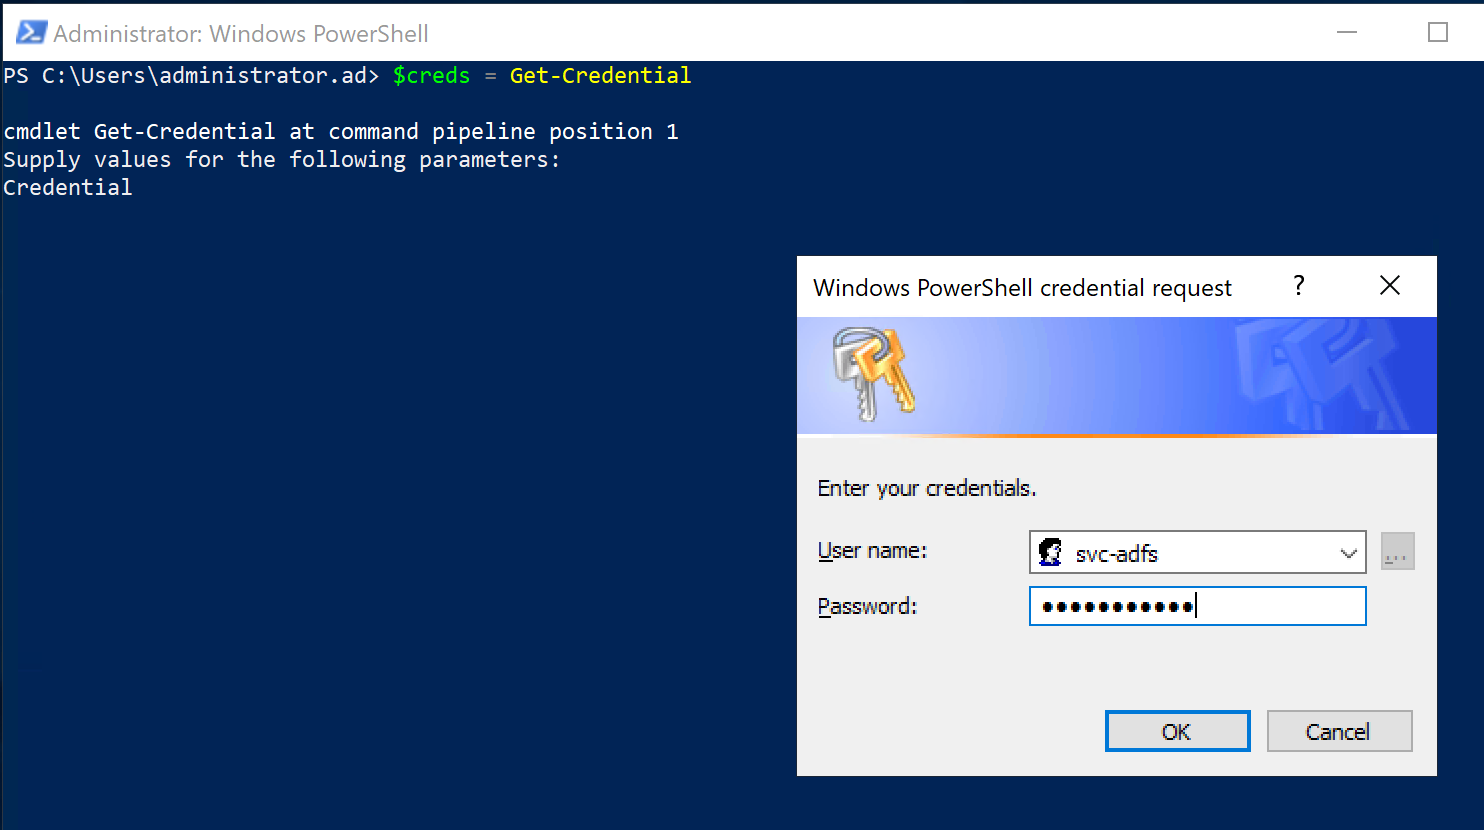
Invoke-AdfsFarmBehaviorLevelRaise -Credential $creds
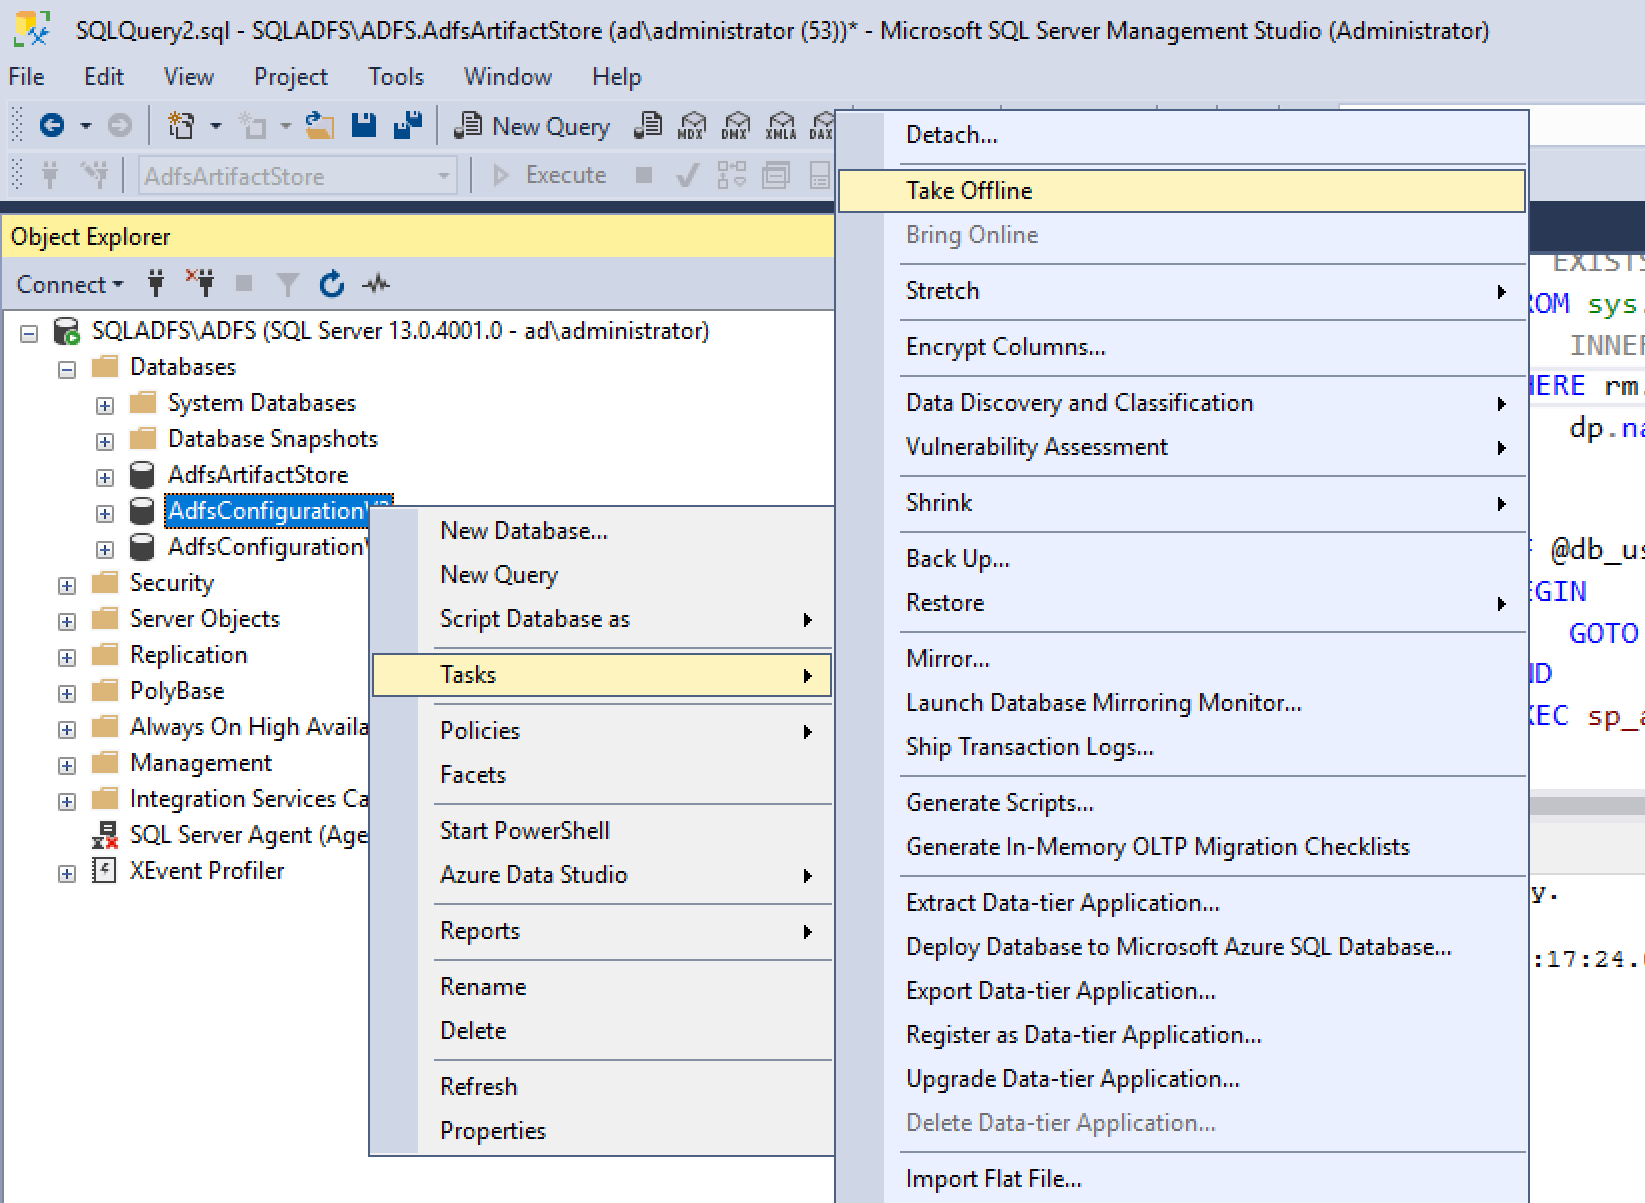
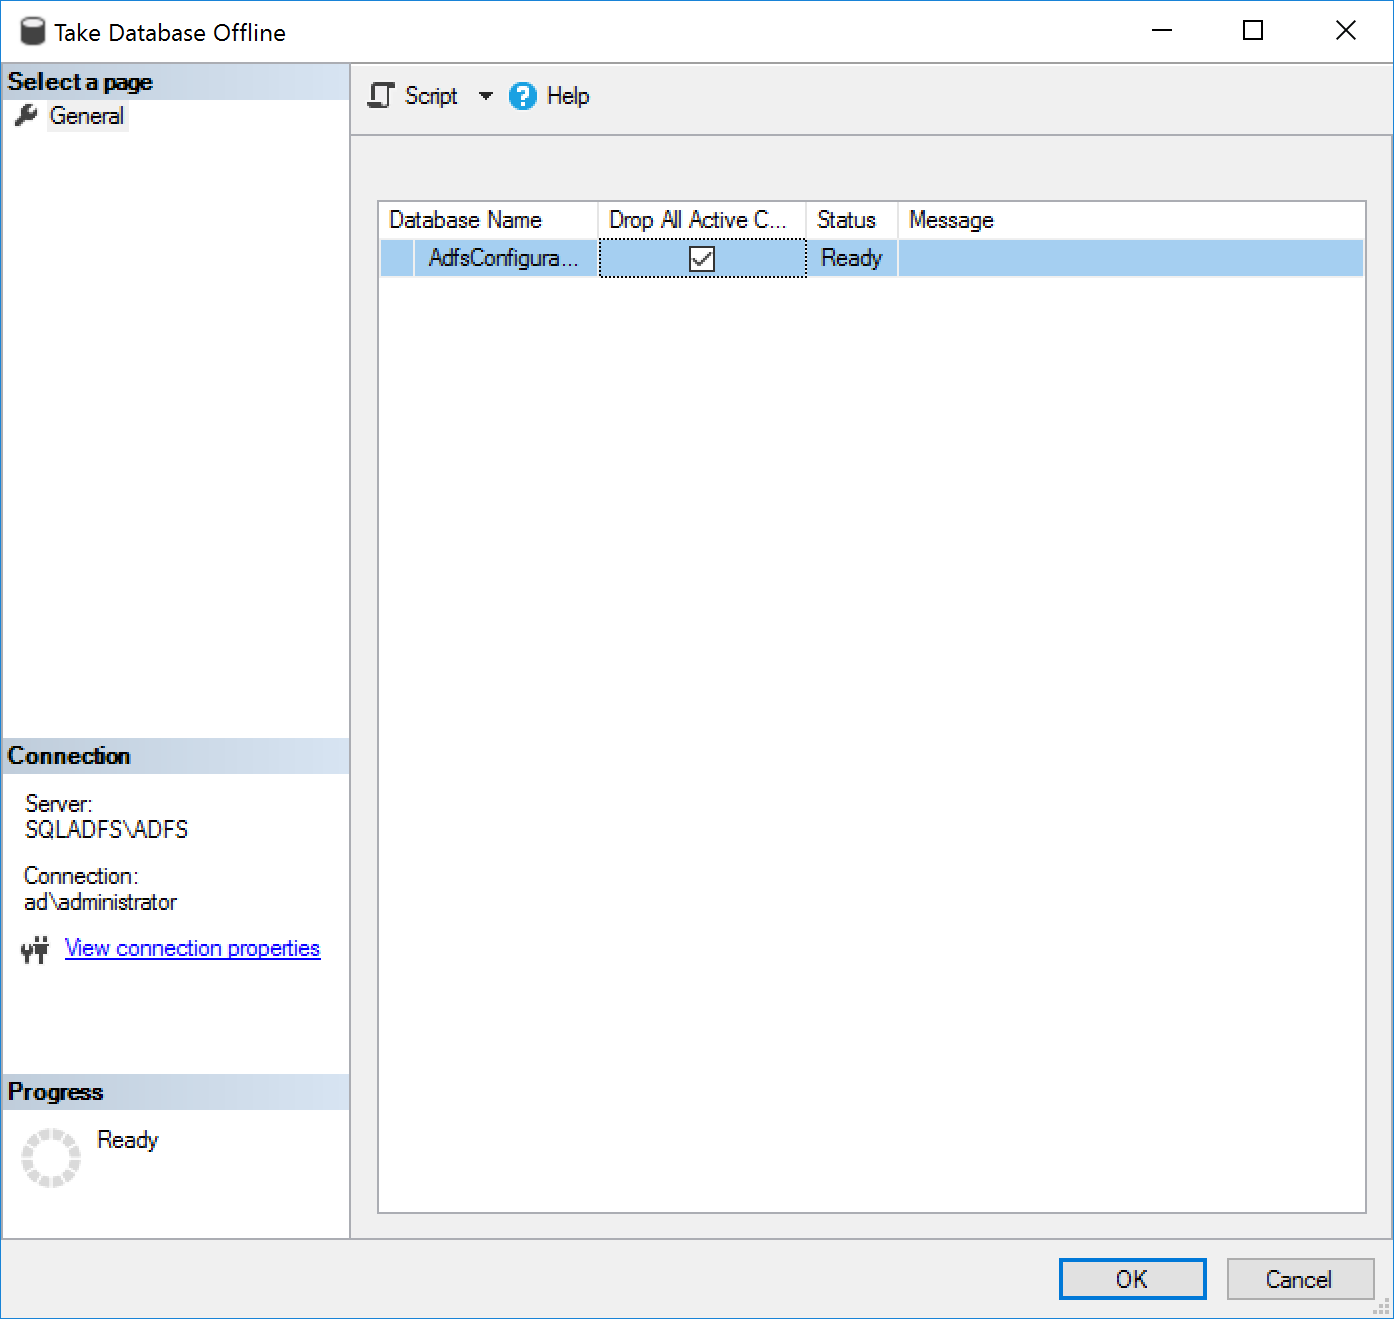
Take the database V3 offline
Set permission on database
Copy/paste the content of the second file “Setpermissions.sql” in MS SQL Management studio
Get current version of ADFS Farm

Upgrade the Configuration Version of existing WAP servers
Run the same action describes in chapter “Upgrade operating system”
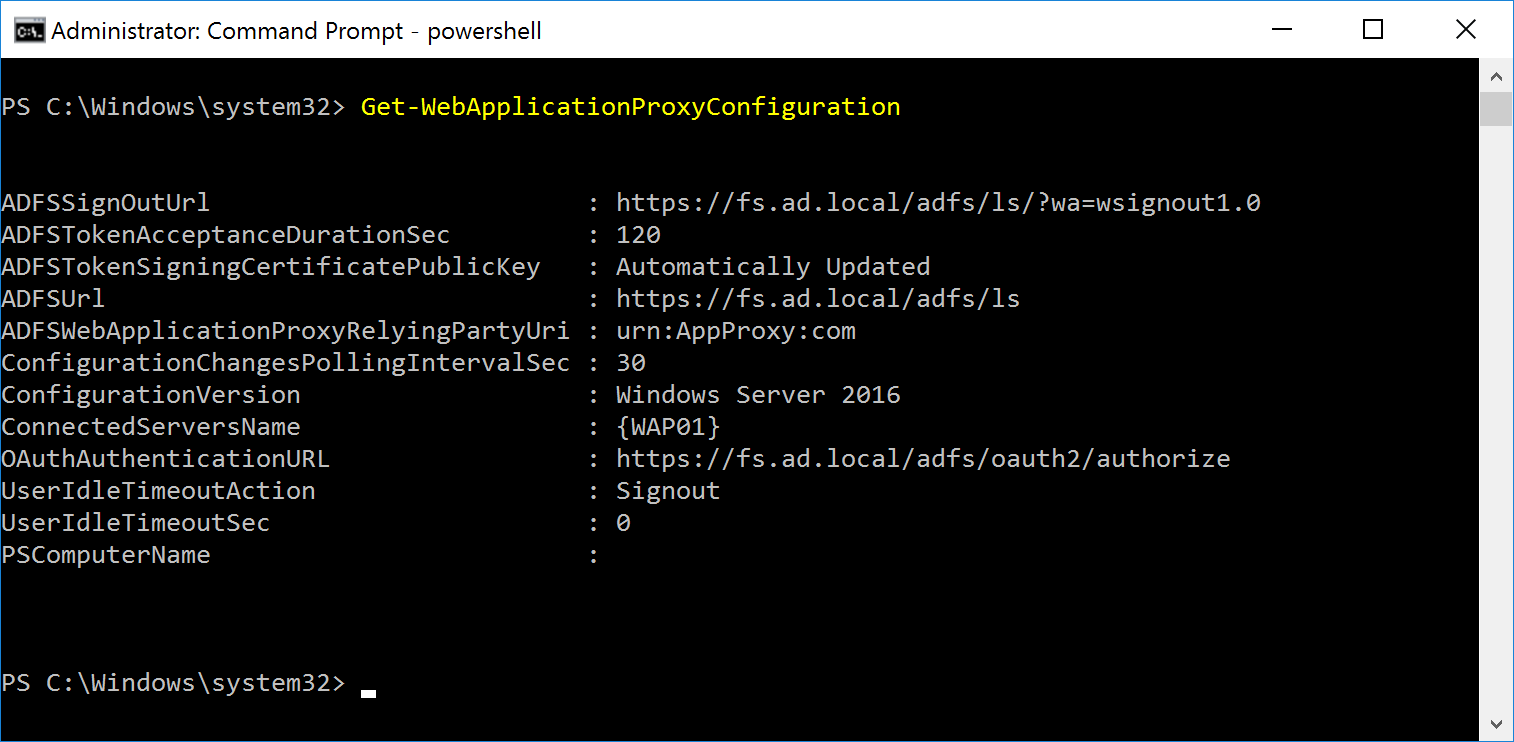
Verify web application proxy configuration
Get-WebApplicationProxyConfiguration
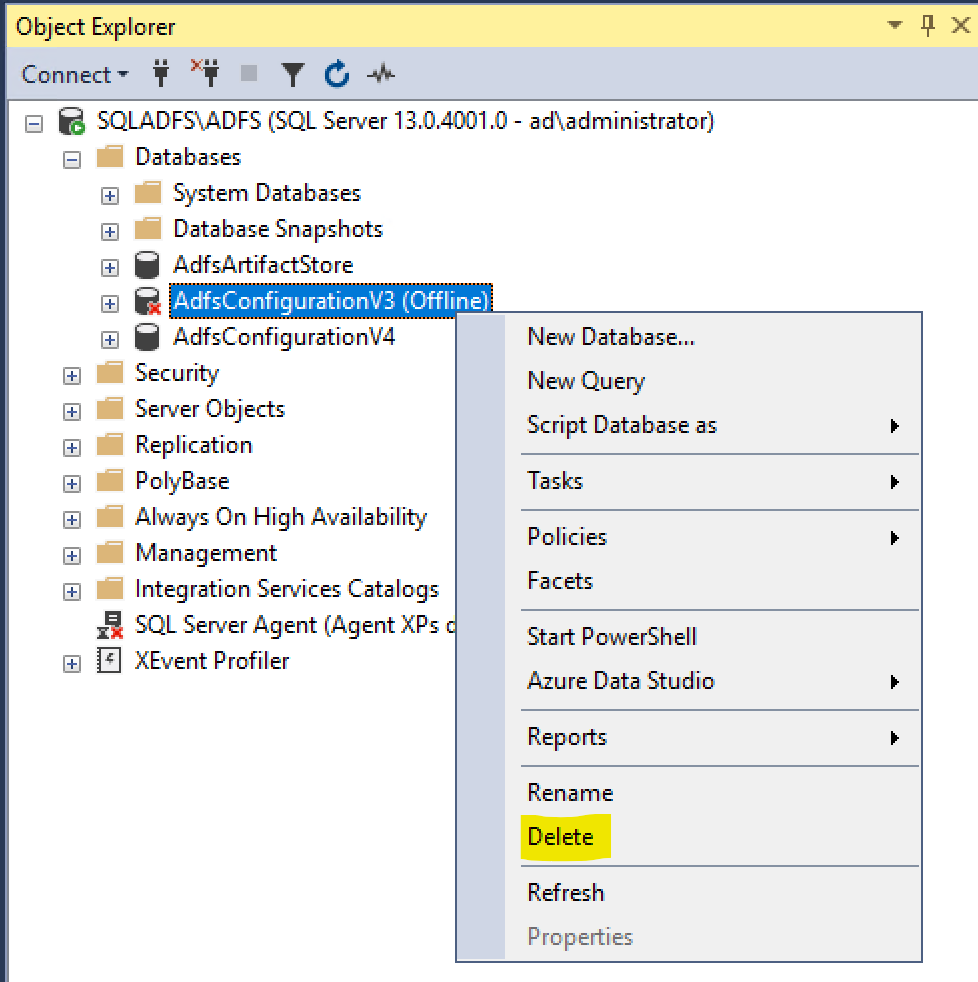
Remove old database V3
Connect on MS SQL Server and open administration server SQL console.
Select the database name “ADFSConfigurationV3”, click right on the database and select “Delete”
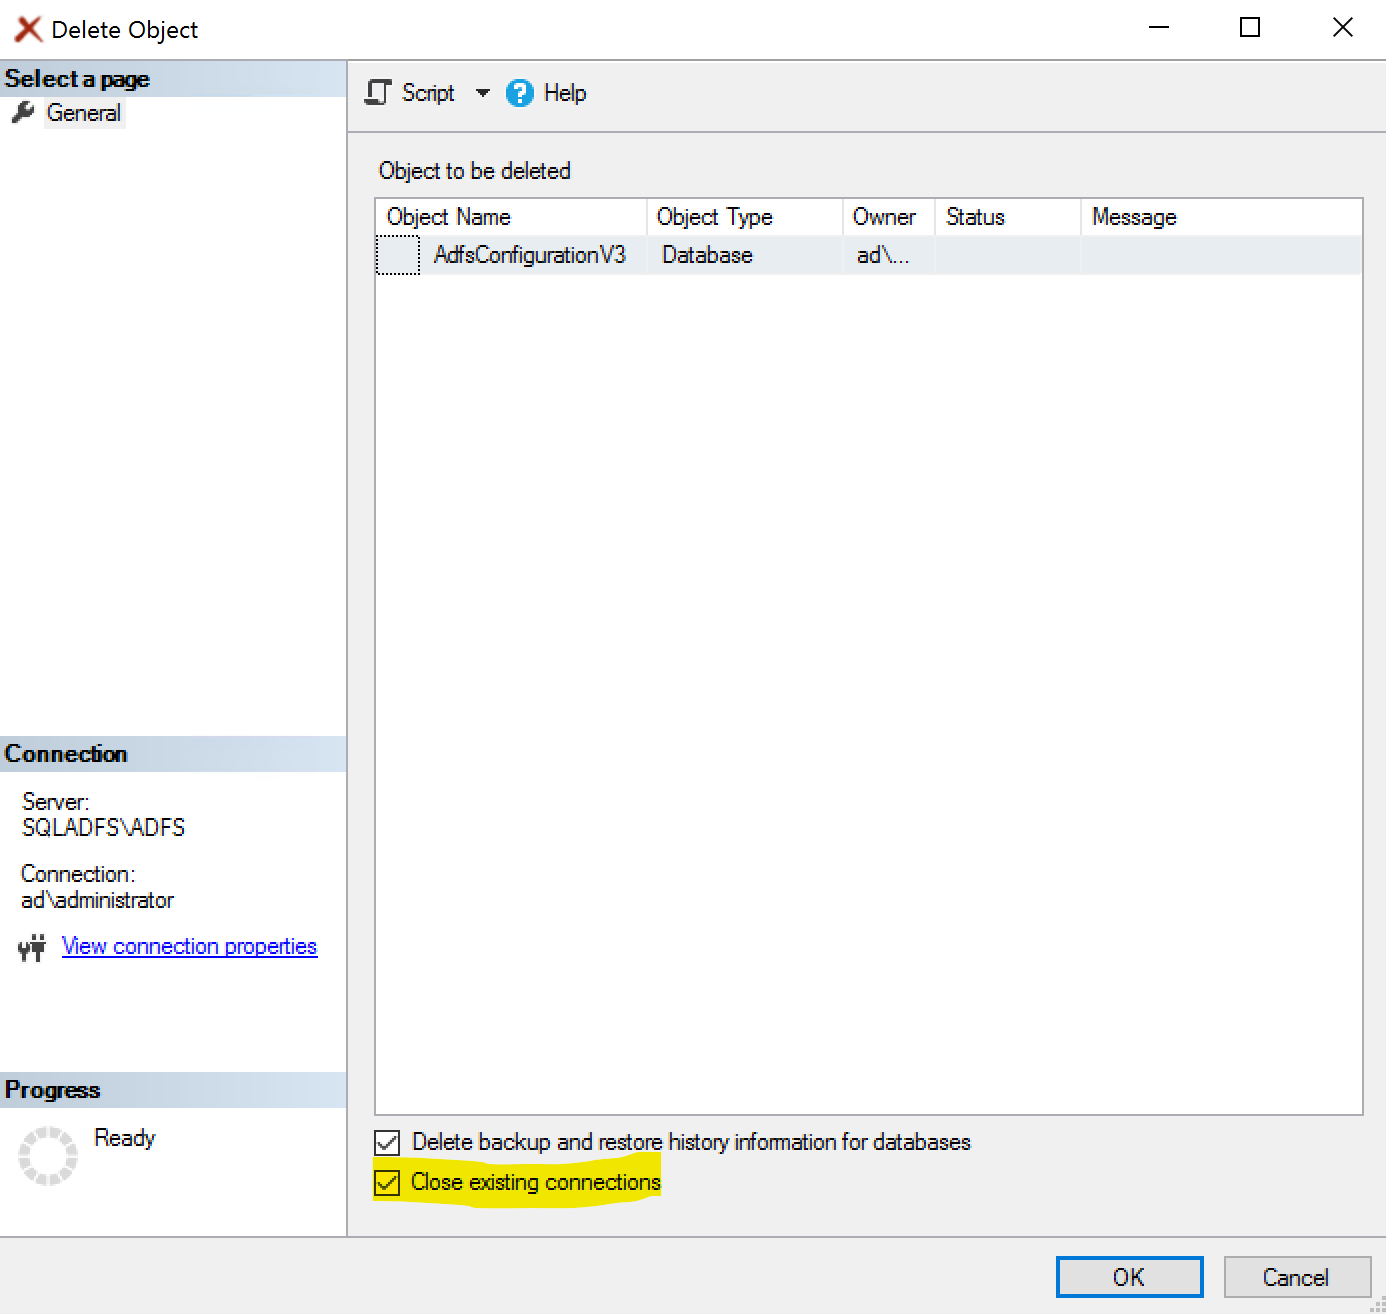
Select “Close existing connections” and press on button “OK”
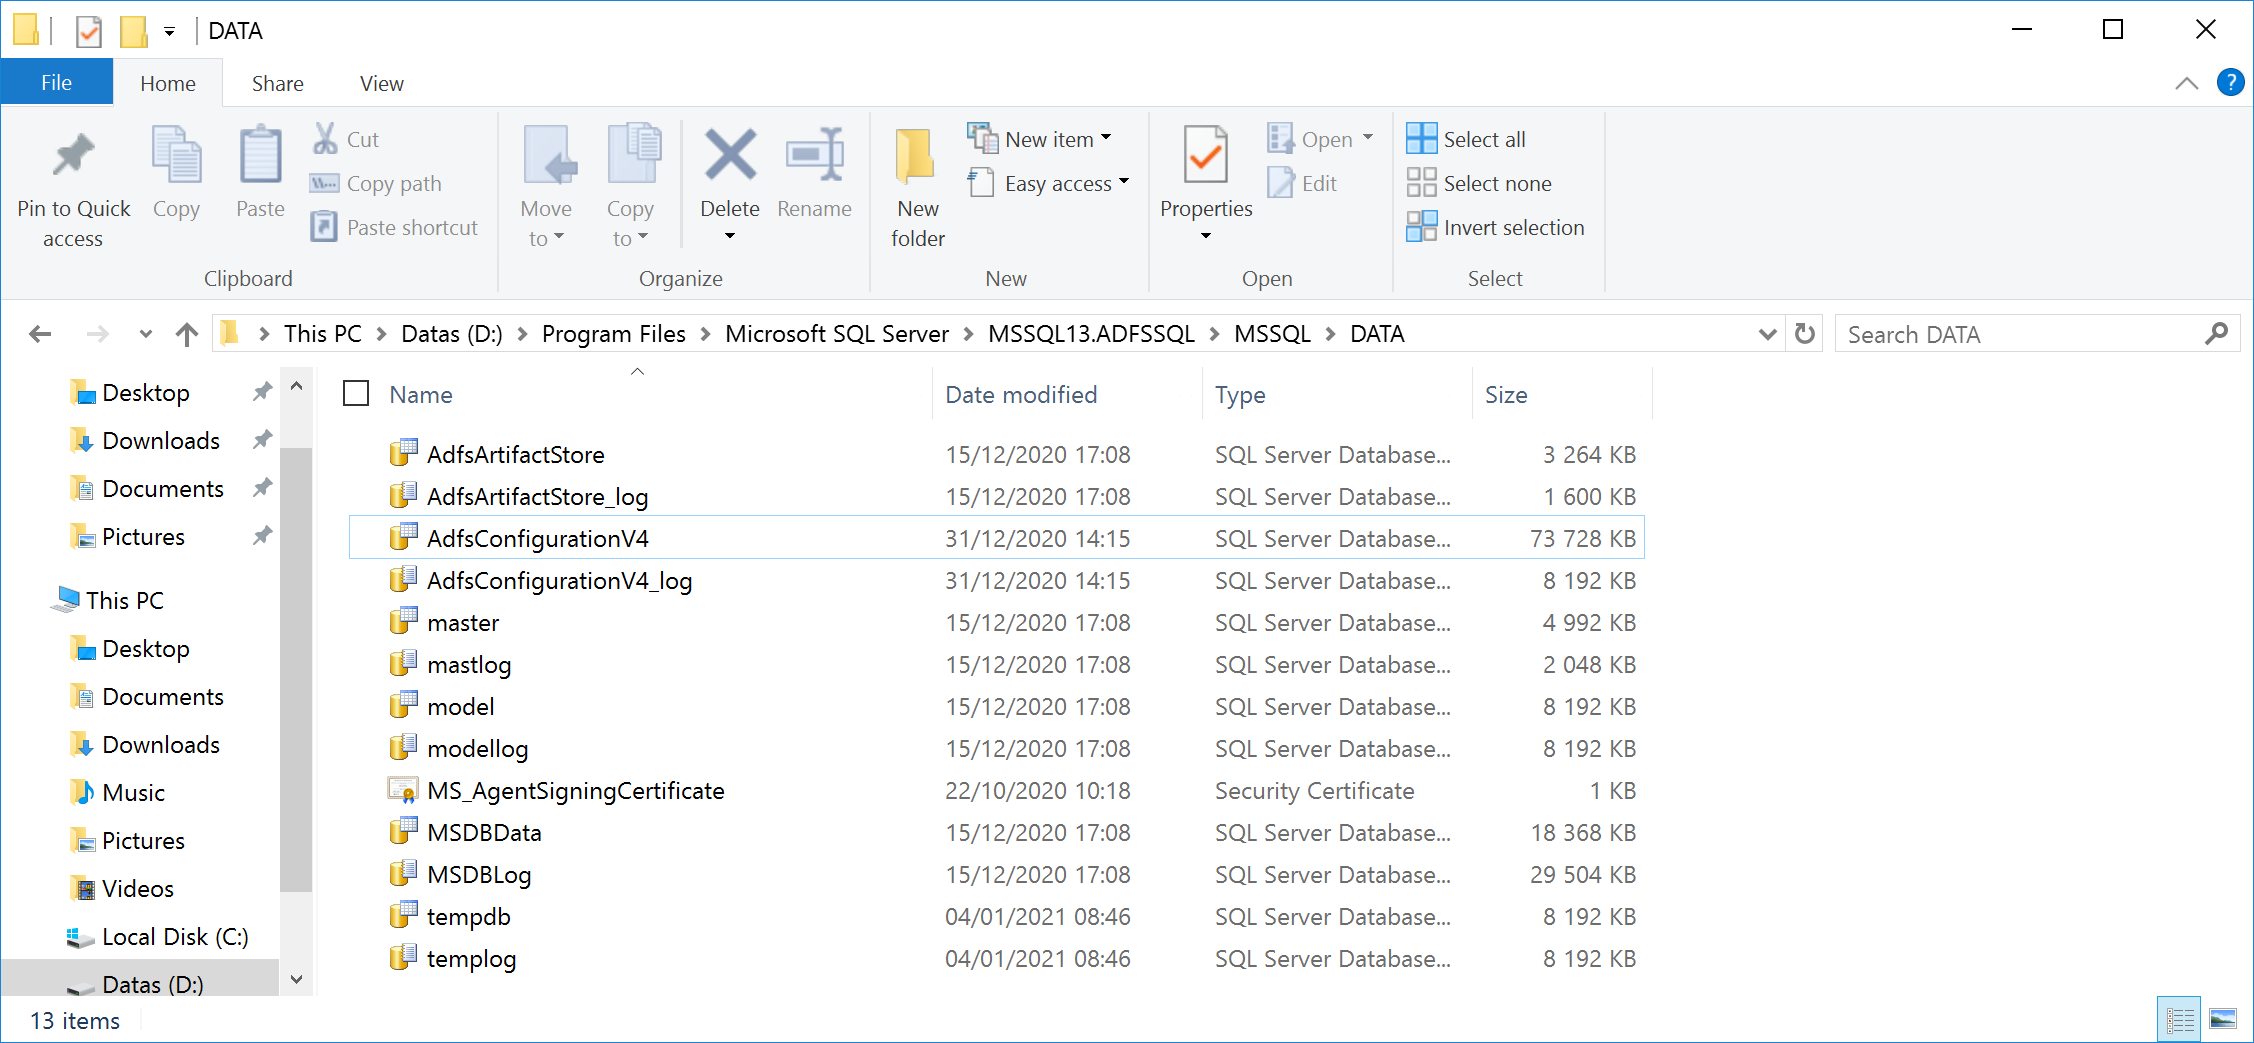
Go to explorer and brows path to the database file and log
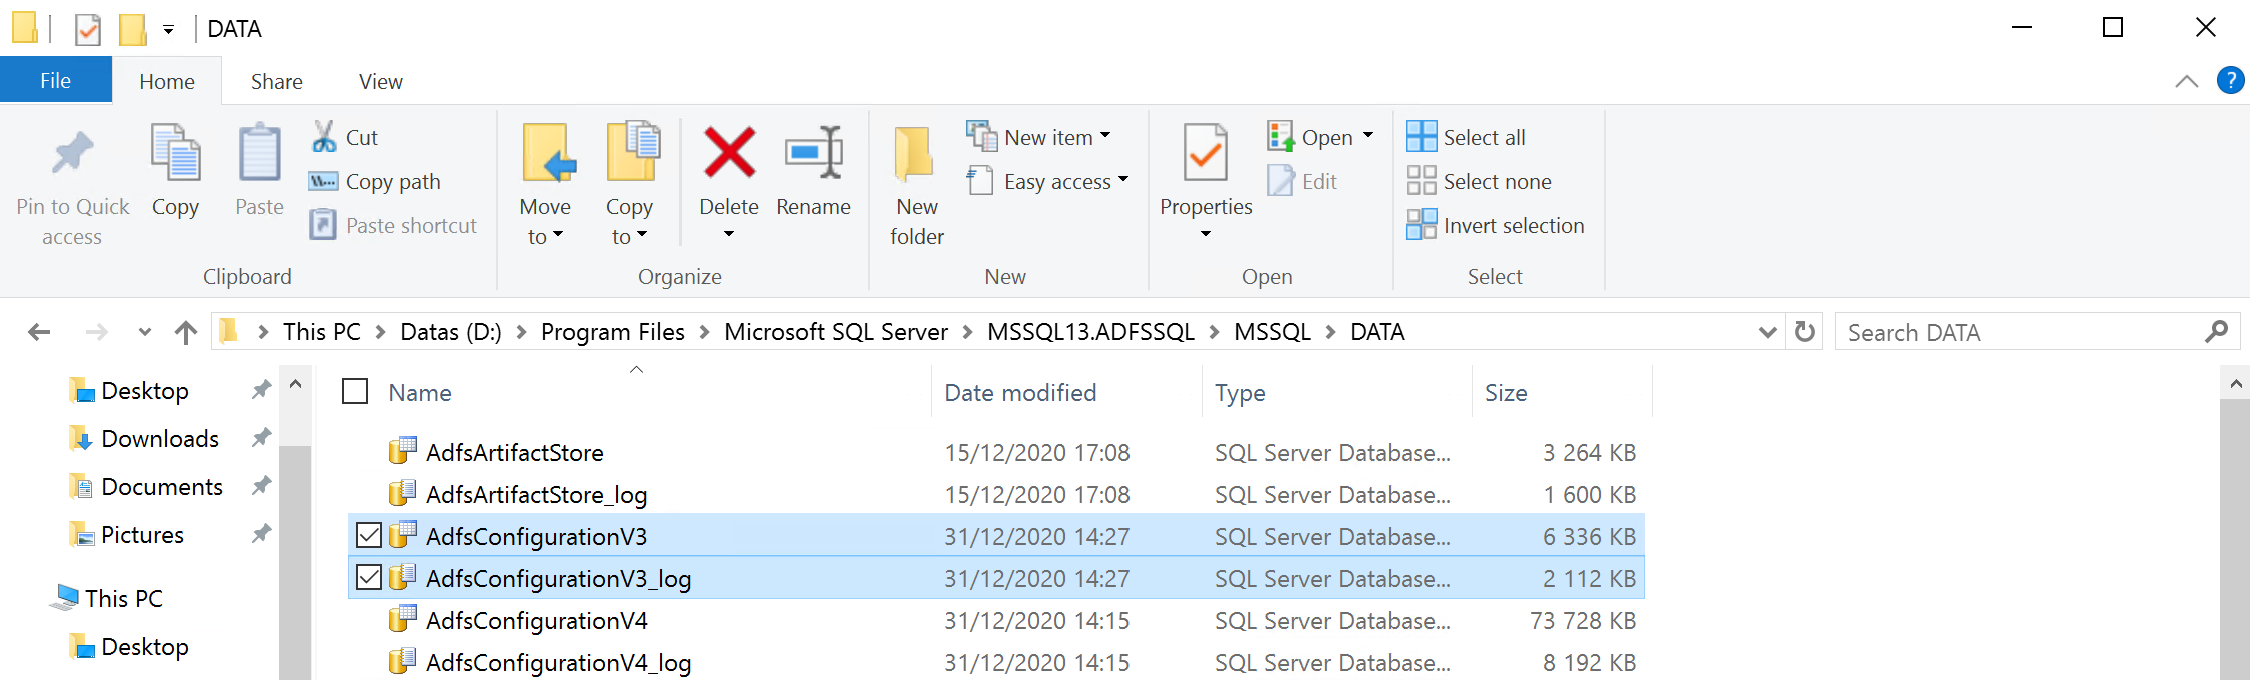
Select files “ADFSConfigurationV3”, click right on them
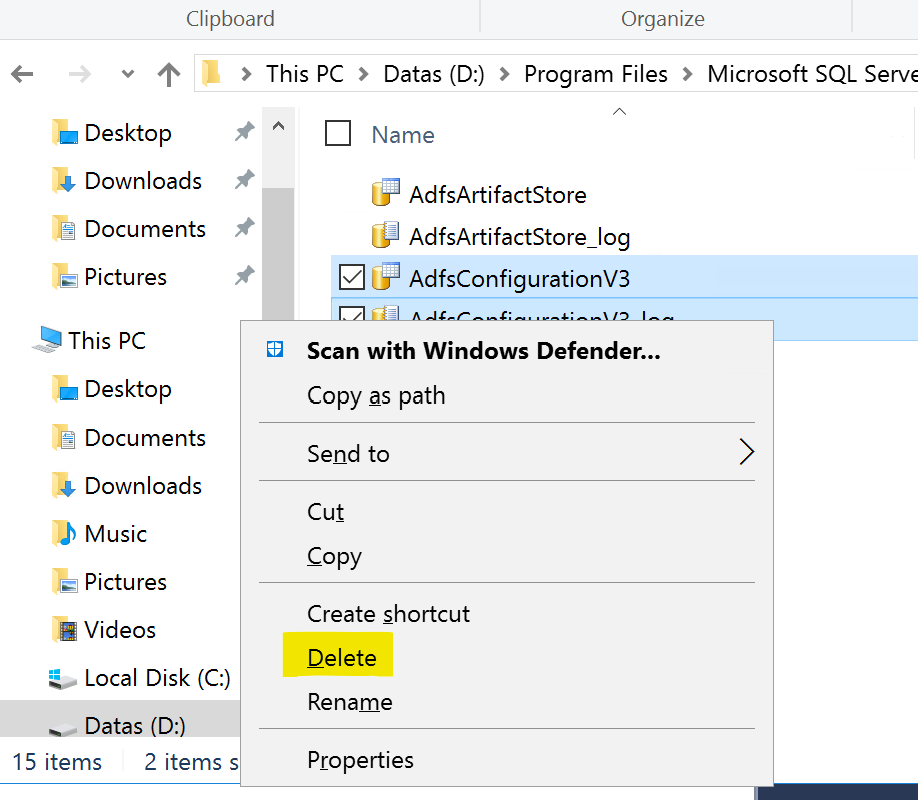
Select in the dropdown menu “Delete”
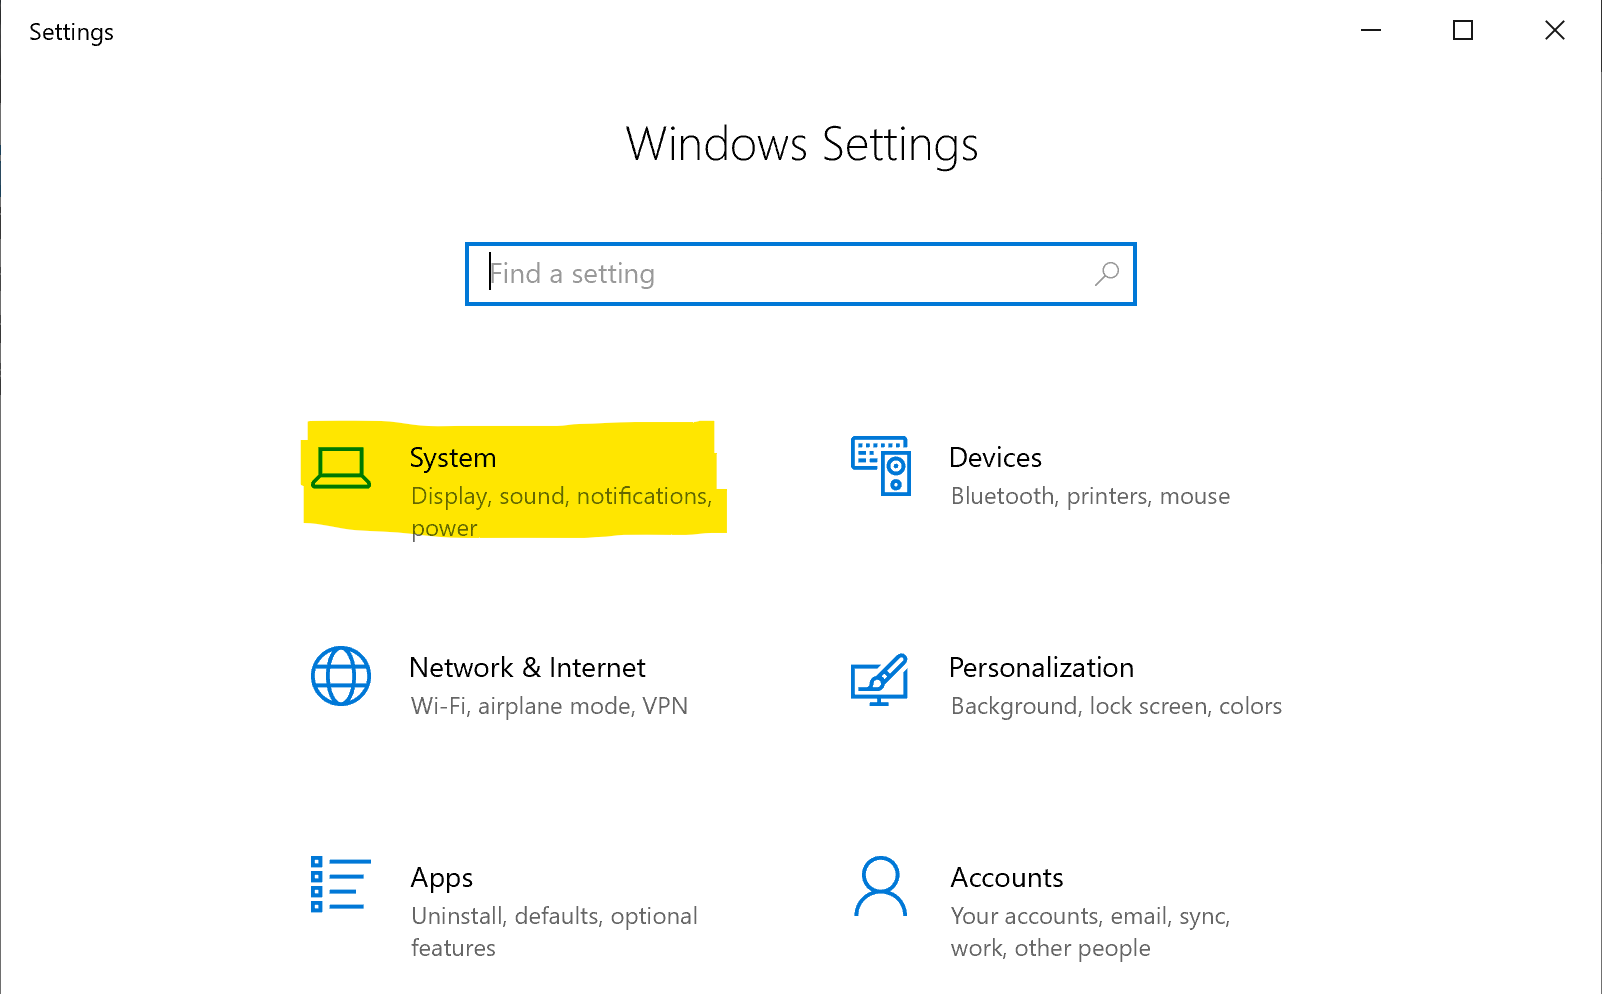
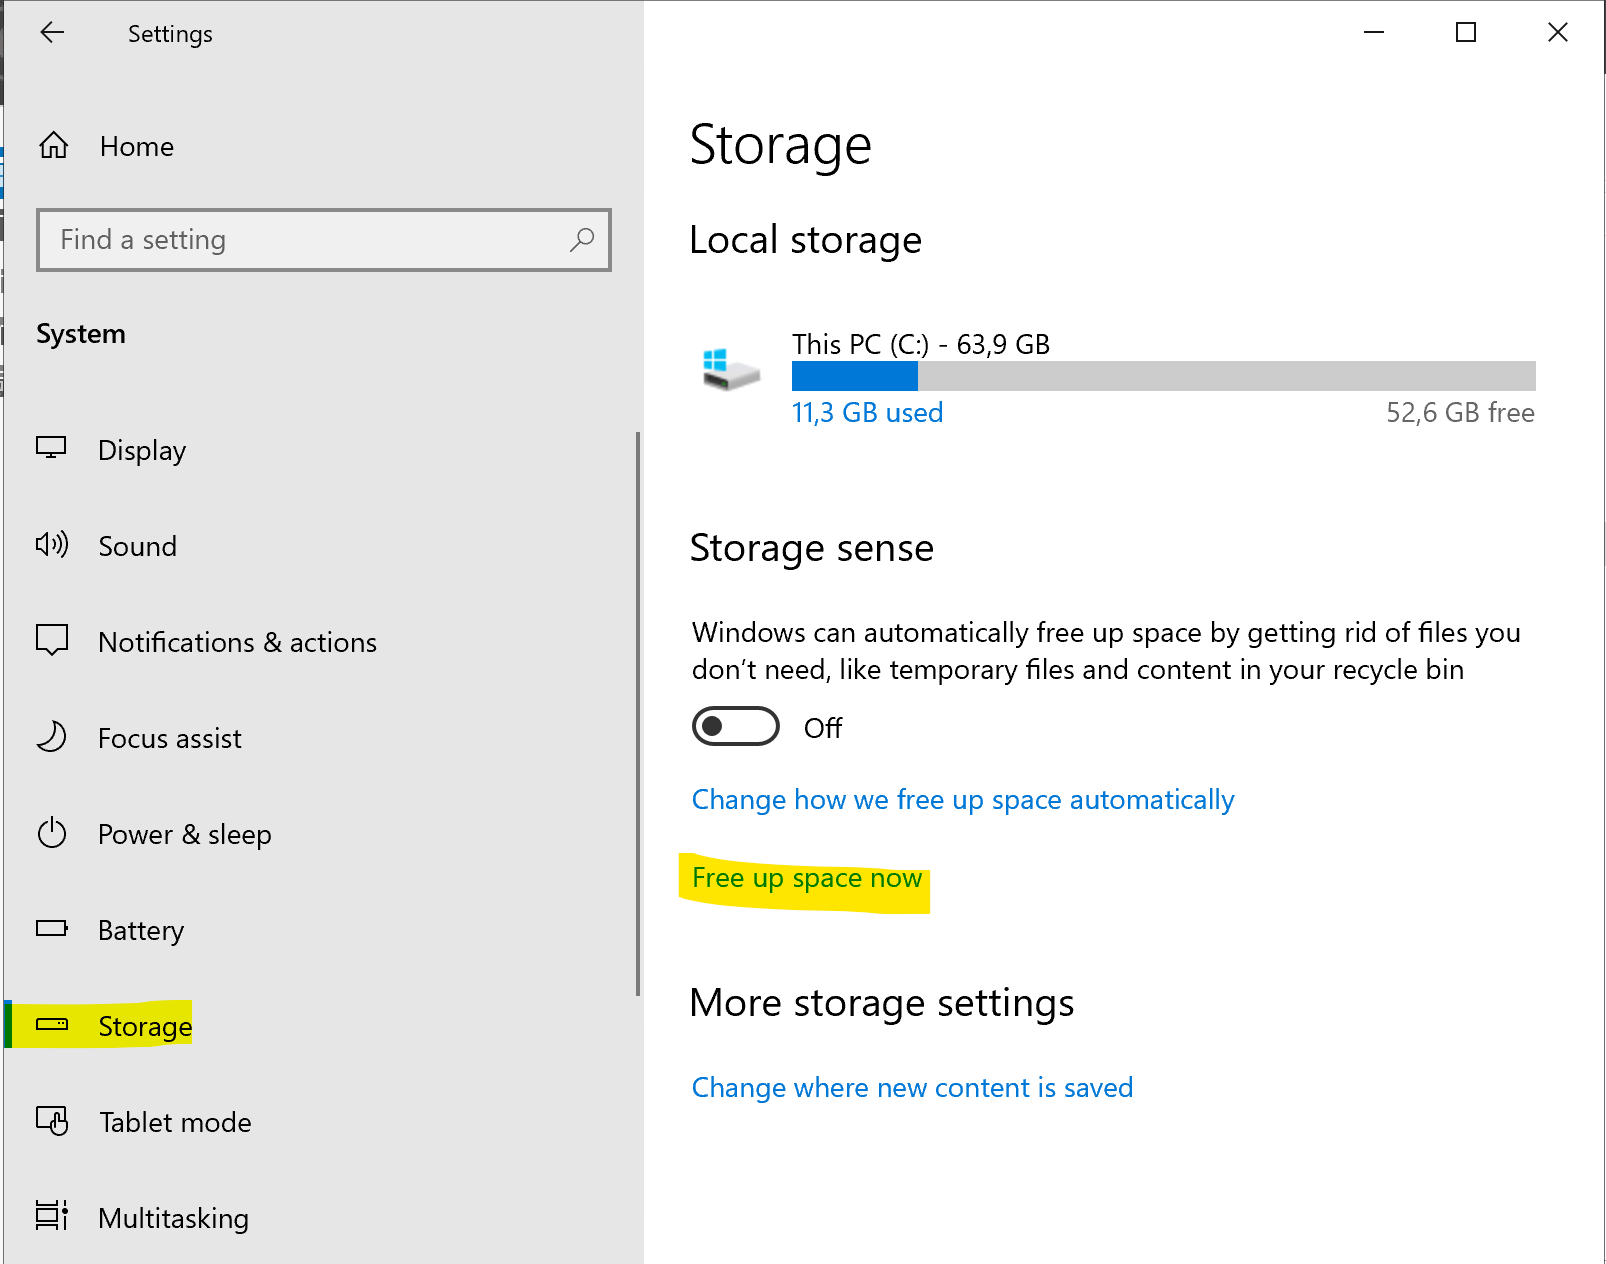
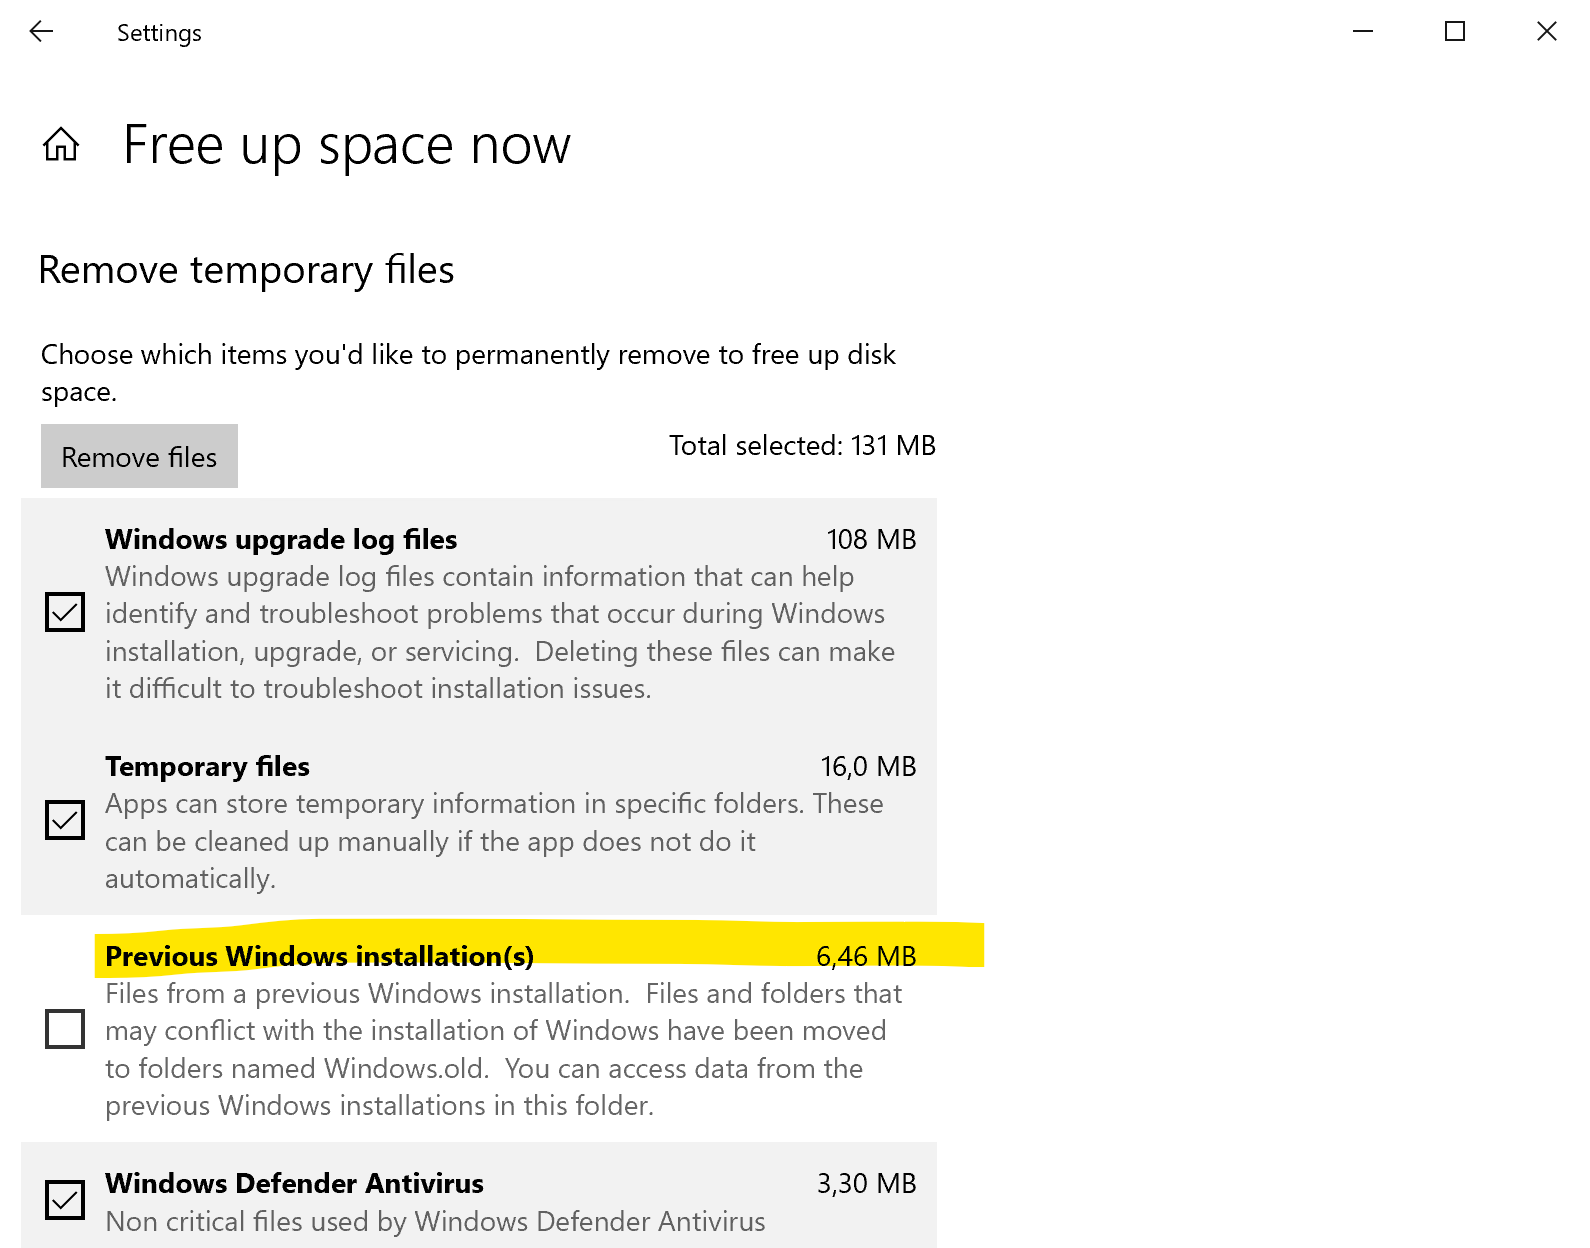
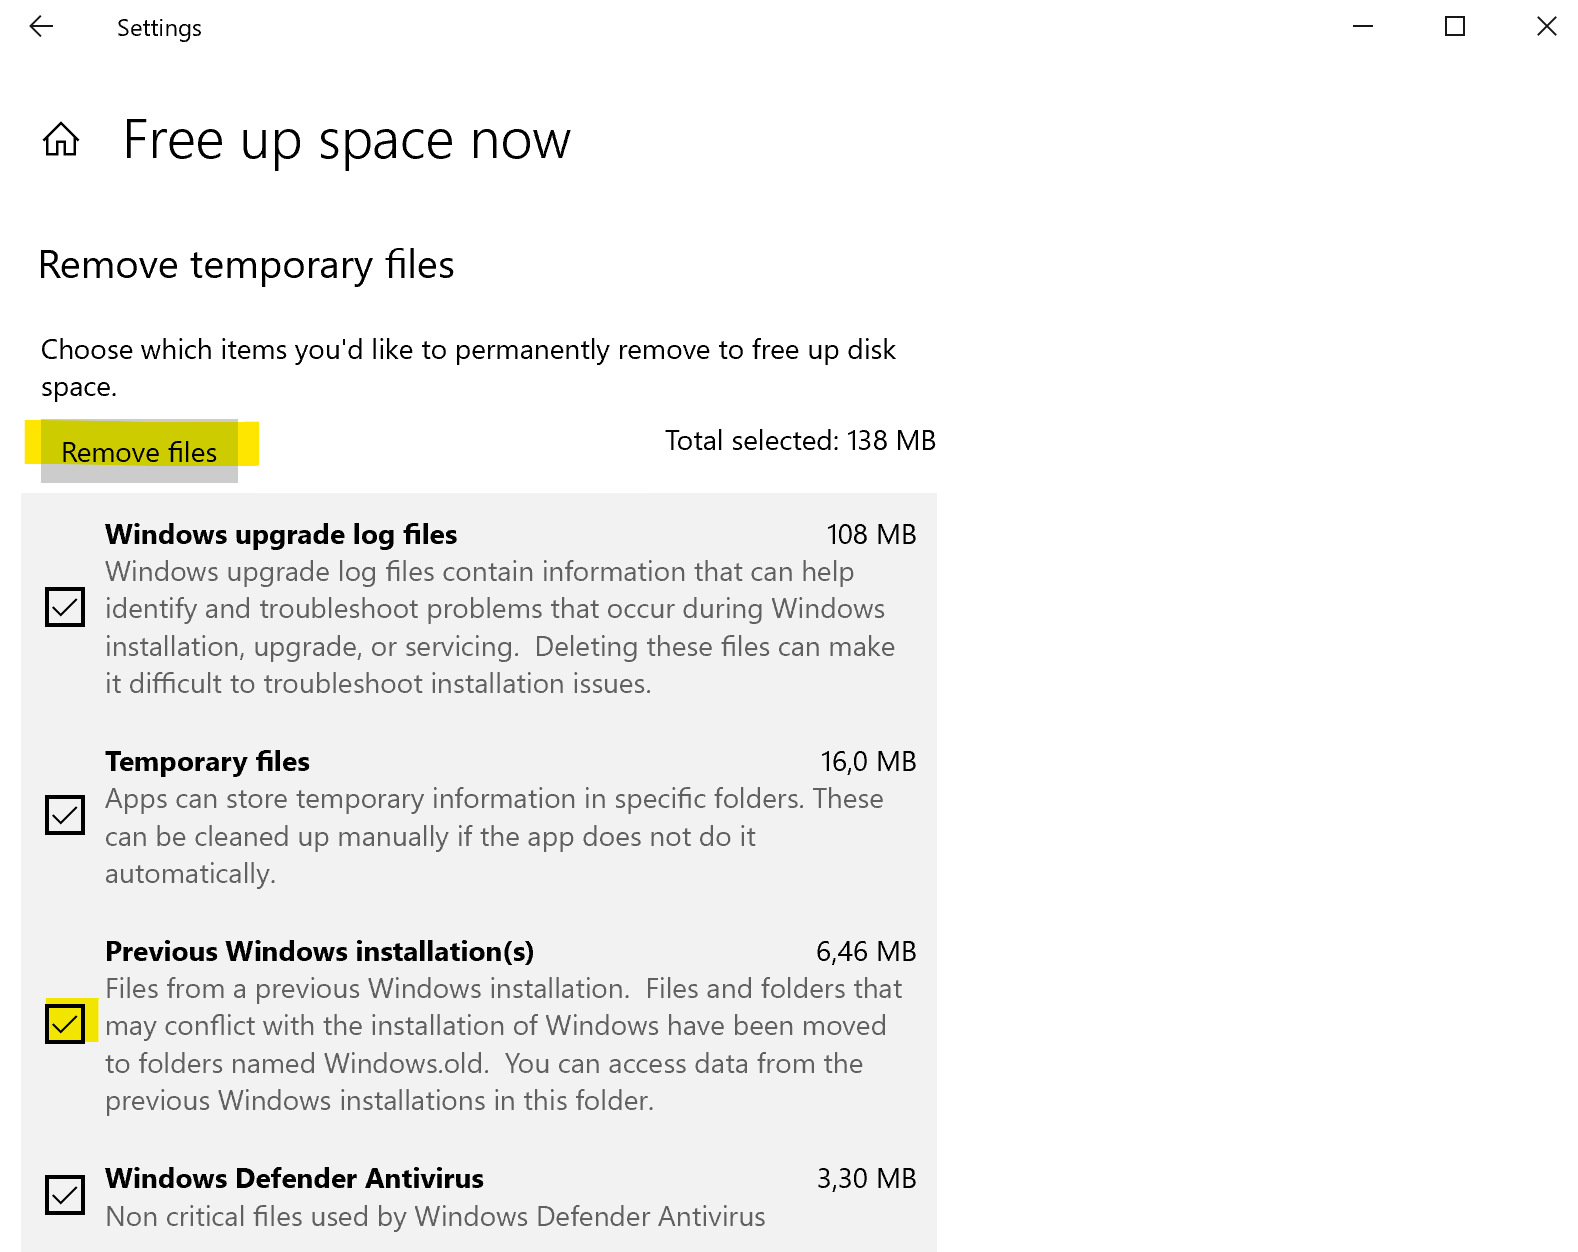
Clean old installation of Windows server 2016
After upgrade operating system, a folder is created with the old OS. We need to delete this folder if the OS upgrade is validating.
To delete this folder, please execute these steps: