
Working at home is nice, having the chance to have my own room for that is ever more lucky. But still I'm working at home and family just walk in whenever they want and it's sometime not the best moments :)
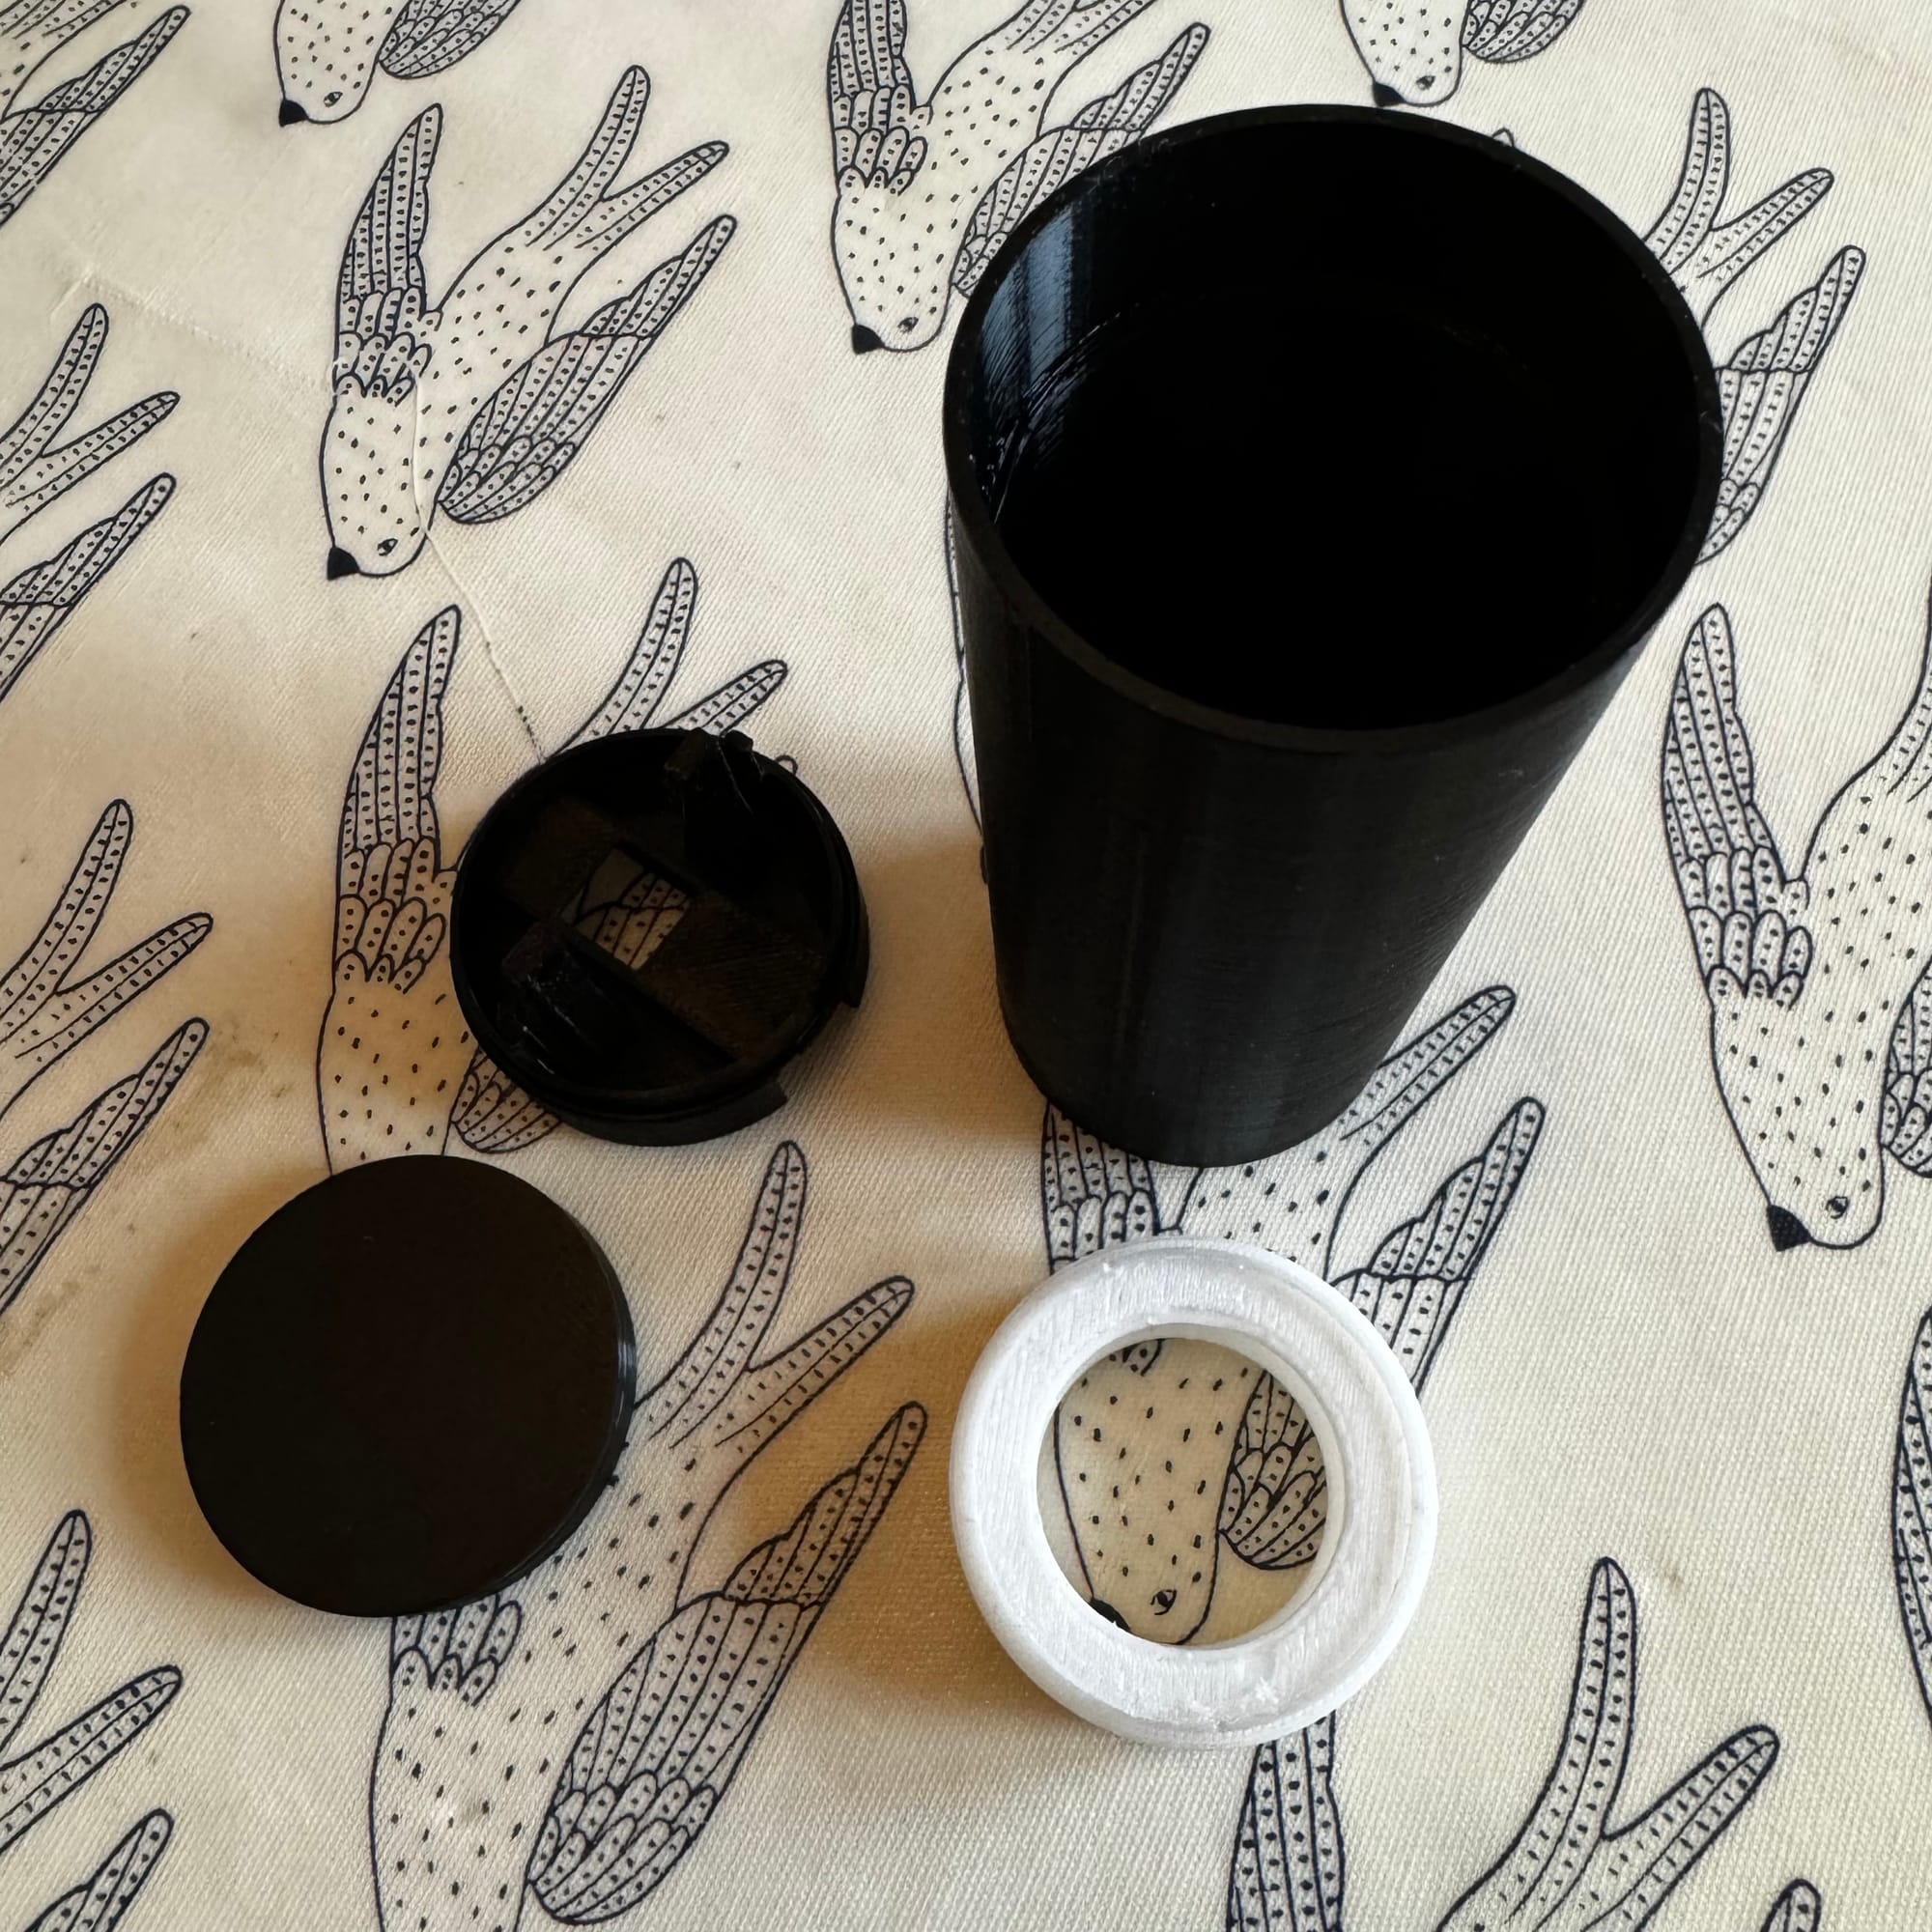
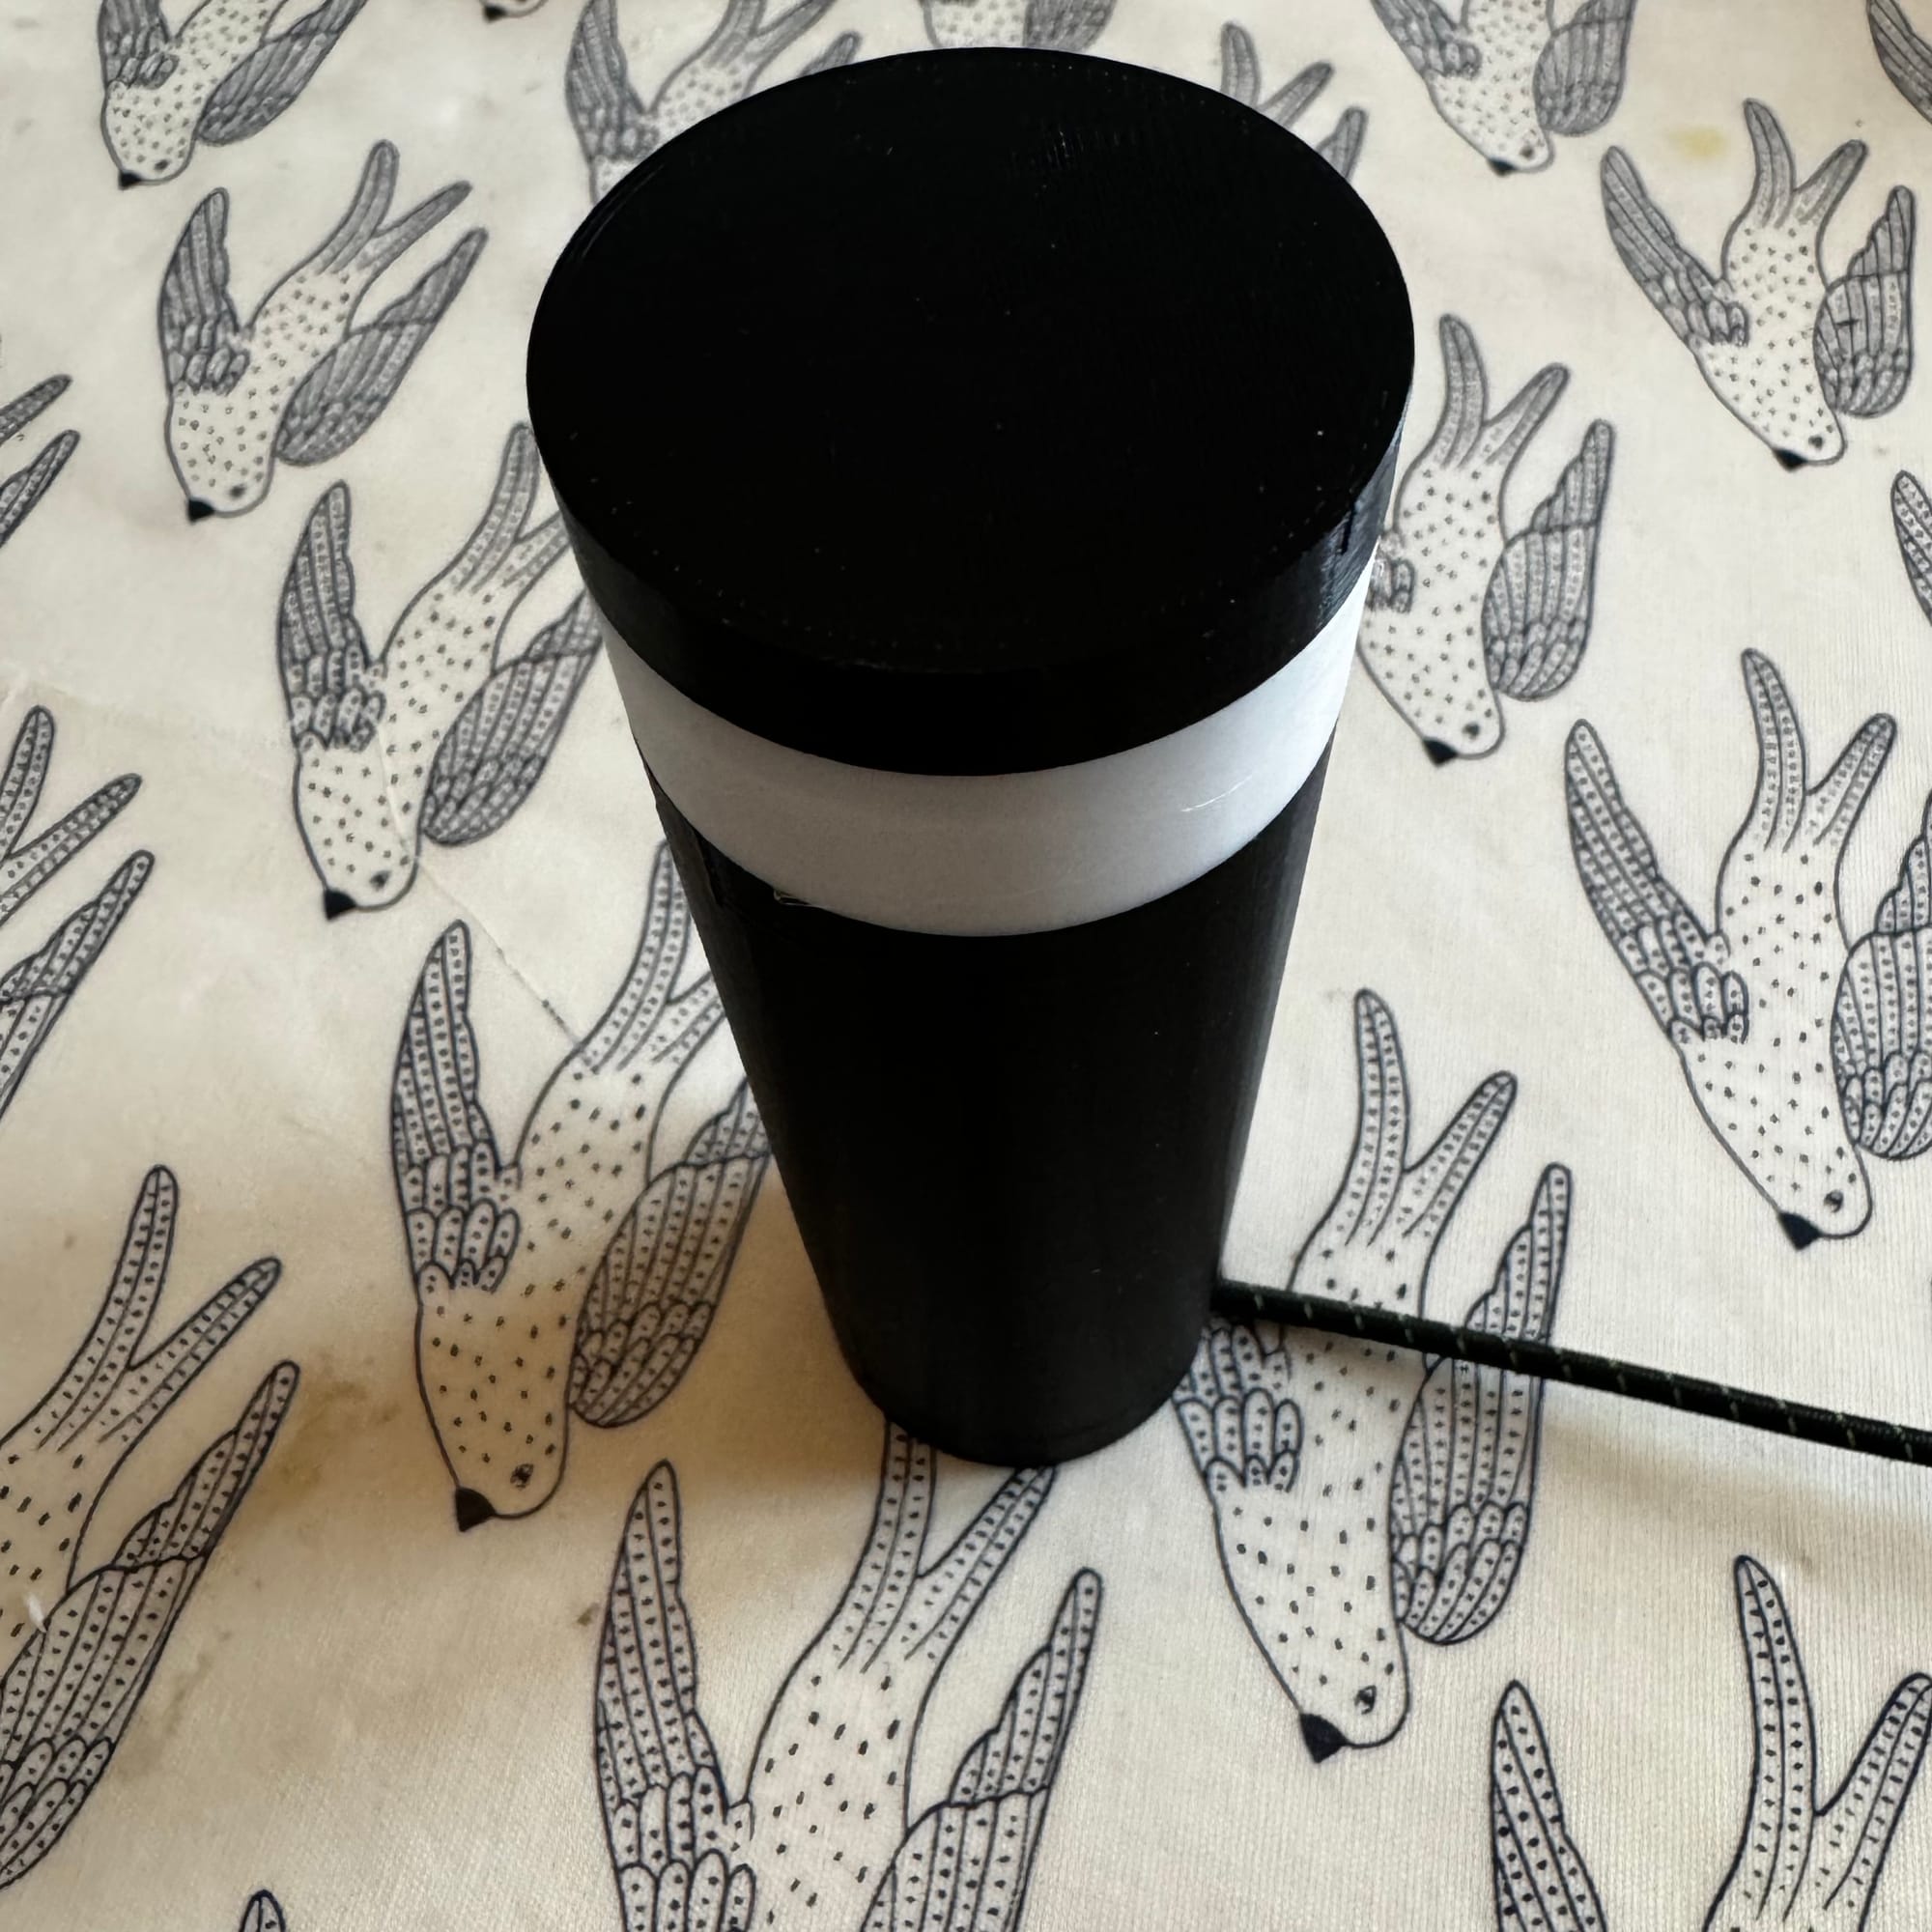
I found this useful 3D printed case for this project :


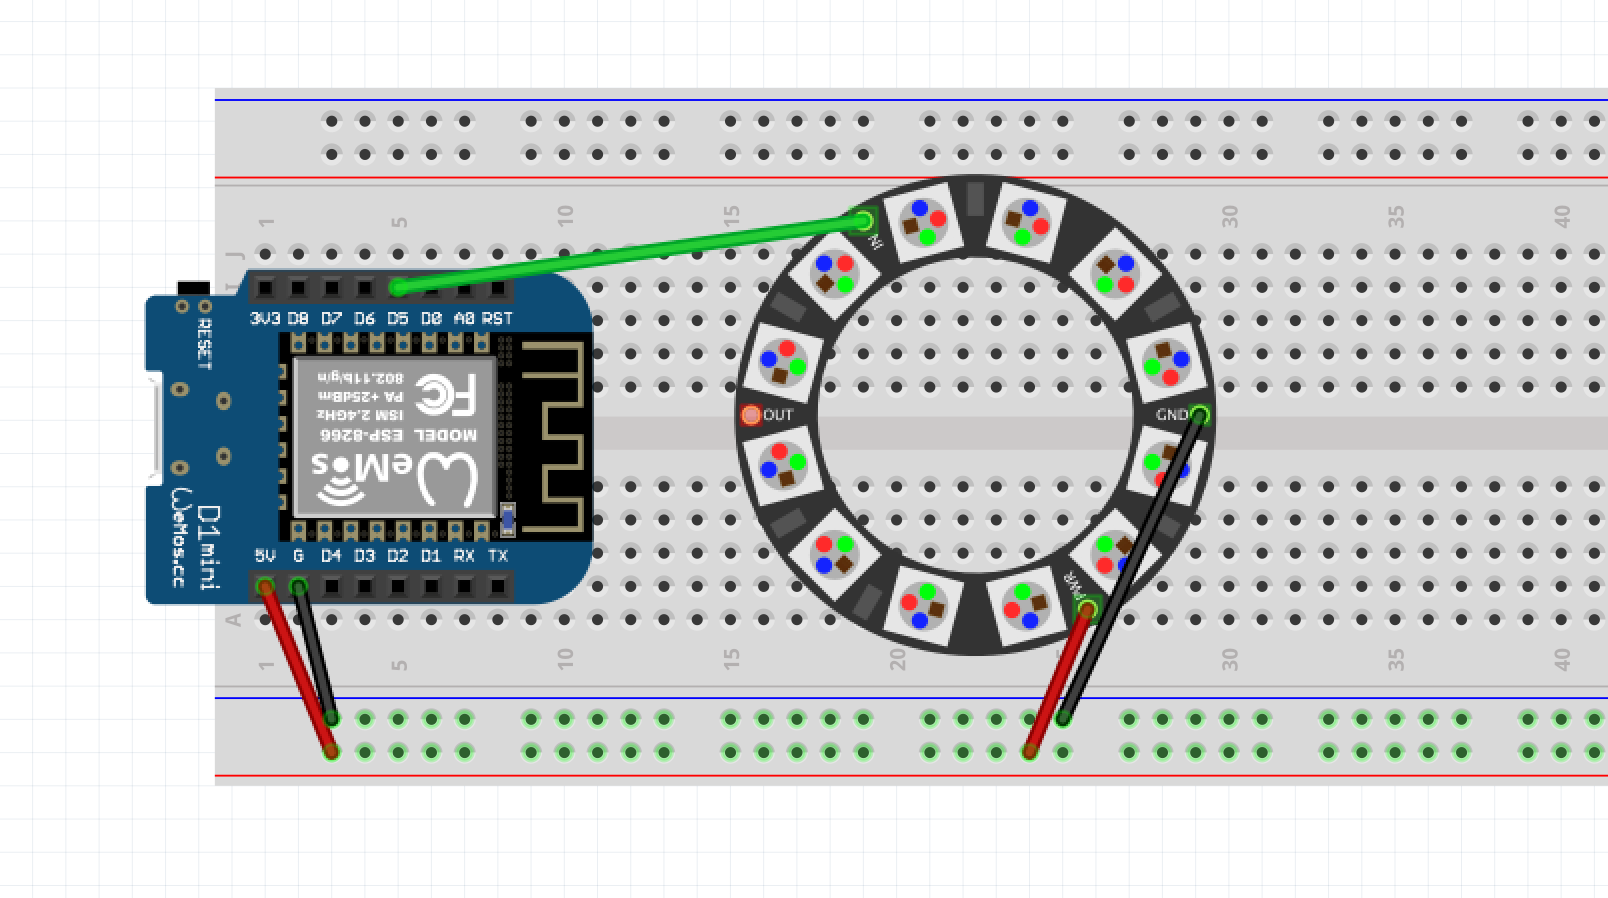
I already had on ESP8266 mini D1 available so I needed to buy this 12Led ring, I found it on amazon here :

If you need some ESP board; you can find the one I used here :

The wiring is simple and very easy to realise :
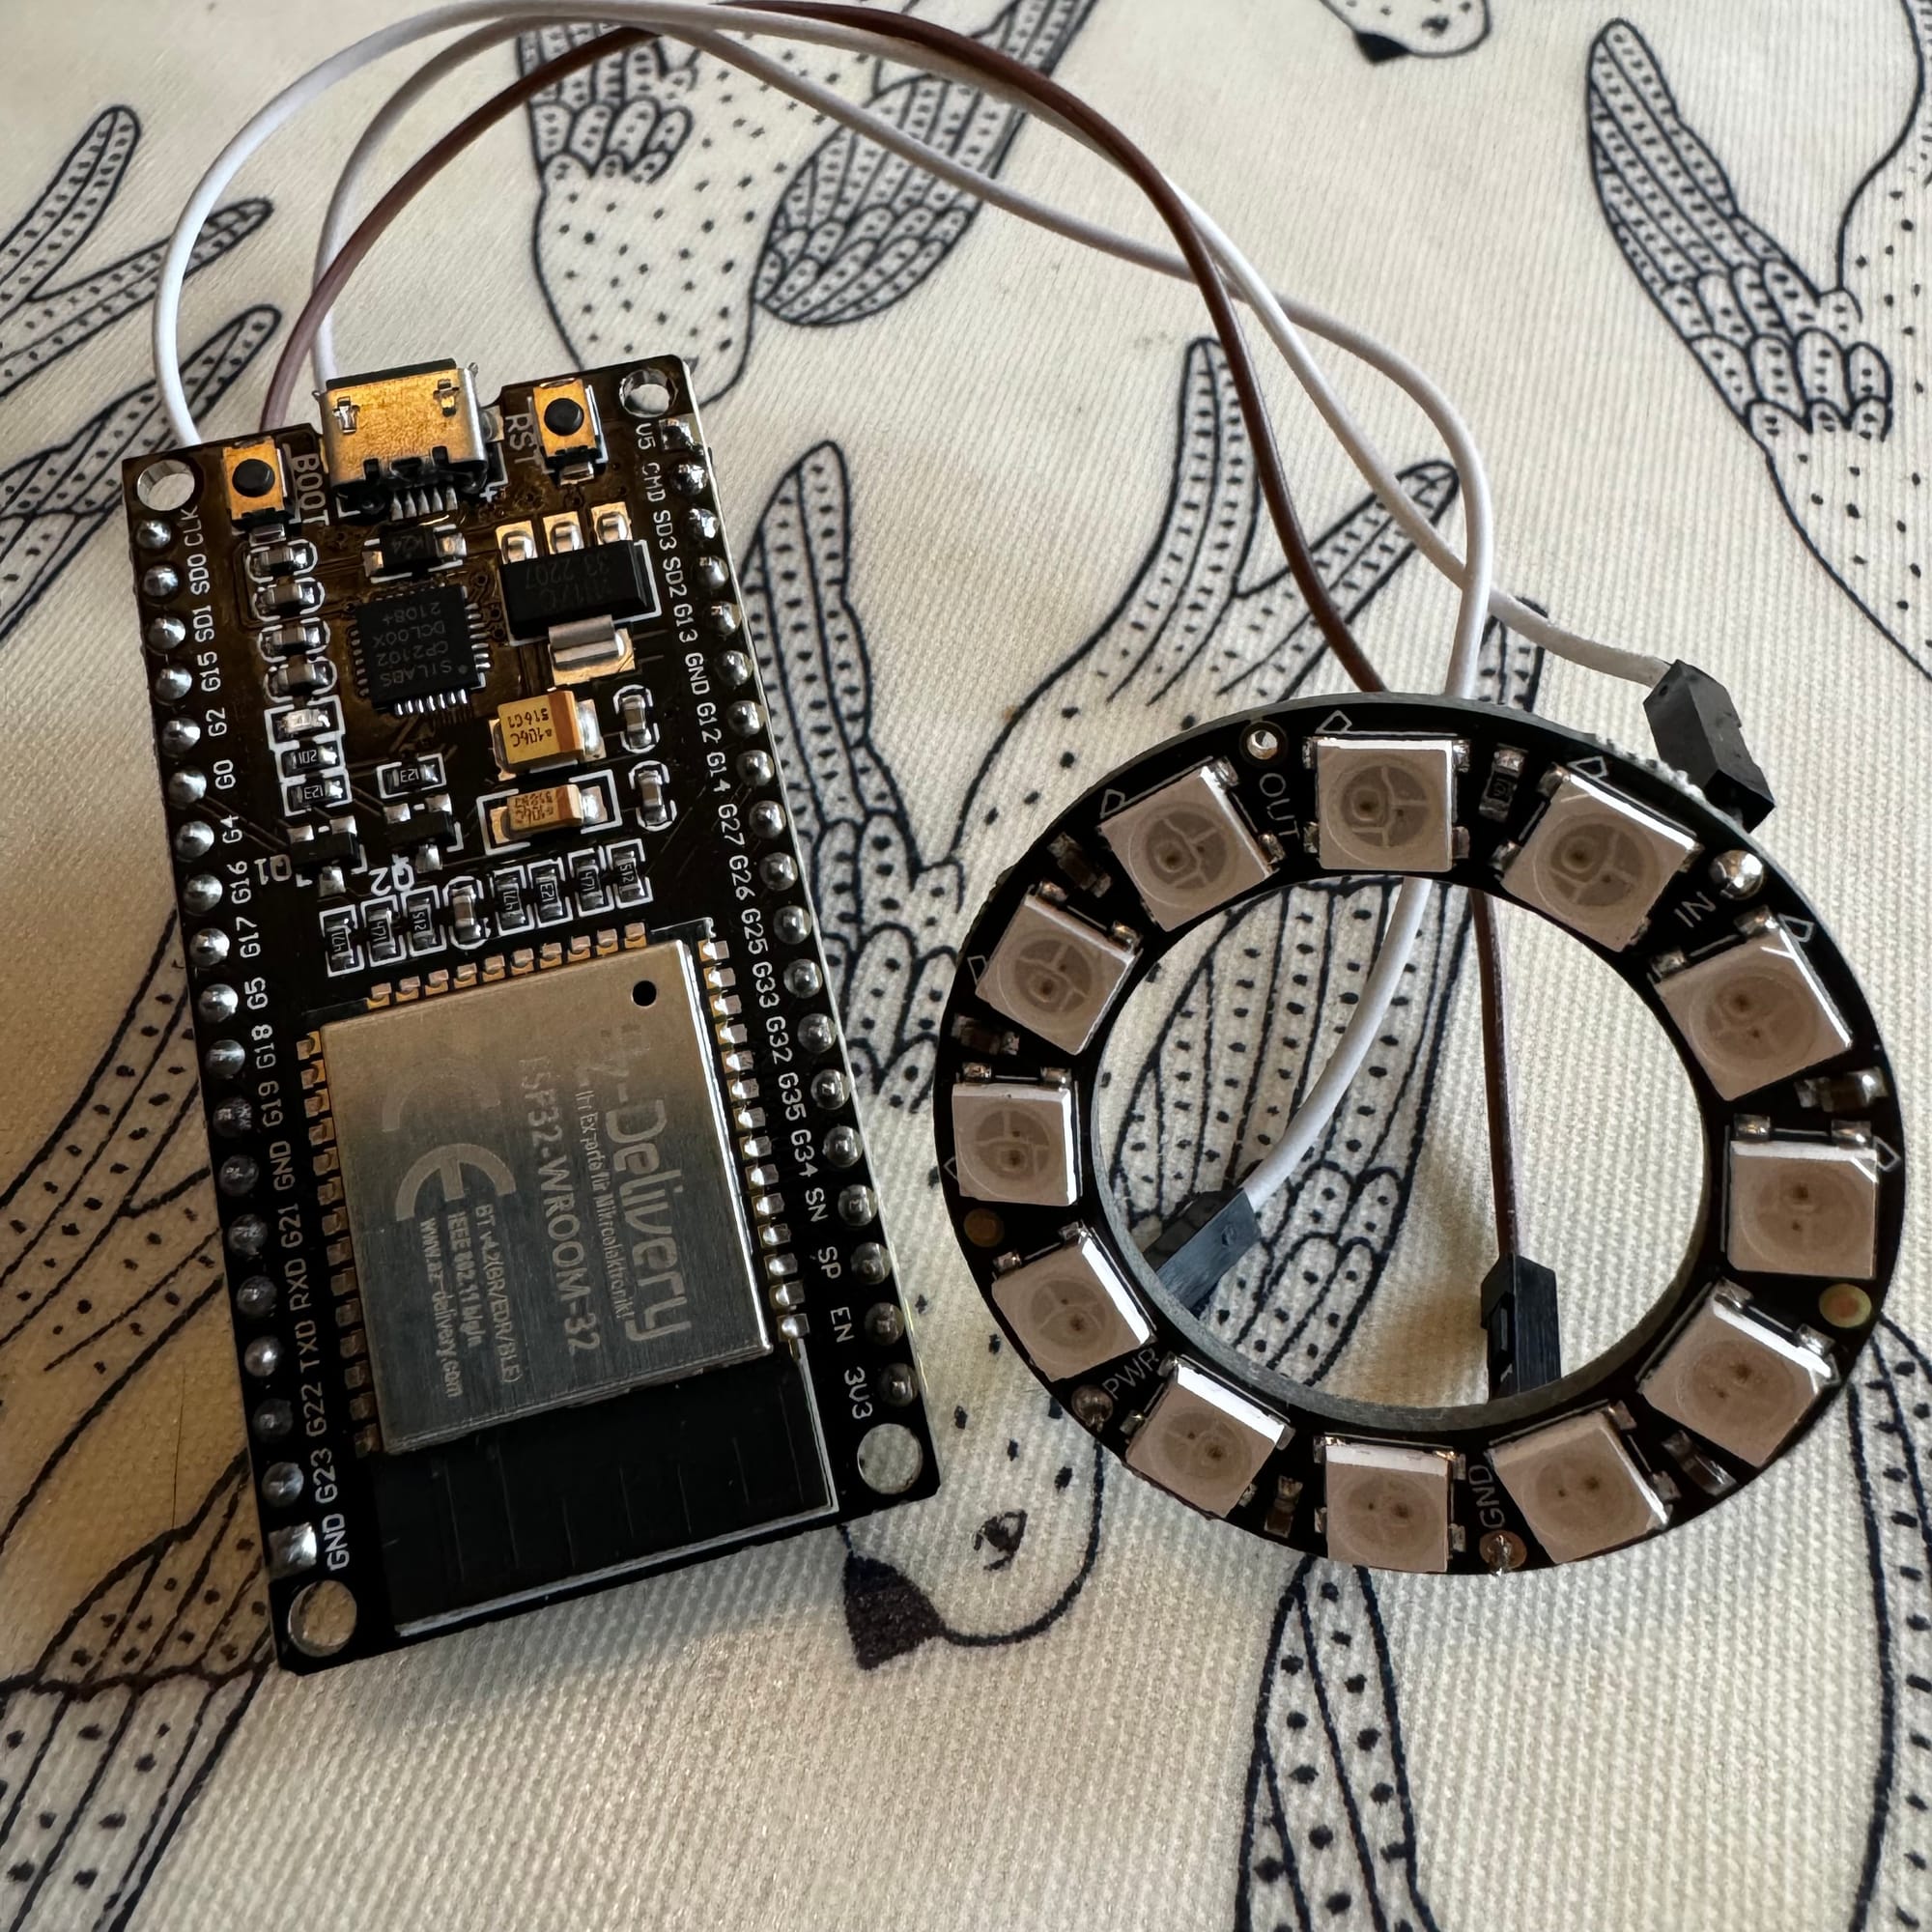
Now everything is solder, you need to use ESPHome to send this config to the ESP
esphome:
name: busylight
friendly_name: BusyLight
esp32:
board: az-delivery-devkit-v4
framework:
type: arduino
# Enable logging
logger:
# Enable Home Assistant API
api: xxx
ota: xxx
# Enable Web server.
web_server:
port: 80
wifi:
networks:
ssid: !secret wifi_ESP
password: !secret wifi_password
hidden: false
manual_ip:
static_ip: ${value_static_ip}
gateway: !secret manual_ip_gateway
subnet: !secret manual_ip_subnet
dns1: !secret manual_ip_dns1
light:
- platform: neopixelbus
type: GRB
pin: GPIO13
variant: 800KBPS
num_leds: 36
id: light1
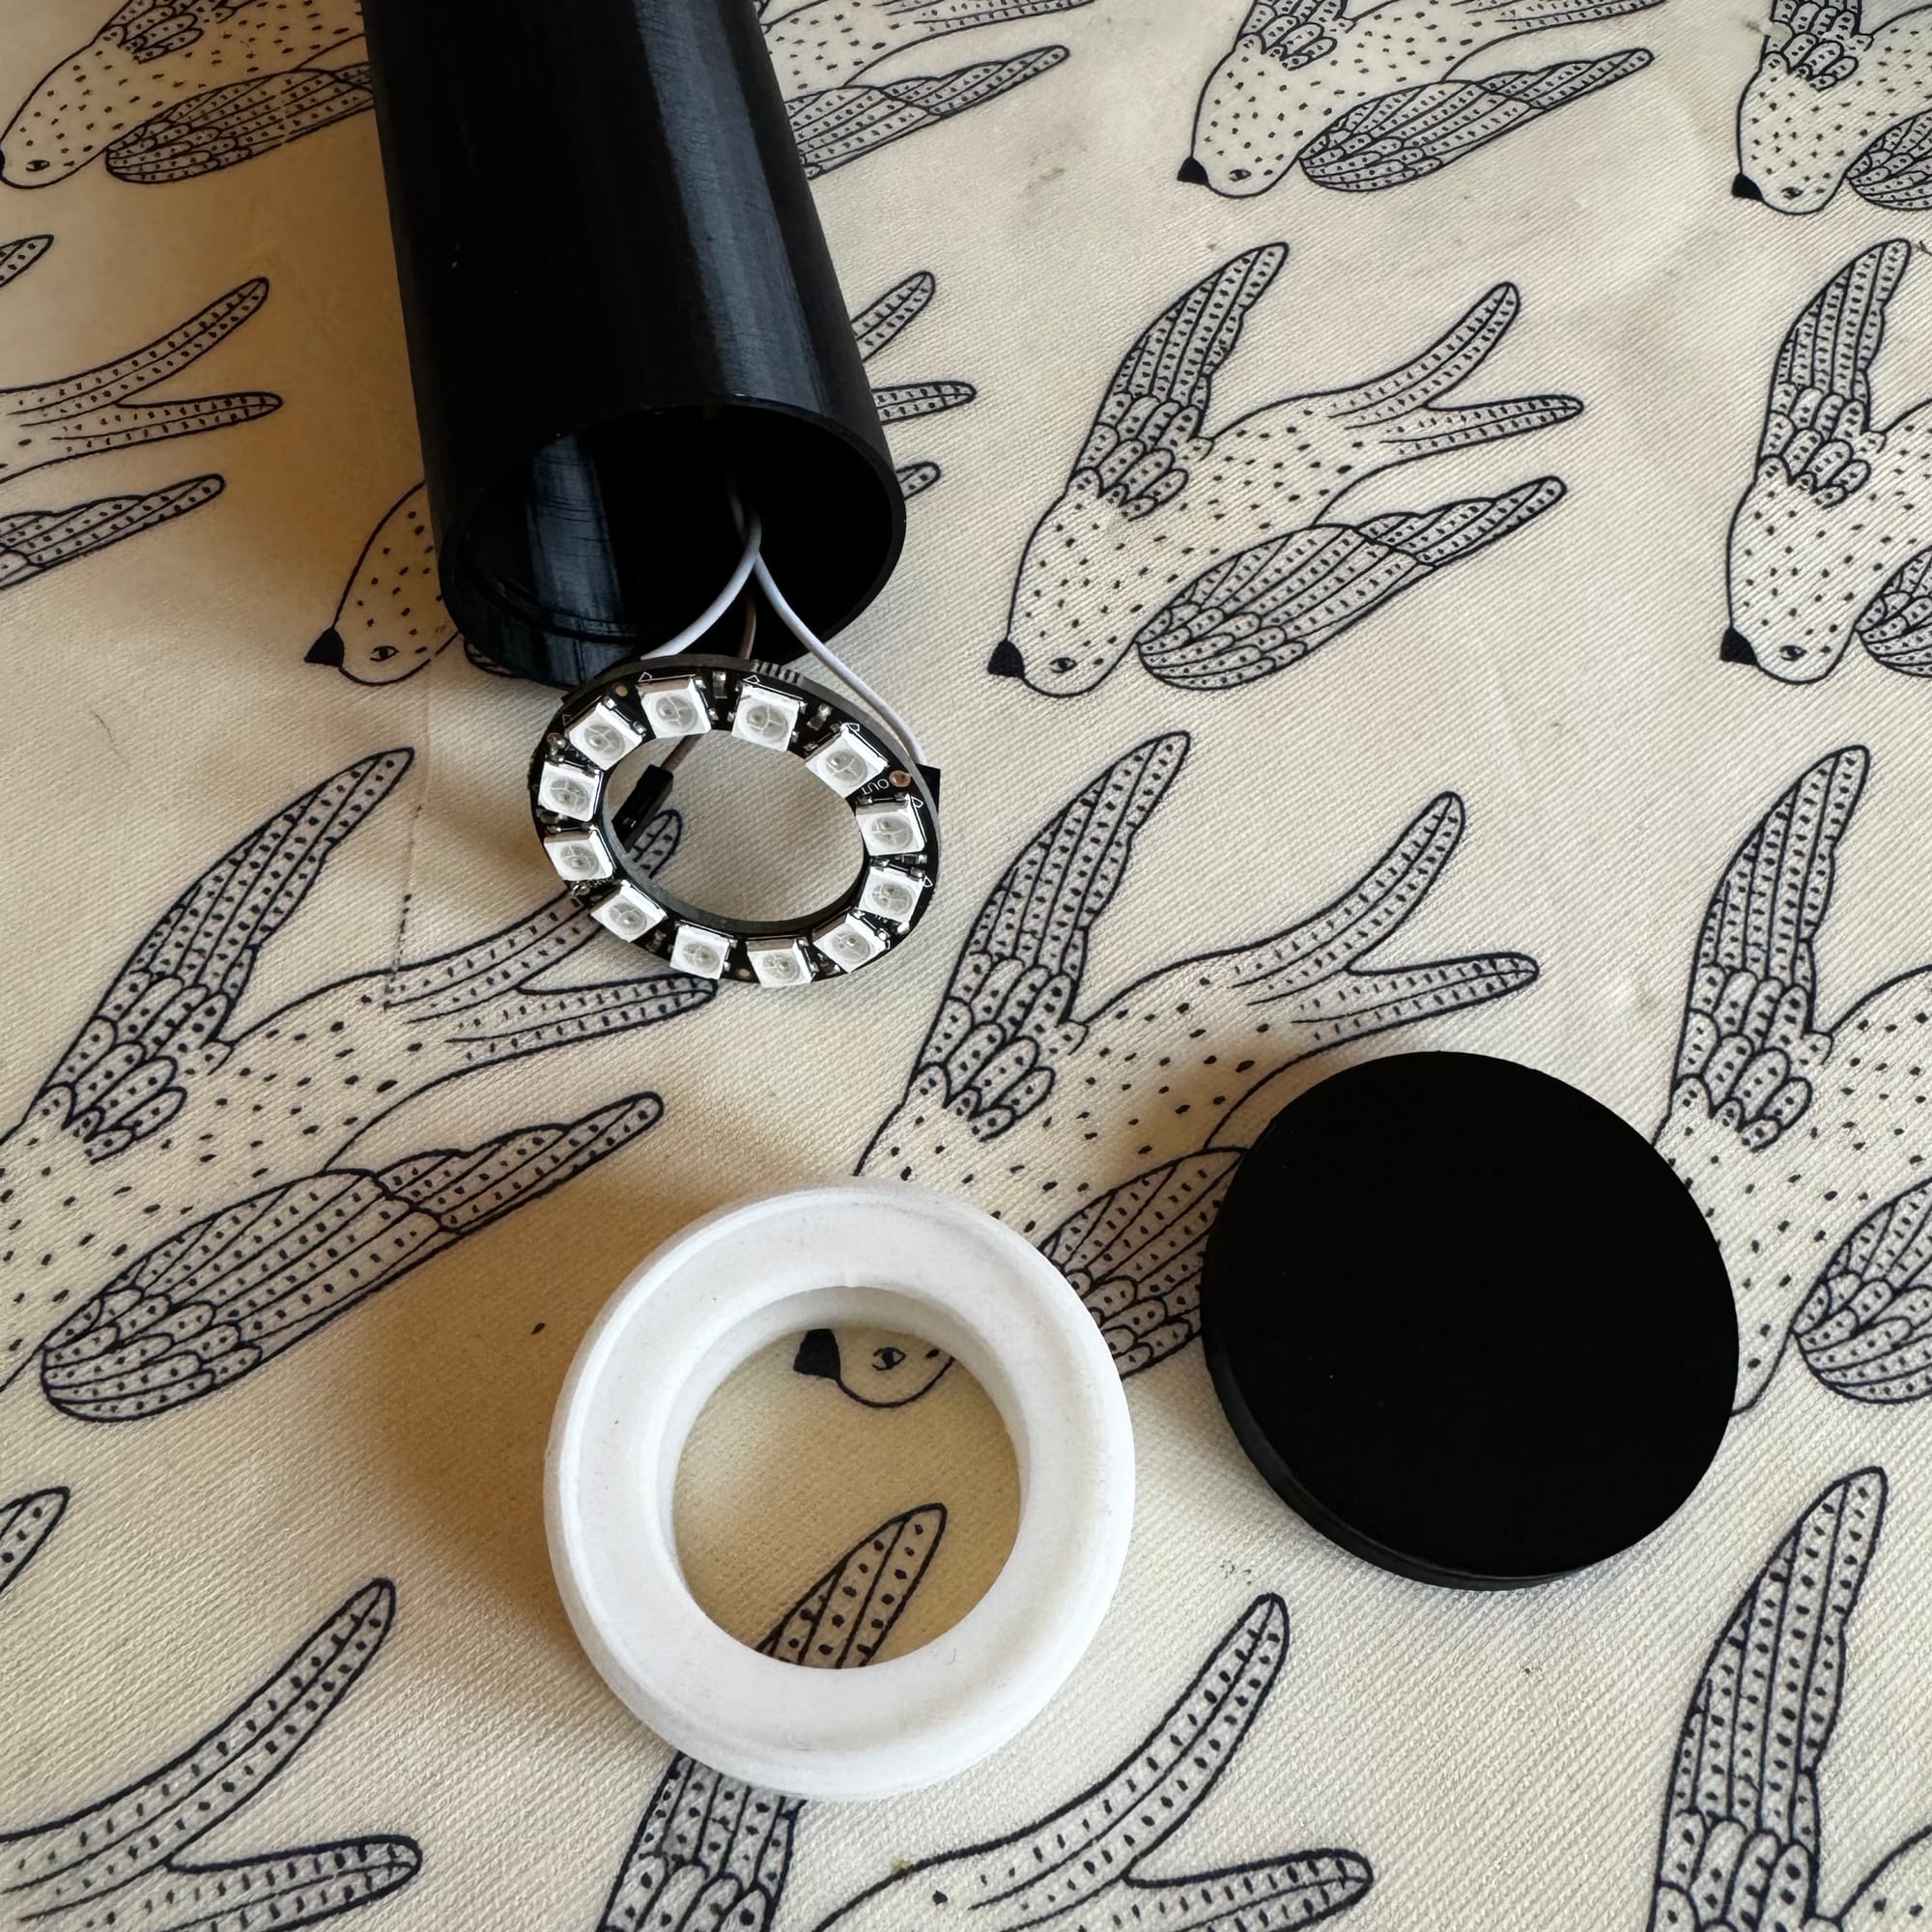
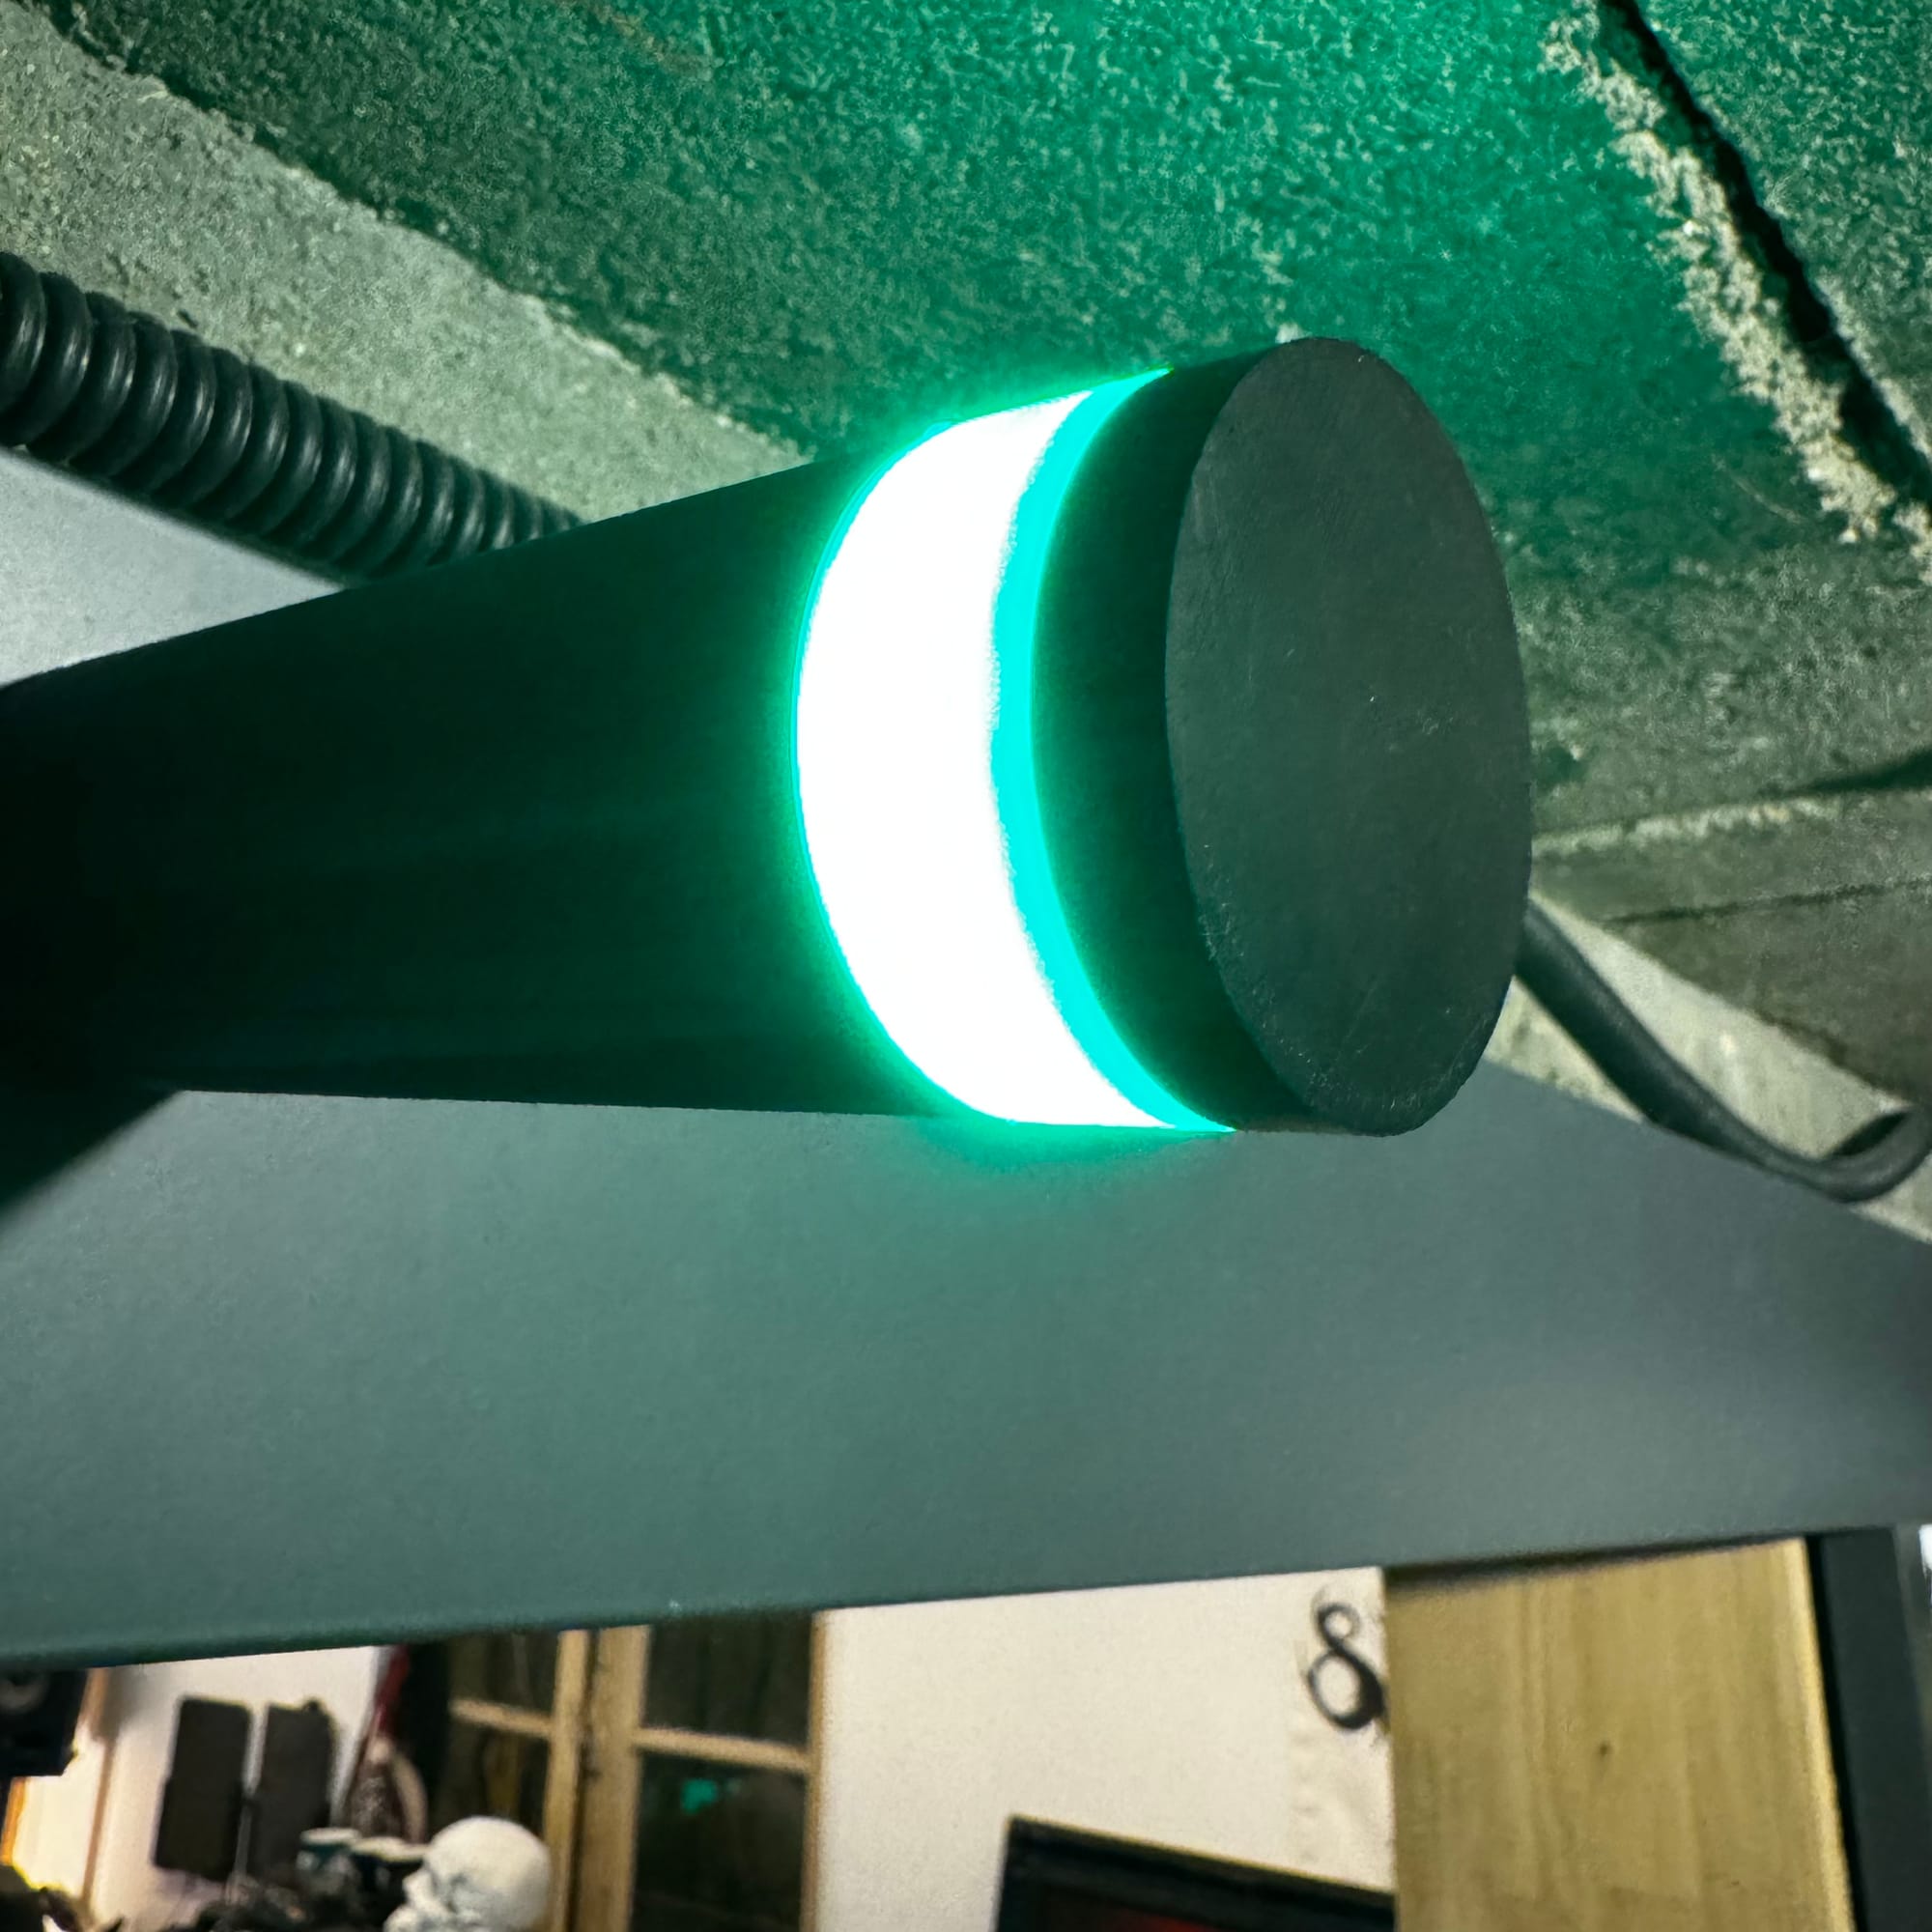
name: "NeoPixel Light"When you have tested everything, you can assemble and glue (I glued the led to the white part


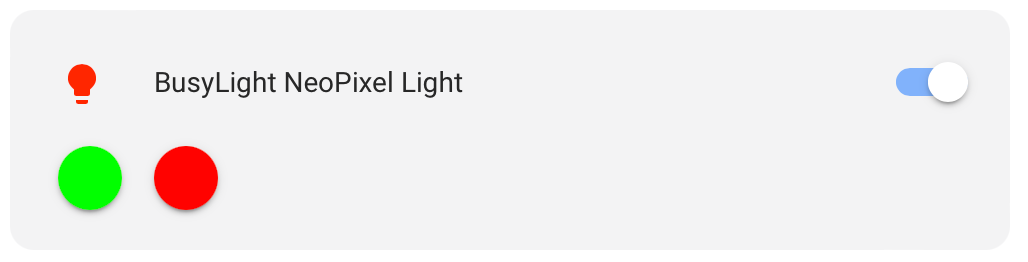
In Home Assistant it looks like this :
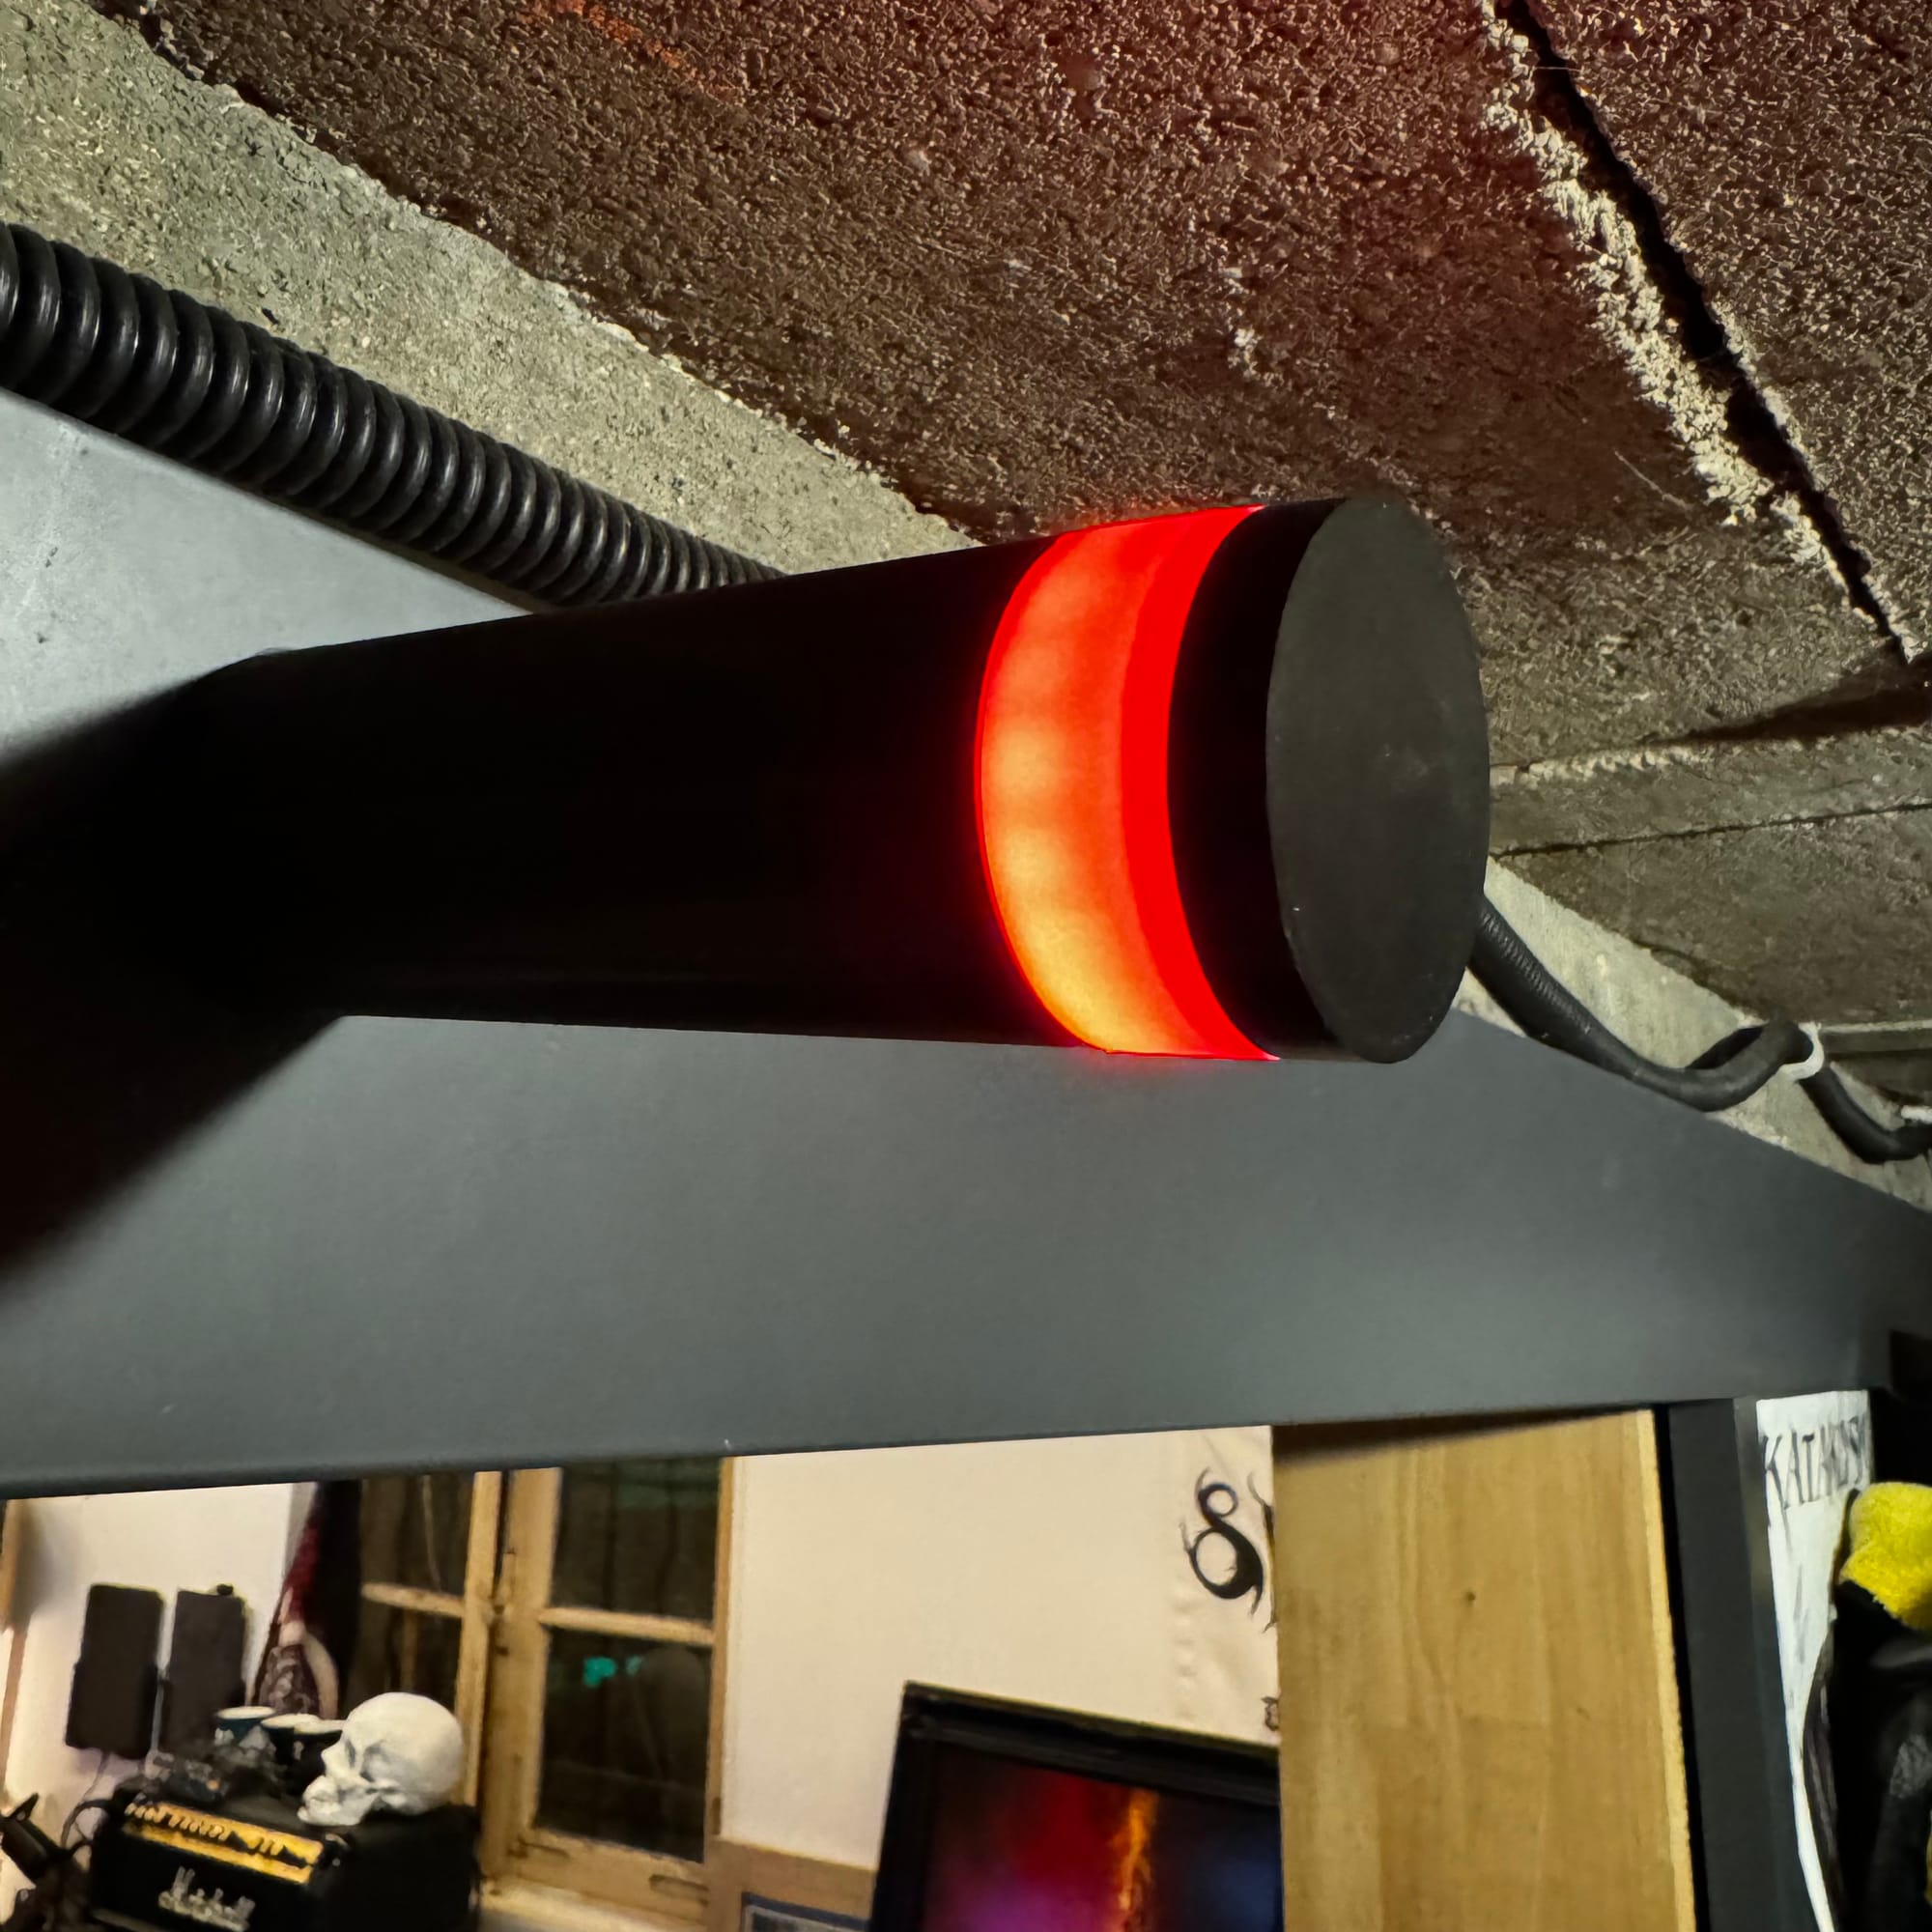
You can now make all kind of automation with Home Assistant, one of my automation is with a motion detector :
If someone comes between 09am and 5pm during the week day, it switch to red light ^^
My 3 yo kid now have to understand RED, don't come, GREEN, you can come :)