
Back in 2023, I shared how I set up a water temperature sensor in my pool using ESPHome and a DS18B20 probe. The system worked great for a long time, but over time I refined it to make it more stable, network-friendly, and maintainable. Here's the updated version of the project, with a better ESP32 configuration and a few key improvements.
What’s Changed?
- Switched to the
one_wireexternal component for better stability. - Static IP configuration with custom DNS.
- ESP32 board: AZ-Delivery DevKit v4
- Removed
dallas:in favor ofdallas_temp:via the external component. - Enabled onboard web server for quick access to readings.
- Minor cleanup and optimization for reliability.
Hardware Used
- ESP32 DevKit v4 (AZ-Delivery)
- DS18B20 waterproof temperature sensor
- 4.7kΩ resistor between data and VCC
- USB cable for power
- Waterproof enclosure (optional but recommended)
Updated ESPHome YAML Configuration
Here is the current YAML config deployed via ESPHome:
esphome:
  name: temp-pool

esp32:
  board: az-delivery-devkit-v4
  framework:
    type: arduino

wifi:
  ssid: !secret wifi_ssid
  password: !secret wifi_password
  manual_ip:
    static_ip: xxx.xxx.xxx.xxx
    gateway: xxx.xxx.xxx.xxx
    subnet: xxx.xxx.xxx.xxx
    dns1: xxx.xxx.xxx.xxx
    dns2: xxx.xxx.xxx.xxx

logger:

ota:
  platform: esphome
  password: !secret passwd_esphome

api:

web_server:
  port: 80

time:
  - platform: homeassistant
    id: homeassistant_time

external_components:
  - source: github://ssieb/esphome@onewire
    components: [ gpio ]
    refresh: 1min

one_wire:
  - platform: gpio
    pin: GPIO22
    id: one_wire_on_gpio22

sensor:
  - platform: dallas_temp
    one_wire_id: one_wire_on_gpio22
    name: "Pool Temperature"
Why the Switch to one_wire?
Using the native dallas: platform can occasionally result in unreliable readings, especially in outdoor environments or when multiple sensors are involved. By switching to the one_wire component from @ssieb, I’ve experienced much more consistent operation.
Accessing the Web Interface
I also enabled the ESPHome web server on port 80. So if I need a quick glance at the temperature without opening Home Assistant, I just hit:
http://192.168.200.56
Super convenient for debugging or standalone use!
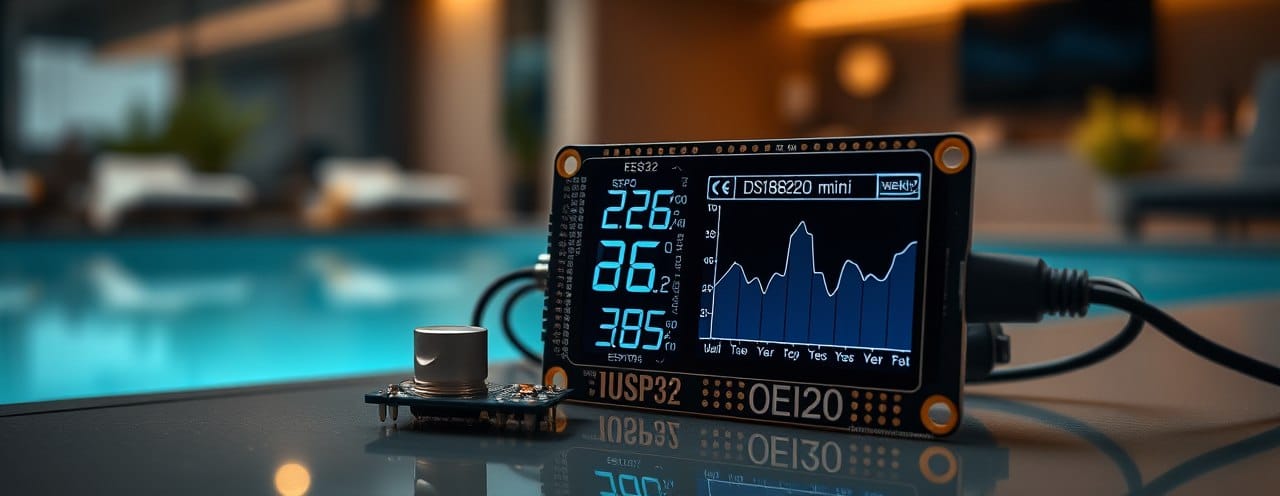
Visualizing in Home Assistant
Once the device is added via ESPHome, the sensor appears natively in Home Assistant. I have it on my pool dashboard with a mini-graph-card showing weekly trends and peak temperatures, perfect for planning a swim.

Here is the code for the card using mini-graph-card
type: custom:mini-graph-card
entities:
  - entity: sensor.pool_temperature
    show_state: true
    name: Server Rack
hours_to_show: 48
points_per_hour: 60
name: Temperatures
color_thresholds:
  - value: 30
    color: purple
  - value: 28
    color: red
  - value: 26
    color: orange
  - value: 23
    color: yellow
  - value: 20
    color: green
  - value: 17
    color: blue
show:
  name: true
  icon: true
  legend: true
  extrema: true
line_width: 1
card_mod:
  style: |
    .states {
      justify-content: normal !important;
    }
    .state {
      flex-grow: 1;
    }
    .states--secondary {
      flex-flow: row !important;
      flex-grow: 1.2;
      margin-left: 0px !important;
    }
    .states--secondary .state.state--small {
      font-size: unset;
      margin-bottom: unset;
      flex-grow: unset;
    }
    .states--secondary .state.state--small:nth-of-type(2) {
      margin-left: auto !important;
    }
Final Notes
This updated setup has been running flawlessly for weeks, and the readings are rock-solid. If you're building something similar, feel free to reuse this config and adjust your pin, IP, or temperature sensor details as needed.
Want to see the evolution? You can read the original blog post here.


