Rancher is an open-source platform for deploying and managing containers in production. With Rancher, you can easily provision and manage clusters of servers running Docker, Kubernetes, and other container orchestration platforms. One of the key features of Rancher is its support for Kubernetes, which has become the de facto standard for container orchestration.
The application Rancher for Kubernetes provides a user-friendly interface for creating and managing Kubernetes clusters, as well as deploying and scaling containerized applications on those clusters. With Rancher for Kubernetes, you can easily manage multiple clusters from a single dashboard, making it an ideal solution for organizations that need to run and scale containerized workloads across multiple environments.
Rancher for Kubernetes provides advanced features such as automated cluster deployment, centralized logging and monitoring, integrated networking and storage, and robust security policies. Additionally, Rancher integrates with popular CI/CD tools such as Jenkins and GitHub, making it easy to automate the deployment of containerized applications.
Overall, Rancher for Kubernetes is a powerful tool for organizations looking to adopt containerization and microservices architectures at scale. With its user-friendly interface, advanced features, and seamless integration with Kubernetes, Rancher for Kubernetes provides everything you need to deploy and manage containerized applications with confidence.

This blog post goal is to install a standalone Rancher instance to be able to provision a Kubernetes cluster through VMware vCenter.
- A virtual machine / raspberry pi or any docker available space, I use Ubuntu 22.04 or 24.04
- ssh authentication with public key (if you need a complete guide on that, just hit me up)
- Docker installed so we can deploy Rancher
- Certificates, I chose to bring my own internal CA certificates.
- Free 80 and 443 ports (no traefik, no nginx)
To install docker just follow this quick guide :
# Add Docker's official GPG key:
sudo apt-get update
sudo apt-get install ca-certificates curl
sudo install -m 0755 -d /etc/apt/keyrings
sudo curl -fsSL https://download.docker.com/linux/ubuntu/gpg -o /etc/apt/keyrings/docker.asc
sudo chmod a+r /etc/apt/keyrings/docker.asc
next
# Add the repository to Apt sources:
echo \
  "deb [arch=$(dpkg --print-architecture) signed-by=/etc/apt/keyrings/docker.asc] https://download.docker.com/linux/ubuntu \
  $(. /etc/os-release && echo "$VERSION_CODENAME") stable" | \
  sudo tee /etc/apt/sources.list.d/docker.list > /dev/null
sudo apt-get update
next the actual docker installation
sudo apt-get install docker-ce docker-ce-cli containerd.io docker-buildx-plugin docker-compose-plugin -y
Next and optional if you don't want to sudo all your docker commands
sudo usermod -aG docker $USER
newgrp docker
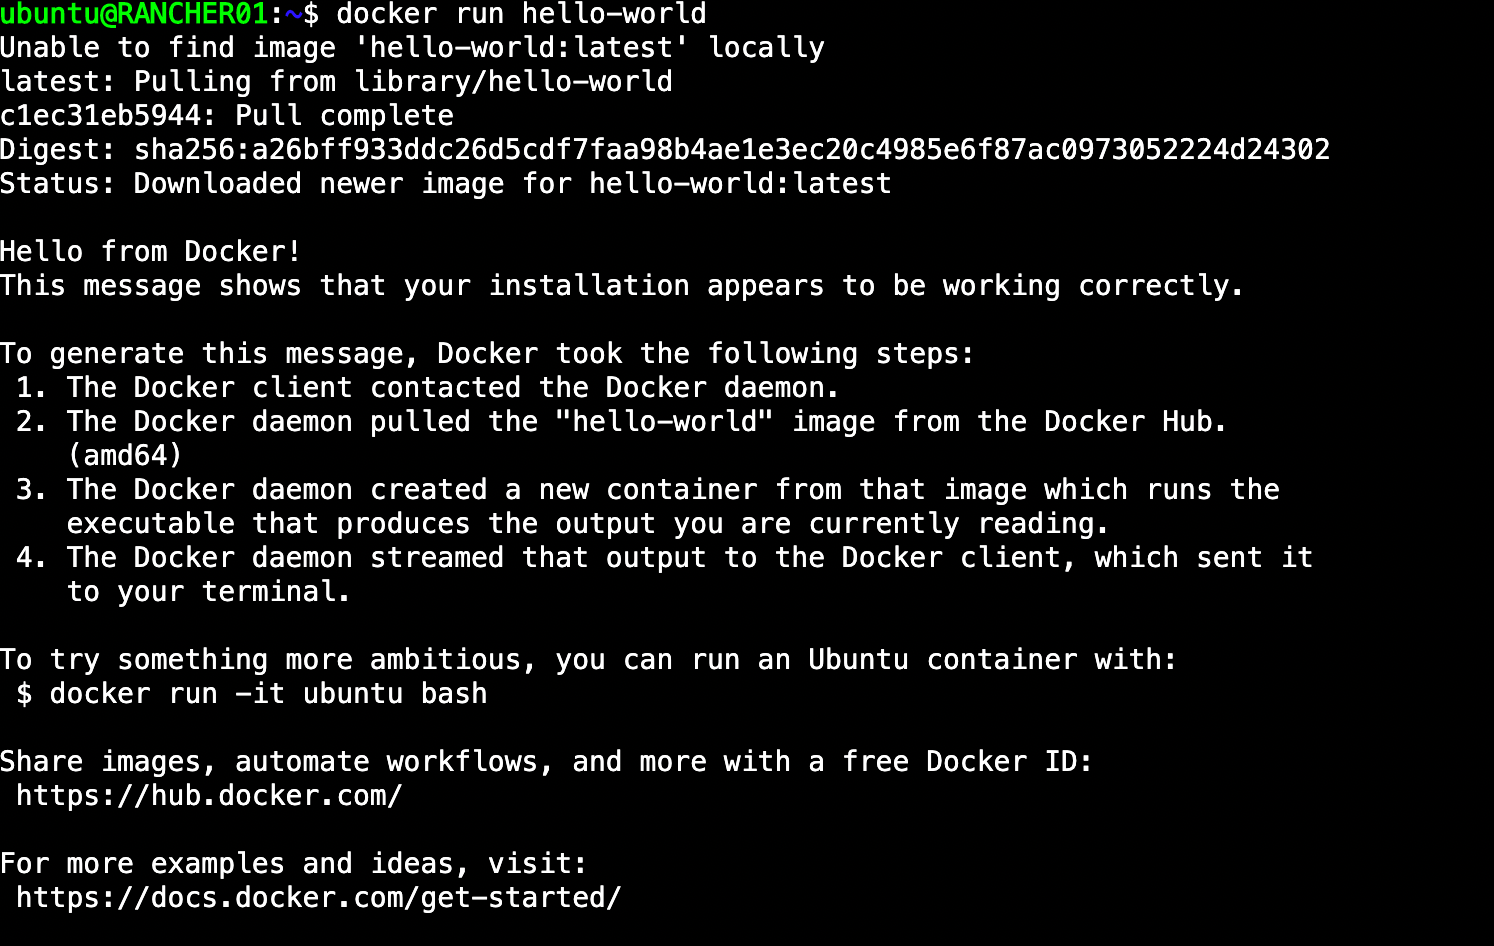
Now you can run this hello-world container to check everything is working as intended
docker run hello-worldthe output needs to look like this
Now docker installation is out of the way, I create a rancher directory in my home directory to host my certificates and the yaml docker compose file.
mkdir rancher && cd rancherif you get an error about the private key you are using, you need to change its format by executing this command line :
openssl rsa -in privatekey.key -out .privatekey.key
Then create a file docker-compose.yml for rancher :
version: '3'

services:
  rancher:
    image: rancher/rancher:latest
    privileged: true
    restart: unless-stopped
    ports:
      - '443:443'
      - '80:80'
    volumes:
      - rancher-vol:/var/lib/rancher
      - ./certificate.crt:/etc/rancher/ssl/cert.pem:ro
      - ./privatekey.key:/etc/rancher/ssl/key.pem:ro
      - ./cacerts.crt:/etc/rancher/ssl/cacerts.pem:ro
volumes:
  rancher-vol:
if you don't plan to use your own certificate like i did, you can just go ahead and delete these 3 lines to use a self signed certificate
      - ./certificate.crt:/etc/rancher/ssl/cert.pem:ro
      - ./privatekey.key:/etc/rancher/ssl/key.pem:ro
      - ./cacerts.crt:/etc/rancher/ssl/cacerts.pem:ro
now you can execute this command line to retrieve the container
docker compose pullthen run it with
docker compose up -dyou should see this :

and it takes some time to initialise give 2 to 5 minutes before being able to reach the web interface using https
If you want to check what's going on while you wait, you can use this command line :
docker logs rancher-rancher-1 --followYou should be able to see the container initialisation going on.
To make sure the docker is up and running, you can check its status with this command line :
docker psThe result :
CONTAINER ID   IMAGE                    COMMAND           CREATED         STATUS         PORTS                                                                      NAMES
1b22a3e0accf   rancher/rancher:latest   "entrypoint.sh"   2 minutes ago   Up 2 minutes   0.0.0.0:80->80/tcp, :::80->80/tcp, 0.0.0.0:443->443/tcp, :::443->443/tcp   rancher-rancher-1
Rancher is now up and running on the ip of the machine you chose, using your internet browser you can type the url and the welcome to Rancher screen will display
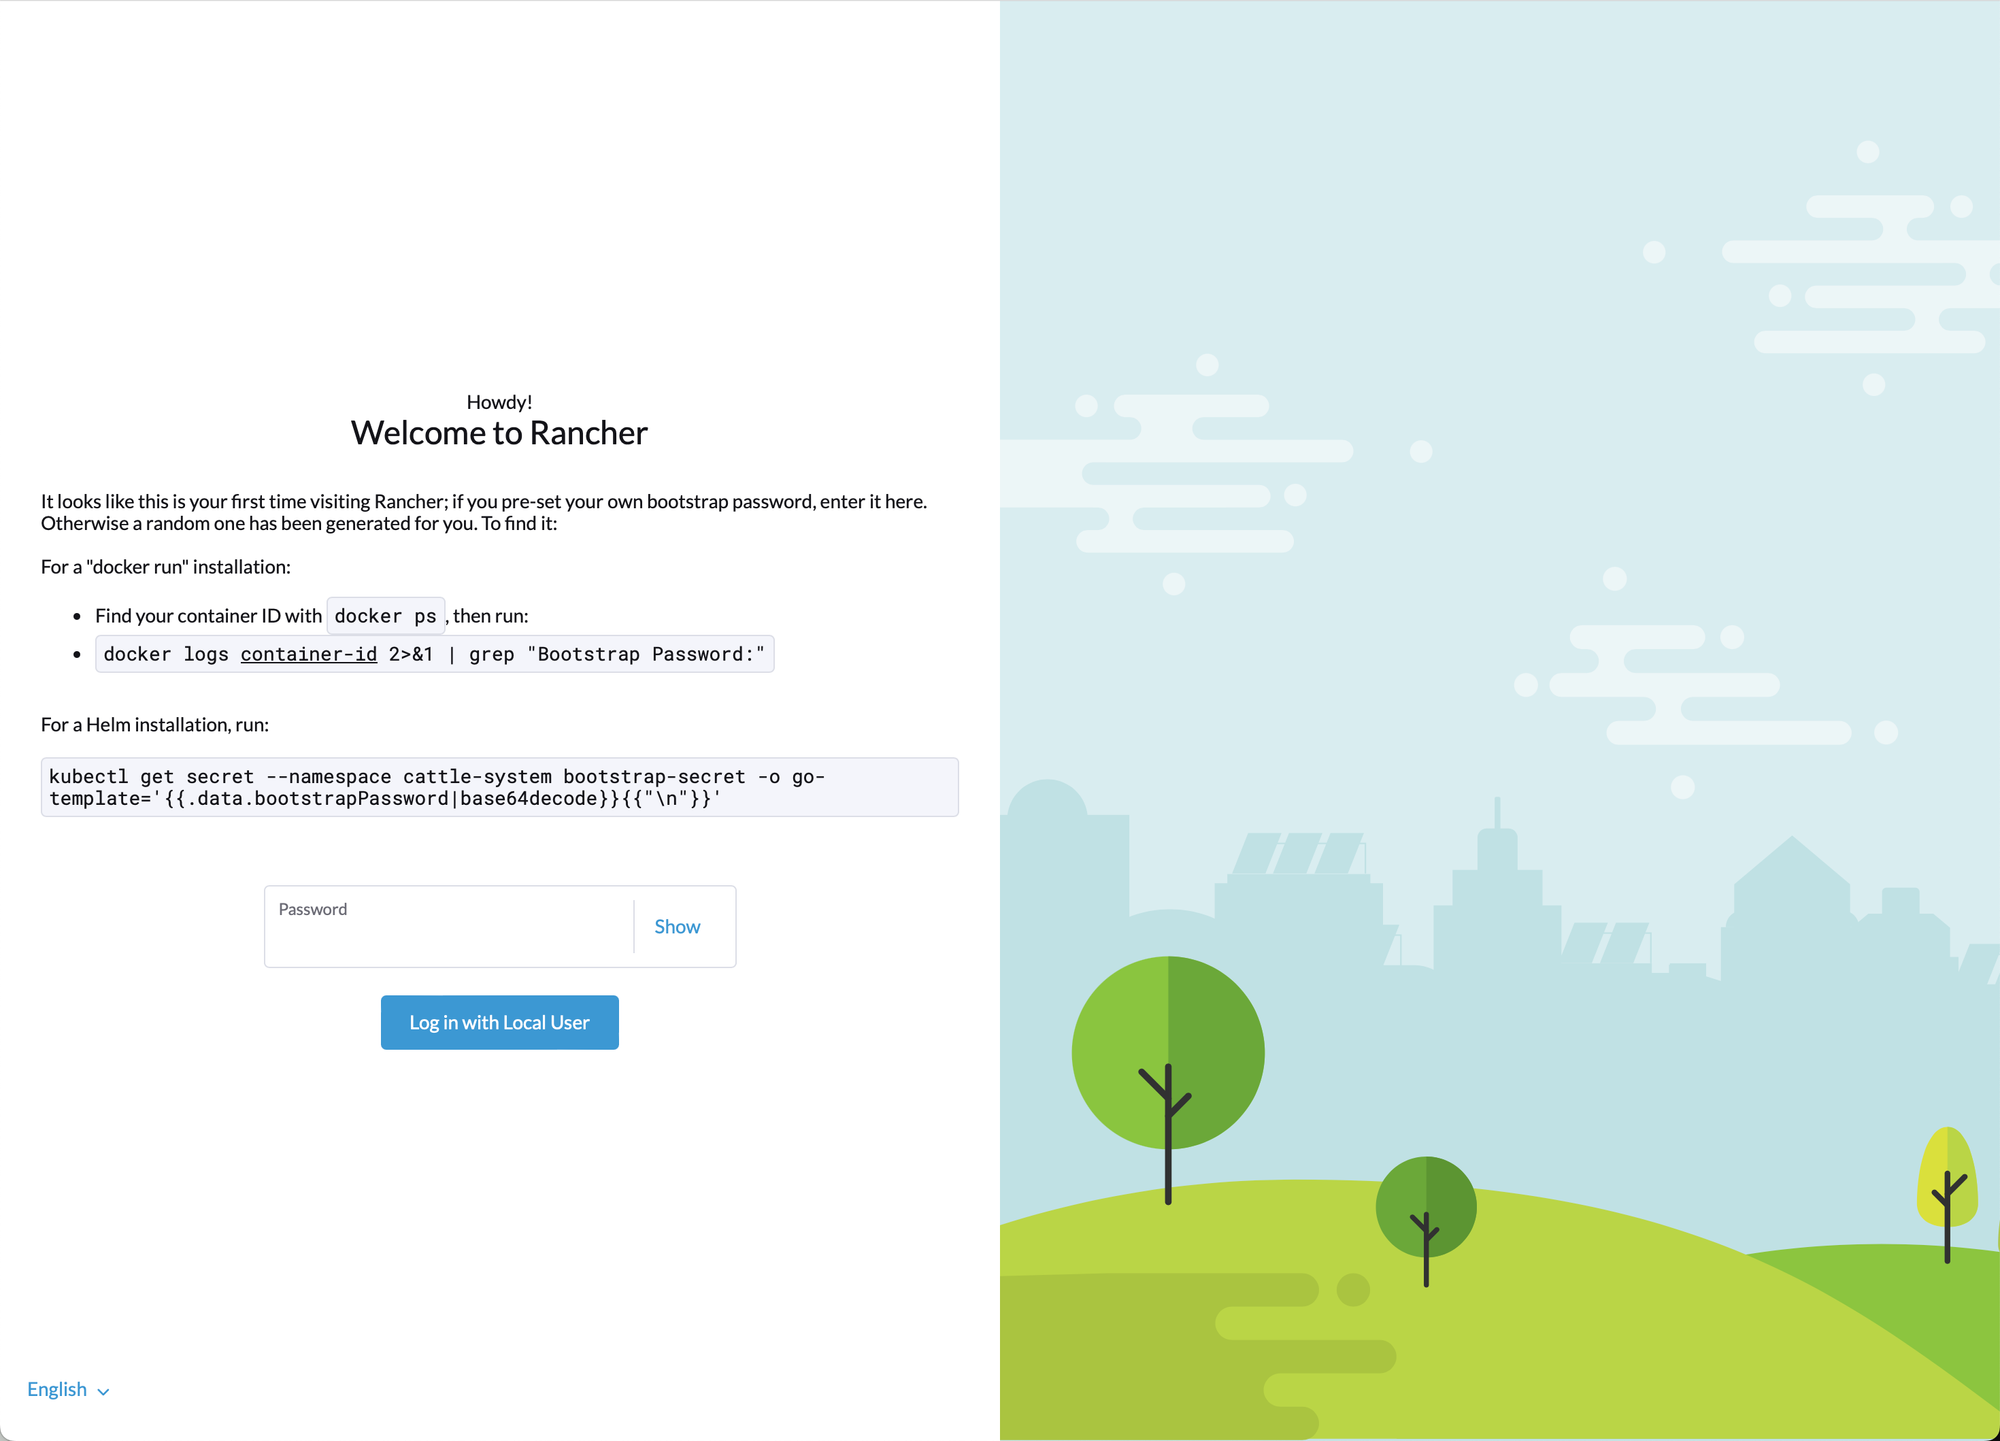
we did a docker installation so we will use the first option to retrieve the password, back on the rancher machine where the docker instance is running type :
docker ps # to list the container and get the container ID we need
docker logs  container-id  2>&1 | grep "Bootstrap Password:" # replace the container id by yours
once the password entered, you need to use an automatically generated one or you can chose your own.
now you're on
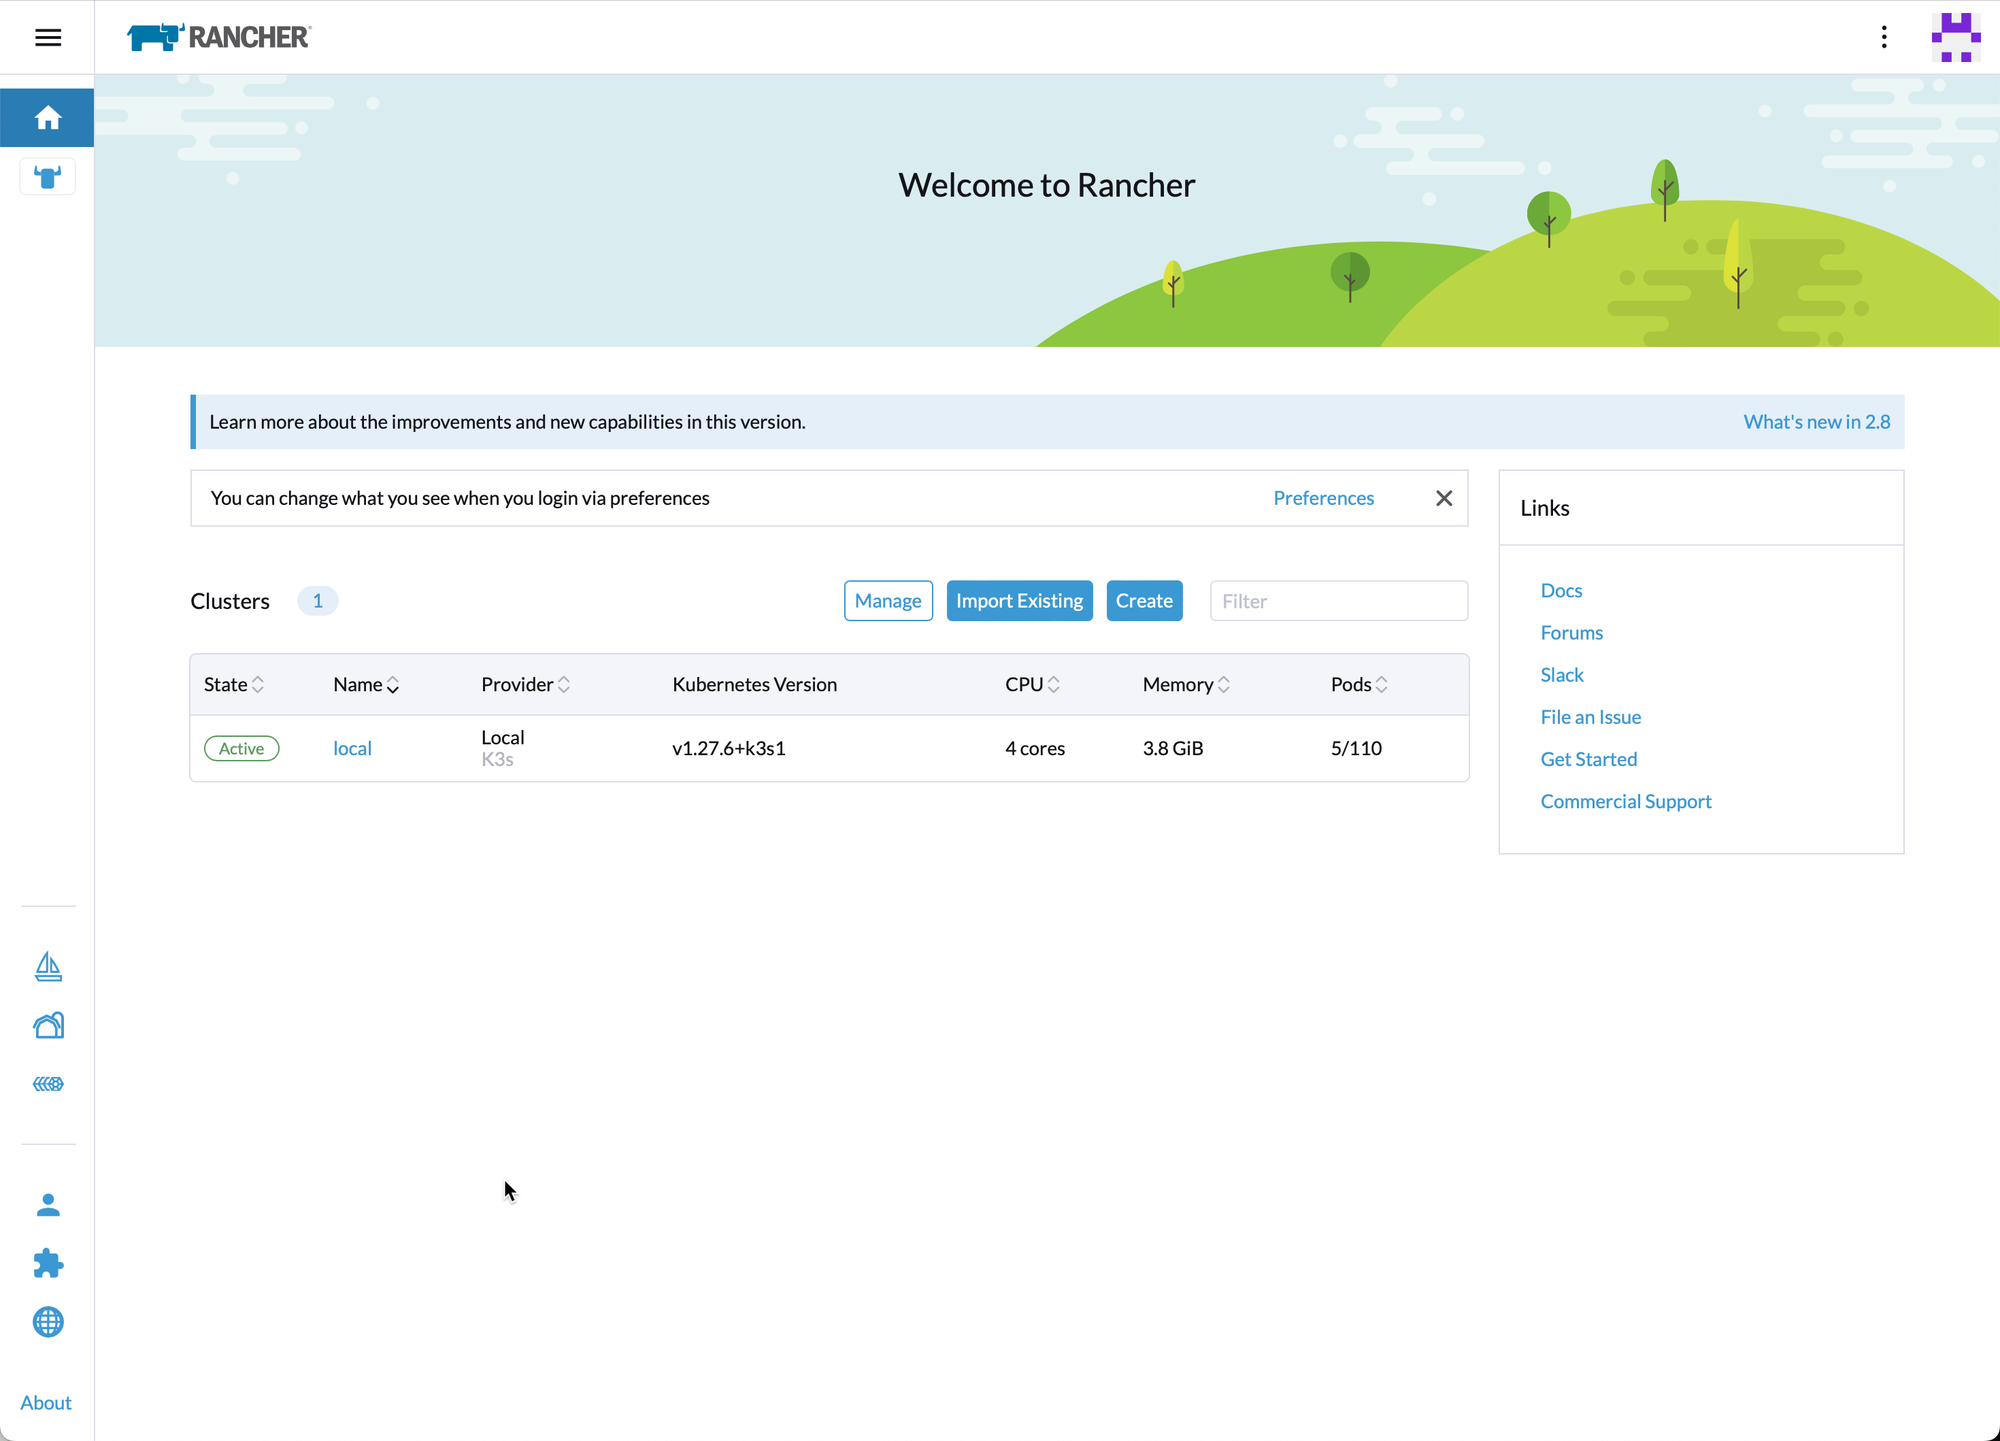
you have successfully deployed a stand alone Rancher instance. The next blog post to follow this one will be to deploy a full Kubernetes cluster from Rancher using vSphere.


