
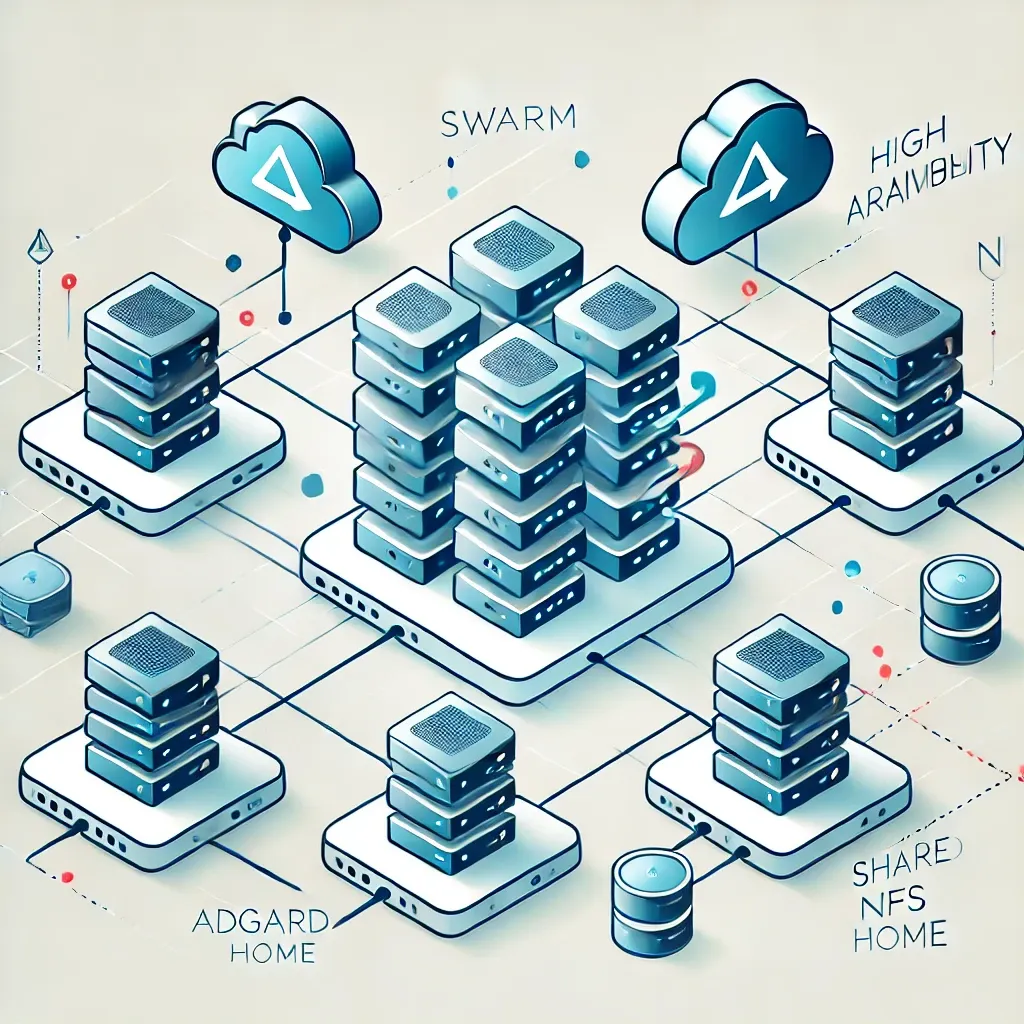
In this guide, we will walk you through the steps to set up an AdGuard Home cluster, with one node running in a Docker Swarm environment and another node running on a standalone Raspberry Pi using a Docker configuration file. By leveraging Docker Swarm and a standalone Raspberry Pi, you ensure flexibility, high availability, and a consistent configuration across your cluster.
Why AdGuard Home?
AdGuard Home is a network-wide ad blocker that acts as a DNS server to block ads, trackers, and more. It's lightweight, highly customizable, and perfect for home or small-office use.

Prerequisites
- Docker Swarm cluster: Ensure you have a Docker Swarm cluster running with at least one manager and worker node.
- Raspberry Pi: A standalone Raspberry Pi with Docker installed.
- NFS server: An NFS server to host the shared configuration files.
- Proper networking: Ensure your Docker Swarm nodes and Raspberry Pi have network access to the NFS server.
Configuration Overview
The setup involves deploying AdGuard Home as follows:
- Node 1: Running in Docker Swarm with shared configuration stored on an NFS volume.
- Node 2: Running on a Raspberry Pi with a Docker configuration file, also using the shared NFS volume.
Steps to Deploy
Step 1: Prepare the NFS Server
On your NFS server, create directories for AdGuard Home:
/path/to/nfs/adguard: For configuration files./path/to/nfs/adguard/primary: For AdGuard Home's primary working directory./path/to/nfs/adguard/secondary: For AdGuard Home's secondary working directory.
Ensure these directories have proper permissions to allow Docker Swarm nodes and the Raspberry Pi to read and write.
Step 2: Define the docker-compose.yml File for Node 1
Below is the Docker Compose file for the Swarm node:
services:
  adguardhome:
    image: adguard/adguardhome
    container_name: adguardhome
    ports:
      - 53:53/tcp
      - 53:53/udp
      - 784:784/udp
      - 853:853/tcp
      - 3131:3131/tcp
      - 8443:443/tcp
    volumes:
      - nfs-adguard-primary:/opt/adguardhome/work
      - nfs-adguard-conf:/opt/adguardhome/conf
    restart: unless-stopped
    deploy:
      placement:
        constraints: [node.role == worker]

volumes:
  nfs-adguard-conf:
    driver: local
    driver_opts:
      device: :/path/to/nfs/adguard
      o: addr=<nfs-server-ip>,nolock,soft,rw,nfsvers=4
      type: nfs
  nfs-adguard-primary:
    driver: local
    driver_opts:
      device: :/path/to/nfs/adguard/primary
      o: addr=<nfs-server-ip>,nolock,soft,rw,nfsvers=4
      type: nfs
Step 3: Deploy Node 1 on Docker Swarm
To deploy the AdGuard Home stack on Docker Swarm:
- Save the above
docker-compose.ymlfile.
Deploy the stack using the Docker Swarm CLI:
docker stack deploy -c docker-compose.yml adguard
Step 4: Define the docker-compose.yml File for Node 2 (Raspberry Pi)
Below is the Docker Compose file for the Raspberry Pi node:
services:
  adguardhome:
    image: adguard/adguardhome
    container_name: adguardhome
    ports:
      - 53:53/tcp
      - 53:53/udp
      - 784:784/udp
      - 853:853/tcp
      - 3131:3131/tcp
      - 80:80/tcp
      - 8443:443/tcp
    volumes:
      - nfs-adguard-secondary:/opt/adguardhome/work
      - nfs-adguard-conf:/opt/adguardhome/conf
    restart: unless-stopped

volumes:
  nfs-adguard-conf:
    driver: local
    driver_opts:
      device: :/path/to/nfs/adguard
      o: addr=<nfs-server-ip>,nolock,soft,rw,nfsvers=4
      type: nfs
  nfs-adguard-secondary:
    driver: local
    driver_opts:
      device: :/path/to/nfs/adguard/secondary
      o: addr=<nfs-server-ip>,nolock,soft,rw,nfsvers=4
      type: nfs
Step 5: Deploy Node 2 on the Raspberry Pi
- Save the above
docker-compose.ymlfile on the Raspberry Pi.
Deploy the container using the following command:
docker-compose up -d
Step 6: Verify the Deployment
For Node 1, check the status of your AdGuard Home service:
docker service ls
For Node 2, check the container status on the Raspberry Pi:
docker ps
Step 7: Access the AdGuard Home Web Interfaces
AdGuard Home is accessible via its web interfaces. Open your browser and navigate to:
- Node 1:
https://<node1-ip>:8443 - Node 2:
https://<raspberry-pi-ip>:8443
Replace <node1-ip> and <raspberry-pi-ip> with the respective IP addresses of the nodes where the services are running. You can log in and configure AdGuard Home from here.
Advantages of This Setup
- Shared Configuration: All instances share the same configuration, ensuring consistency.
- Hybrid Deployment: Combines the robustness of Docker Swarm with the flexibility of a standalone Raspberry Pi.
- High Availability: Ensures the service remains available even if one node goes down.
Troubleshooting
- NFS Mount Issues: Check permissions on the NFS server and ensure NFS is accessible from both the Swarm nodes and the Raspberry Pi.
- Port Conflicts: Ensure the ports used by AdGuard Home are not in use by other services.
- Service Deployment Errors: Inspect logs for detailed error messages.
For Node 1:
docker service logs adguardhome
For Node 2:
docker logs adguardhome
Conclusion
This guide demonstrates how to deploy an AdGuard Home cluster using Docker Swarm and a Raspberry Pi with shared configuration via NFS. This setup is robust, scalable, and ensures high availability. By combining Docker Swarm and a standalone Raspberry Pi, you achieve a flexible and efficient deployment strategy.
Happy ad-blocking!